
Most people buy a stability ball with good intentions, inflate it once, and then let it collect dust in the corner of their home gym. This versatile fitness tool offers something for everyone—from beginners building foundational core strength to advanced athletes seeking balance challenges that translate to real-world performance. The unstable surface forces your body to engage stabilizer muscles that remain dormant during traditional floor exercises, creating functional fitness that improves everyday movements, posture, and athletic ability.
Whether you want stronger abs, a healthier back, improved balance, or simply more variety in your workouts, learning how to use a stability ball properly unlocks dozens of effective exercises. This guide walks you through everything from selecting the right ball size to mastering advanced movements, ensuring you train safely and effectively. You’ll discover proper inflation techniques, fundamental body positioning, and complete workout routines targeting every major muscle group. By the end, you’ll have the knowledge to incorporate stability ball training into any fitness program with confidence.
Choose the Perfect Stability Ball for Your Height and Needs
Selecting an appropriately sized stability ball forms the foundation of effective training. A ball that’s too large or too small compromises your posture, reduces exercise effectiveness, and increases fall risk during balance movements. The sizing principle is straightforward: when seated on a properly inflated ball with feet flat on the floor, your knees should form a 90-degree angle. This alignment ensures your hips sit at or slightly above knee level, promoting natural spinal curves and maximum muscle engagement.
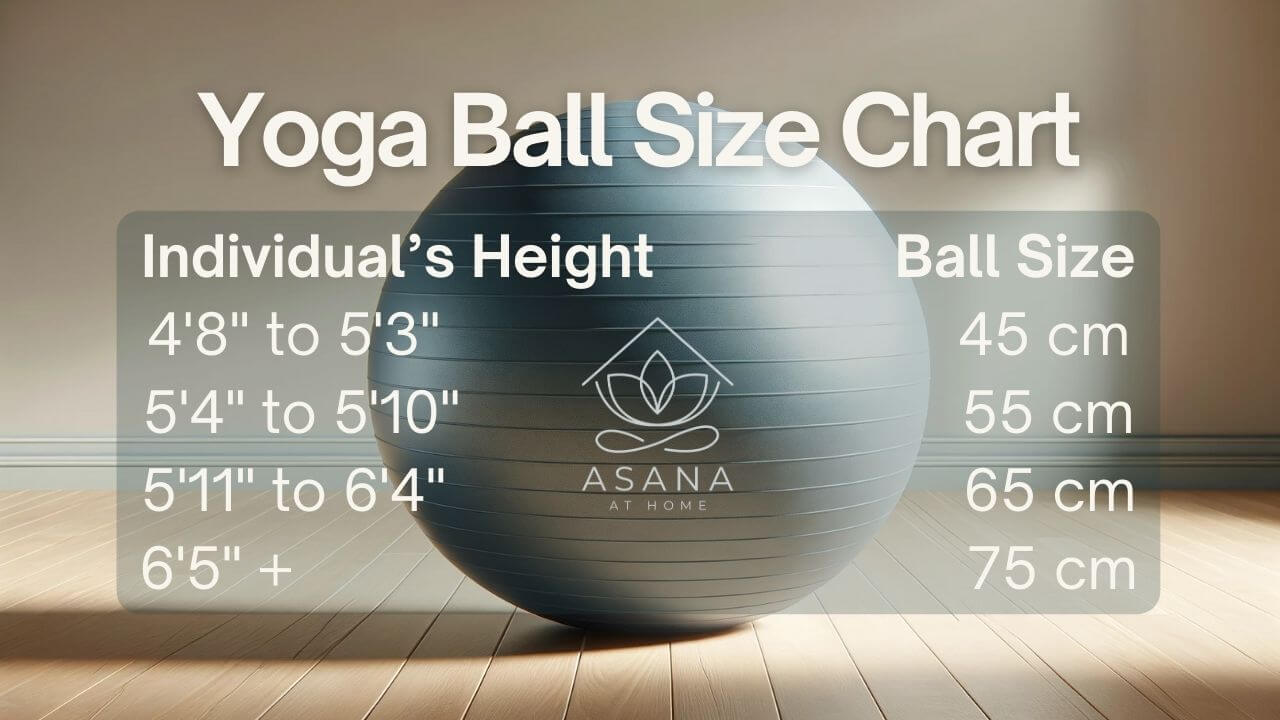
Height-Based Sizing Chart for Optimal Training Position
Your height determines the ideal ball diameter for most users. Individuals under 5’0″ typically need a 45-centimeter ball, while those between 5’0″ and 5’5″ perform best on 55-centimeter balls. The most common size—65 centimeters—suits people from 5’6″ to 6’0″, offering versatility for home gyms where multiple household members share equipment. Taller individuals between 6’1″ and 6’5″ should select 75-centimeter balls, and those over 6’5″ require the largest 85-centimeter option. When sharing a ball among family members, size for the tallest user and use the ball primarily for that person’s exercises.
Critical Quality Features That Prevent Injury and Rupture
Quality matters as much as size when selecting stability ball equipment. Prioritize burst-resistant construction rated for weights exceeding 300 pounds—these balls feature thicker material and stronger seams that resist rupture during intense use. Anti-slip textures provide crucial safety during sweaty workouts when hands or feet might otherwise slide on the vinyl surface. Premium options include weighted bases that prevent rolling when not in use, removable plugs for easy deflation and storage, and complementary storage racks that protect the ball from floor damage. Investing in quality equipment prevents premature replacement and, more importantly, reduces injury risk from equipment failure during exercise.
Inflate and Maintain Your Ball for Maximum Safety and Performance
Proper inflation directly impacts your safety and workout effectiveness. A stability ball should feel firm but have slight give when pressed—comparable to a properly inflated basketball. Under-inflated balls reduce the stability challenge and increase fall risk because the excessive give makes balance more difficult to maintain. Over-inflated balls become uncomfortably hard and reduce the contact surface area, making certain exercises less effective and more precarious.
Step-by-Step Inflation Process for Correct Firmness
Remove the ball from packaging and unroll it completely, allowing any creases from packaging to relax. Insert your pump nozzle into the air valve and secure it tightly—inflation pumps often include adapters for different valve types, so ensure a proper seal. Inflate in short bursts, pausing every few pumps to check firmness. After reaching what seems like full inflation, allow the ball to rest for 30 minutes as the material settles, then add more air if needed. Finally, close the valve cap tightly. Most manufacturers recommend inflating to the size indicated on the ball’s packaging, but personal preference and body weight also influence ideal firmness.
Essential Maintenance Practices to Extend Your Ball’s Lifespan
Regular maintenance extends your ball’s lifespan and ensures safe training. Store the ball away from direct sunlight, heat sources, and sharp objects—extreme temperatures degrade the vinyl material over time, and punctures from pets or household items cause sudden failure. Clean the ball after each use by wiping it down with mild soap and water, particularly if training barefoot or with sweaty hands that leave slippery residue. Inspect regularly for signs of wear including small cracks, weakened seams around the valve, or valve leaks that cause gradual deflation. Replace the ball immediately upon detecting any damage, as rupture during exercise can cause serious injury.
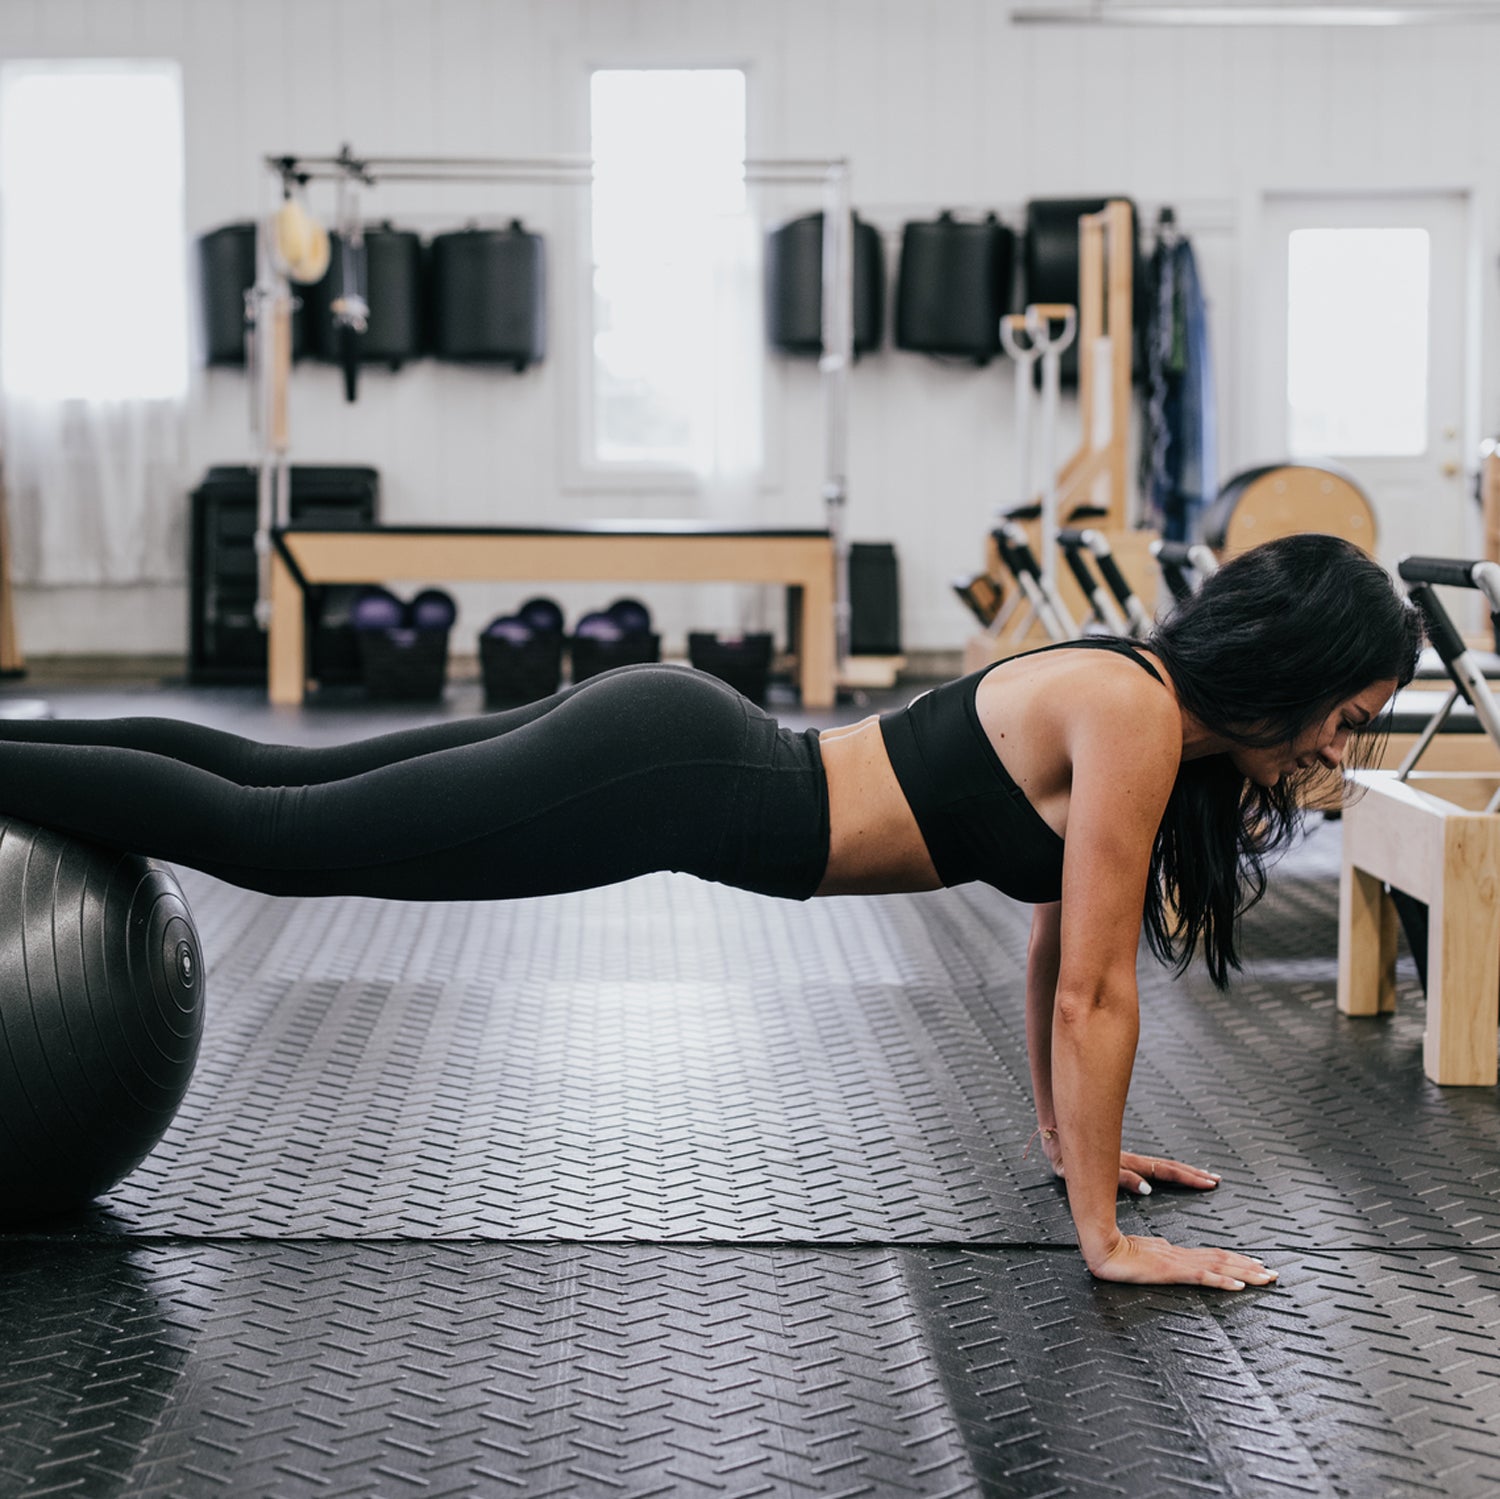
Master Fundamental Ball Positions Before Attempting Exercises

Before attempting complex exercises, you must master the fundamental seated position that underlies most stability ball movements. Sit on the ball with feet shoulder-width apart and flat on the floor, distributing weight evenly across both sit bones rather than rolling forward onto your tailbone or backward into your lower back. This balanced position engages the correct muscles and establishes the posture foundation for all subsequent exercises.
Proper Seated Posture for Core Activation
Core engagement on a stability ball differs from floor-based exercises because the unstable surface demands constant muscular adjustment. To activate your core properly, imagine drawing your belly button toward your spine while simultaneously lifting the pelvic floor muscles—the same action used to stop urination midstream. Maintain this low-level contraction throughout exercises rather than holding your breath or tensing your shoulders. This sustained engagement trains the deep transverse abdominis and multifidus muscles that provide spinal stability.
Balance and Control Techniques to Prevent Falls
Balance and control principles keep you safe during training. Move slowly and deliberately, allowing stabilizer muscles to activate with each position change rather than relying on momentum. If you feel losing balance, step one foot firmly to the floor to recover rather than grabbing nearby objects—this develops confidence and prevents injuries from attempting to brace yourself on unstable surfaces. Practice falling safely by learning to roll off the ball sideways if necessary; develop this skill before attempting challenging exercises. Never hold your breath during exertion; maintain steady breathing throughout each movement.
Avoid These 3 Critical Stability Ball Mistakes
Understanding common mistakes prevents injury and ensures effective training. Postural errors represent the most frequent stability ball mistake—rounded shoulders, forward head position, and collapsed chest reduce exercise effectiveness and increase injury risk. Maintain tall spinal alignment throughout movements, drawing your shoulder blades down and back rather than letting them round forward. Avoid excessive arching in back extensions and plank positions—excessive extension places harmful stress on spinal discs.
Postural Errors That Reduce Effectiveness and Cause Injury
Check your form frequently using mirrors or video recording to identify postural drift during sets. Many people unconsciously adopt poor posture as they fatigue, undermining the exercise’s benefits and increasing injury risk. If you notice yourself rounding your shoulders or craning your neck, stop the exercise and reset your position before continuing.
Breathing Mistakes That Undermine Core Activation
Breathing errors compromise performance and safety. Holding your breath during exertion creates dangerous blood pressure spikes and reduces core effectiveness. Breathe continuously throughout each exercise, inhaling during lowering phases and exhaling during lifting phases. For example, exhale when crunching up and inhale when lowering down. Practice breathing separately from movement initially, then integrate coordinated breathing as exercises become familiar.
Safety Guidelines Every User Must Follow
Essential safety practices keep your training productive and injury-free. Never use a stability ball near walls, furniture, or hard surfaces that could cause injury if you fall. Maintain adequate clearance of at least four feet in all directions. Wear appropriate athletic shoes with good grip rather than training barefoot, and ensure your floor surface provides adequate traction on the ball. Begin each session with a thorough warm-up of at least five to ten minutes. Never hold your breath during exertion, and stop immediately if experiencing pain, dizziness, or loss of balance.
Conditions That Require Medical Clearance Before Use
Certain individuals should consult healthcare providers before using stability balls. These conditions include severe osteoporosis, recent back or neck injuries, inner ear disorders affecting balance, uncontrolled high blood pressure, and pregnancy in the third trimester. Those with limited mobility or neurological conditions should work with a physical therapist to determine appropriate exercises. The unstable surface creates significant challenge—individuals with limitations should begin with seated exercises only, using a wall or sturdy chair for support.
Fall Prevention Strategies for Injury-Free Training
Most stability ball injuries occur from falls, so minimize risk by keeping the ball properly inflated, maintaining three points of contact when possible, and practicing controlled movements. Never attempt exercises beyond your current fitness level, and have a spotter present when learning new movements. If you feel losing balance, step one foot firmly to the floor rather than grabbing nearby objects. Consider using a yoga mat or soft flooring surface to reduce impact if falls occur.
Build Complete Workouts Using Your Stability Ball
Learning how to use a stability ball opens doors to comprehensive fitness development that few other pieces of equipment can match. The unstable surface creates unique challenges that develop functional strength, balance, and body awareness unavailable through traditional floor exercises. From core strengthening and back health to upper and lower body development, the versatility of stability ball training makes it valuable for fitness enthusiasts at every level.
Beginner Routine: 15 Minutes for Core Strength and Balance
Start with fundamental positions and basic exercises, progressing systematically as your stability and strength develop. Master proper breathing, maintain excellent posture throughout all movements, and prioritize controlled deliberate motion over rushing through repetitions. A complete beginner routine should include seated marches (20 per leg), pelvic tilts (10 repetitions), ball crunches (12 repetitions), wall squats (12 repetitions), and seated forward folds (30-second hold).
Intermediate Program: Full-Body Integration for Functional Fitness
Integrate stability ball training into your existing fitness program as active recovery between strength sessions, as dedicated core work days, or as a complete workout when time is limited. The gentle challenges improve proprioception and joint stability that transfer to sports performance and everyday movements. With patience, consistency, and attention to proper technique, your stability ball becomes an invaluable tool for building the strong, stable, functional body that supports an active, healthy life.


