
You’ve just set up your first weight bench in your home gym, but you’re not quite sure where to begin. Learning how to use a weight bench properly transforms this seemingly simple piece of equipment into your most valuable strength training tool. Whether you’re pressing dumbbells, performing hip thrusts, or isolating specific muscle groups, the weight bench provides stable support that enables proper form and maximizes muscle engagement. This guide cuts through the confusion and shows you exactly how to use a weight bench safely and effectively for impressive results.
Before you even touch a weight, understanding that your bench does more than just provide a surface to lie on is crucial. It creates optimal spinal alignment during pressing movements, prevents injury by stabilizing your body position, and unlocks dozens of exercises impossible to perform on the floor. Most beginners waste months of training by using improper bench positioning or skipping essential safety checks. By following the specific techniques outlined here, you’ll avoid these common pitfalls and build strength efficiently from day one.
Types of Weight Benches Explained
Selecting the right bench type makes all the difference in your training effectiveness. Each design serves specific purposes and fitness goals, so choosing wisely ensures you get maximum value from your investment.
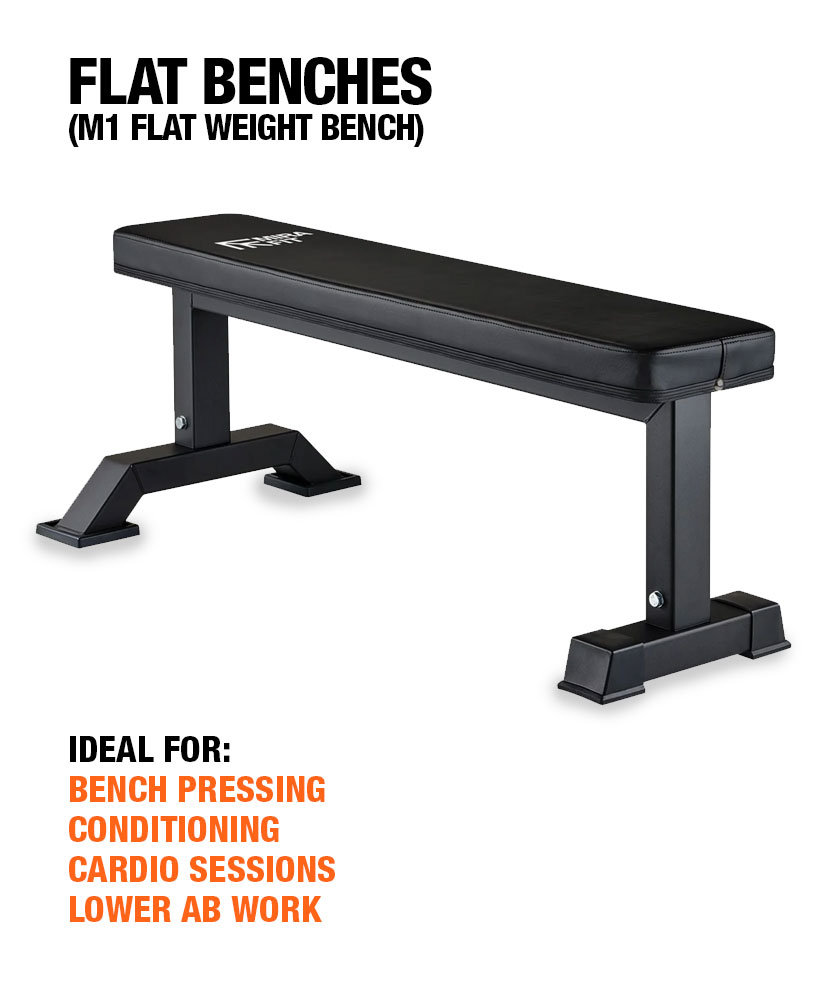
Flat Benches for Fundamental Training
Flat benches provide the most stable platform for foundational exercises like bench presses and dumbbell work. These models feature a completely horizontal surface measuring 11-17 inches wide and 48-57 inches long with no adjustment mechanisms. When purchasing a flat bench, prioritize weight capacity—premium models support 500-1,000 pounds while budget options may limit you to 300 pounds. Look for 2-4 inches of high-density foam padding covered in durable vinyl that resists sweat damage. Many include built-in rack systems that hold barbells at proper heights, eliminating the need for separate power racks.
Adjustable Benches for Versatile Training
Adjustable benches offer superior flexibility with hinged seat and backrest sections that allow positions from decline (-30 degrees) to steep incline (85 degrees). The best models feature independent seat and backrest adjustments, enabling precise positioning for exercises like incline dumbbell presses. When testing adjustment mechanisms, ensure pins engage fully with no wobble—any movement during heavy lifting creates serious safety risks. Gas-assisted mechanisms allow quick changes but require periodic maintenance, while pin-and-hole systems provide greater long-term reliability. Prioritize stability over convenience when selecting your bench.
Olympic Benches for Serious Lifters
Olympic weight benches accommodate standard 7-foot Olympic barbells and feature reinforced construction supporting 800-1,000+ pounds. These models include wider spotting platforms, heavier-duty rack systems, and often incorporate dip stations or chin-up bars. They require significant floor space (minimum 4’x8′) and weigh 100-300 pounds due to their reinforced frames. If you plan to lift heavy weights regularly, the Olympic bench’s superior stability and weight capacity make it a worthwhile investment despite the higher cost and space requirements.
Essential Safety Precautions First
Skipping safety protocols turns your weight bench from a training tool into a potential hazard. Taking just 2 minutes to establish proper safety measures prevents injuries that could derail your progress for weeks.
Environment and Equipment Checks
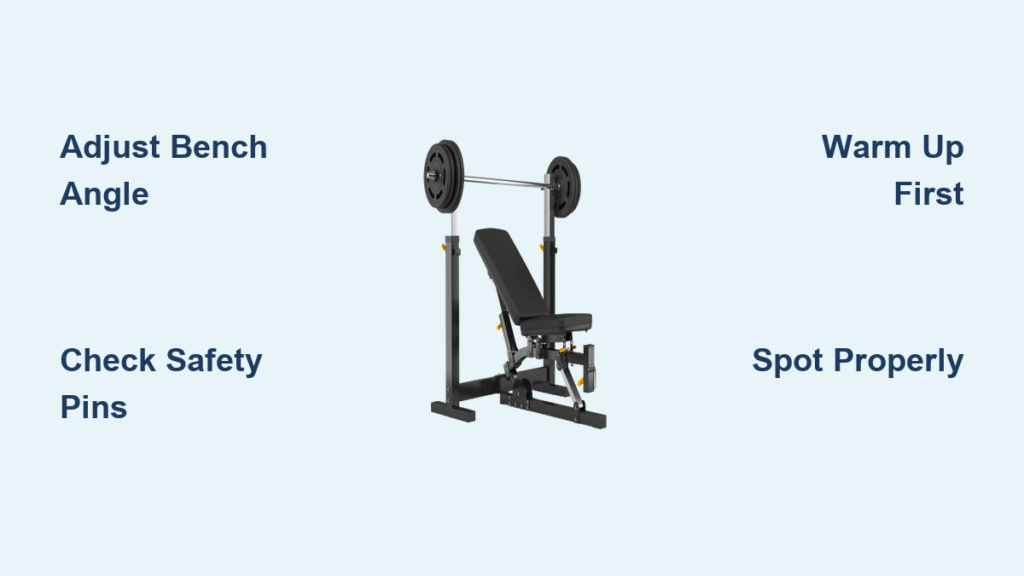
Before every workout, inspect your bench for loose bolts, damaged padding, or frame cracks. Verify all adjustment pins are fully engaged and the floor beneath is level and debris-free. Ensure at least 3-4 feet of clearance around the bench for safe movement and proper spotting. If training in a garage or basement, check ceiling height to prevent barbell collisions during pressing movements. Poor lighting significantly increases injury risk—install bright, shadow-free overhead lighting to clearly see your equipment and positioning.
Personal Safety Essentials
Always warm up with 5-10 minutes of light cardio followed by dynamic shoulder stretches before heavy bench work. Cold muscles tear more easily and joints lack proper lubrication for safe movement. Wear athletic footwear with flat, non-compressible soles—running shoes with cushioned heels create instability during pressing movements. Weightlifting shoes provide optimal stability by promoting better foot placement and leg drive. If training barefoot, ensure clean floors with adequate grip, though you’ll sacrifice the ankle support and sole rigidity shoes provide.
Spotting Protocols for Pressing Movements
Never attempt maximum-effort bench presses without a competent spotter. Establish clear communication before lifting: specify the weight, target reps, and assistance needed. Standard commands include “lift off” (spotter helps raise bar), “help” (assistance needed), and “all clear” (weight safely racked). Your spotter should stand with feet shoulder-width apart, knees slightly bent, hands ready near the bar. They should provide only minimal assistance—just enough to complete the rep or safely lower the weight. For solo training, use safety bars that catch the bar if you fail, or limit weights to manageable levels.
Master Proper Bench Press Form
The flat bench press serves as the foundation for all pressing movements on your weight bench. Perfecting this technique transfers to dozens of other exercises and prevents shoulder injuries common among beginners.
Setup and Grip Fundamentals
Lie flat with eyes under the bar, feet planted firmly shoulder-width apart, and back slightly arched with shoulders retracted into the bench. Grip the barbell slightly wider than shoulder width with wrists straight over elbows. The bar should rest on your palms with thumbs wrapped securely around it. Before unracking, ensure your spotter is ready and you’ve planned your set. Maintain consistent grip width across sessions for optimal muscle development.
Execution and Breathing Technique
Lower the bar deliberately over 2 seconds to touch lightly at nipple level, keeping elbows at 45 degrees from your torso (not flared out). Press upward in a slightly curved path, driving your chest up as the bar passes the sticking point. Breathe in deeply before lowering, hold through the descent and initial press, then exhale after passing the sticking point. Maintain core bracing throughout to protect your spine—this intra-abdominal pressure stabilizes your entire body during the lift.
Key Exercise Variations to Try
Your weight bench enables dozens of exercises beyond standard bench pressing. Incorporating these variations ensures comprehensive muscle development and prevents training plateaus.
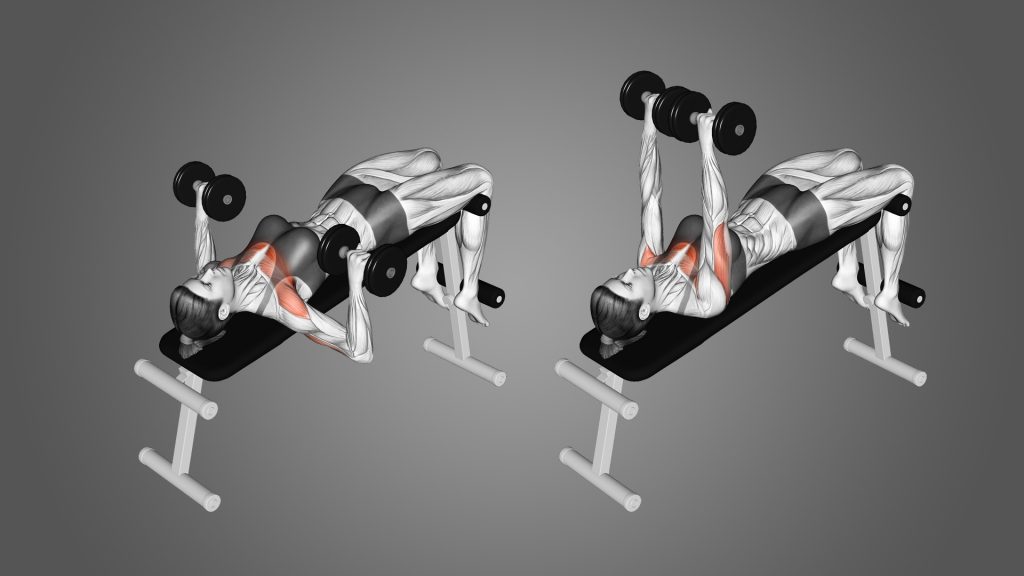
Dumbbell Press Variations
Dumbbell bench press requires greater stabilization than barbells, allowing longer range of motion and accommodating individual arm lengths. Press dumbbells upward and slightly inward until they nearly touch, then lower under control. The neutral grip version (palms facing each other) reduces shoulder stress for those with mobility limitations. Incline dumbbell press (bench at 30-45 degrees) shifts emphasis to upper chest and shoulders. Perform all variations with the same controlled tempo and full range of motion as barbell pressing.
Shoulder and Arm Isolation Exercises
The bench supports seated shoulder presses with back support, allowing heavier weights without lower back strain. Set the bench near-vertical (80-90 degrees) and press dumbbells from shoulder height to overhead. For triceps, perform skull crushers lying flat with an EZ-bar lowered to your forehead, then extended upward. Bicep curls work effectively with your chest supported on the bench’s end, reducing body momentum for cleaner isolation. These isolation movements complement your pressing work for balanced upper body development.
Adjust Your Bench Correctly

Proper positioning of your weight bench components ensures safe, effective training. Understanding how to adjust rack height and bench angle maximizes efficiency while minimizing injury risk.
Rack Height and Bar Placement
Set rack height so you can unrack the bar with slightly bent arms positioned at nipple height when extended. If too high, you must reach upward disrupting your setup; if too low, you must duck under awkwardly. Spotter platforms should allow failed reps to roll forward into catches without full spotter support. Always verify locking pins are fully engaged before loading weight—never exceed manufacturer weight limits for rack components.
Angle Selection for Different Exercises
Flat position (0 degrees) works best for standard bench press and dumbbell flyes. Low incline (15-30 degrees) subtly shifts emphasis to upper chest. Moderate incline (30-45 degrees) provides optimal upper chest development for most lifters. Steep incline (60-85 degrees) better serves shoulder pressing. Decline positions (-15 to -30 degrees) target lower chest and reduce shoulder stress for some lifters. Shorter users may need platforms to raise position; taller users might widen foot placement for stability. Always verify adjustment pins are fully engaged before loading weight.
Maintain Your Equipment Properly
Regular maintenance extends your bench’s life and ensures a safe training environment. Establish simple routines that take less than 5 minutes per session.
Routine Inspection Schedule
Check for visible damage, loose bolts, and proper adjustment function before each workout. Examine padding for tears and frame for cracks. Monthly, tighten all bolts, lubricate moving parts on adjustable benches, and assess high-stress component wear. Replace damaged components immediately—never continue using compromised equipment. Track inspection results to identify developing problems before they become safety hazards.
Cleaning and Care Procedures
Wipe down all body-contact surfaces after each workout with water and mild soap. Dry thoroughly to prevent bacterial growth. For metal components, periodic application of light machine oil prevents rust. Store in climate-controlled environments away from direct sunlight and extreme temperatures. Proper maintenance ensures your bench remains safe and functional for years of productive training.
Avoid Common Training Mistakes
Sidestep the injuries and ineffective training that plague inexperienced lifters by recognizing these frequent errors before they happen.
Form Errors That Cause Injury
Excessive elbow flaring (pointing elbows straight out) places tremendous stress on shoulder joints. Correct this by pulling elbows down and back toward hips at 45 degrees throughout movement. Bouncing the bar off your chest reduces effectiveness and risks chest injuries—always lower under control to a gentle touch. Maintain consistent tempo (2 seconds down, explosive press up) for proper technique and muscle development.
Equipment Misuse Hazards
Never stand on the bench or adjust it while seated or loaded with weights—this risks collapse and serious injury. Avoid sitting on the edge with feet dangling, creating unstable positioning. Select weights allowing perfect form for all reps with 1-2 in reserve—too heavy compromises form; too light prevents progressive overload. Proper weight selection ensures effective muscle development while minimizing injury risk.
Build an Effective Workout Program
Structure your bench training into a coherent program for systematic progress rather than random workouts.
Beginner Training Foundation
Start with 2-3 sessions weekly, allowing 48 hours recovery between sessions. Warm up with 5-10 minutes cardio and dynamic stretching, then perform 2-3 light warm-up sets before working sets. Focus on flat dumbbell press, incline dumbbell press, dumbbell rows, and bodyweight squats for 3 sets of 8-12 reps. Rest 60-90 seconds between sets, prioritizing perfect form over heavy weights. Progress by adding weight only when you complete all reps with proper technique.
Progressive Programming for Growth
Intermediate lifters should incorporate 4-5 exercises targeting chest, shoulders, and triceps for 3-4 sets of 6-12 reps. Include both compound movements (barbell bench press) and isolation work (tricep extensions). Advanced lifters benefit from periodization—cycling through volume-building, strength-testing, and deload phases over weeks. Always order exercises from most to least demanding and track progress in a training log for optimal results.
Train smart, stay safe, and watch your strength soar with these proper weight bench techniques. Consistent application of these fundamentals transforms your bench from intimidating equipment into your most valuable training ally. Start with perfect form, progress gradually, and make your weight bench the cornerstone of your strength journey.


