
Your spine silently battles gravity every minute you’re upright. For osteoporosis patients, that daily assault accelerates bone loss—until you turn the tables with strategic mechanical loading. A weighted vest transforms ordinary movement into bone-building medicine, but only when applied with surgical precision. Unlike bisphosphonates that merely slow deterioration, this wearable tool stimulates actual new bone formation through targeted skeletal stress. This guide cuts through conflicting advice to deliver a fracture-proof protocol proven in clinical studies. You’ll learn exactly how to load your skeleton safely while avoiding the spine-compressing mistakes that could trigger vertebral fractures.
Why Weighted Vests Build Bone Density When Done Right
How Mechanical Loading Triggers Bone Growth
Your skeleton operates on Wolff’s Law: bones strengthen under pressure and weaken without it. When you wear a weighted vest, osteoblast cells detect increased mechanical stress through your vertebrae and hip joints, activating new bone formation. Crucially, bone cells respond best to high-magnitude, rapid-loading forces—not slow walking. A vest adding just 5-10% of your body weight creates the precise stimulus your post-menopausal skeleton craves, especially when paired with impact moves like heel drops. Without this intensity, you’re merely carrying dead weight that won’t slow bone loss.
What Research Says About Vest Effectiveness
Snow’s landmark 2000 study revealed why most vest users fail: post-menopausal women wearing 8kg vests while jumping preserved hip density (-1.5% loss) versus controls (-6.4% loss). But the 2015 RCT exposed the fatal flaw—walking alone with a vest barely moved the needle. Vests only work when combined with high-impact resistance training that creates rapid force transmission through your skeleton. This explains why Jaasma’s 2025 meta-review found inconsistent results: vests aren’t magic bullets but precision tools requiring specific movement patterns. Your vest becomes effective only when you master the bone-loading dance between weight, speed, and impact.
Who Gains Maximum Benefit and Who Must Avoid Vests
Ideal Candidates for Vest Training
Post-menopausal women with T-scores between -1.0 and -2.5 gain the most dramatic benefits, as their bones remain responsive to mechanical loading. Adults 50+ experiencing rapid bone loss from GLP-1 agonists or bariatric surgery also see significant protection. Crucially, you must have no vertebral fracture history—recent DEXA scans showing mild-moderate osteoporosis without fractures create the perfect window for vest intervention. If you’re pre-osteoporosis and under 50, vest training helps maximize peak bone mass before age-related decline accelerates.
Absolute Danger Zones Requiring Zero Vest Use
Stop immediately if you have severe osteoporosis (T-score < -3.0) with any fragility fracture history. Recent vertebral compression fractures within six months create unstable spines that buckle under additional load. Uncontrolled hypertension, cervical stenosis causing nerve compression, or pregnancy also disqualify you—vests increase cardiac workload by 15% and alter spinal biomechanics dangerously. If you’ve had multiple thoracic fractures or unstable spinal hardware, even light vest use risks catastrophic collapse. Your physician must clear you before the first strap adjustment.
Selecting the Perfect Vest for Fragile Bones

Non-Negotiable Features Checklist
Your vest must have removable ½-1 pound plates for incremental progression—fixed-weight models sabotage safe loading. Look for 360-degree weight distribution that hugs your ribcage without front-heavy sagging that rounds your spine. Moisture-wicking neoprene prevents chafing during 20-45 minute sessions, while padded shoulders avoid nerve compression. Target 5-20 pound capacity to accommodate 2-10% body weight progression. Avoid vests with rigid panels—they concentrate pressure on fracture-prone vertebrae instead of distributing load evenly.
Top Vest Models Ranked for Osteoporosis Safety

The Hyperwear Hyper Vest Pro ($209-290) earns top marks with stretch side panels that move with your spine during squats. For petite frames, the ZFOsports Short Vest ($49-79) prevents waist riding up during heel drops. The Omorpho G-Vest+ ($289) uses micro-beads for even distribution disguised as athletic wear—critical for consistent daily use. Steer clear of ankle weights; they create dangerous joint shear forces instead of axial skeletal loading. If vests are contraindicated, consider the FDA-cleared Osteoboost vibration belt as a physician-approved alternative.
Your Step-by-Step Loading Progression Plan

Calculate Your Exact Starting Weight
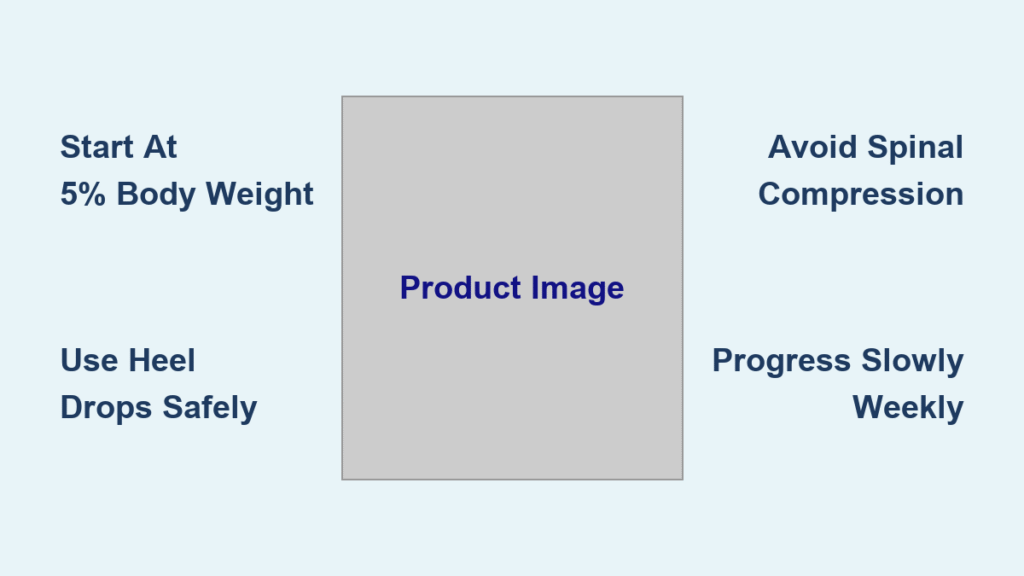
Begin at 5% of body weight for healthy adults (e.g., 7.5 lbs for 150 lbs), but drop to 2-3% if your T-score falls below -2.5. This conservative approach prevents vertebral microfractures while bones adapt. Never guess—use a food scale to verify plate weights. Your first sessions should feel challenging but not stressful; if you’re gripping furniture for balance, reduce weight immediately. This precision loading separates effective bone builders from those who trigger back pain.
Weekly Progression Without Fracture Risk
Weeks 1-2: Walk 10-15 minutes on grass at 5% body weight, 3x weekly. Weeks 3-4: Increase to 20 minutes while adding curb heel drops (3×15 reps). Weeks 5-6: Bump to 6-7% weight while introducing mini-squats with perfect hip hinge form. By weeks 9-12, reach 8-10% weight for 30-minute sessions with step-ups and resistance circuits. Critical rule: Never exceed 10% body weight without recent fracture-free DEXA confirmation. Every fourth week, cut weight by half for 3 days to let bone remodeling complete.
Bone-Building Exercises That Actually Work
Beginner Moves That Protect Your Spine
Start with 20-minute grass walks 3x weekly—softer surfaces reduce impact stress while maintaining loading. Master heel drops from 2-4 inch curbs: stand on edge, slowly lower heels, then rise onto toes (3×15 daily). Perform sit-to-stands from chairs without arm use (3×12) to build functional hip strength. These low-risk movements prime your skeleton for higher loads while minimizing vertebral shear forces that cause fractures.
Intermediate Exercises for Hip and Spine Density
Once cleared, add bodyweight squats at 5-8% vest weight: 3 sets of 10 reps focusing on chest-up hip hinge mechanics. Reverse lunges (3×8/leg) challenge single-leg stability without forward spinal flexion. Step-ups on 8-12 inch platforms (3×10/leg) build hip abductor strength critical for fall prevention. Pro tip: Light jump rope at 3-5% weight (5×30 seconds) delivers explosive loading—but stop immediately if you feel mid-back pain. Always land softly on mid-foot to avoid jarring fractures.
Safety Protocols That Prevent Vertebral Collapse
Pre-Use Screening You Must Perform
Before your first session, get physician clearance and a current DEXA scan. Test balance with 30-second single-leg stands—if you wobble, prioritize balance training for 4 weeks before loading. Check blood pressure; vests increase cardiac workload significantly. Perform the 10-second tandem walk—if you step off line, vestibular rehabilitation comes before vest use. Skipping these steps risks turning bone-building into bone-breaking.
Stop-Now Warning Signs During Use
Sharp mid-thoracic pain during heel drops means spinal compression—remove vest immediately. Numbness in legs while squatting indicates nerve root impingement. Dizziness disproportionate to effort or chest tightness requires emergency evaluation. Any pain above 2/10 that persists past 2 hours means regressing weight by 1-2 pounds. Your pain scale is your most critical safety monitor—never push through discomfort.
Long-Term Success Tracking System
Objective Progress Measurement
Schedule DEXA scans every 12 months to track actual density changes—don’t guess based on how you feel. Every 6 months, test functional gains with 30-second chair stands and 6-minute walk tests. If chair stands improve by 2+ reps but DEXA shows no change, increase impact intensity. If walk distance plateaus, add stair climbing with your vest. These metrics prevent wasted effort on ineffective protocols.
Annual Program Evolution Strategy
Cycle through six-week progressive loading blocks followed by one-week deloads where you wear 50% weight. Alternate vest days with resistance-band training to stimulate different bone sites. Every quarter, add balance challenges like walking on foam pads with light vest loading. This variation prevents adaptation plateaus while building functional resilience against falls—the ultimate goal for osteoporosis patients.
Your 7-Step Vest Implementation Checklist
- Get medical clearance: DEXA scan and physician sign-off required
- Buy the right vest: Adjustable model with 5-10% body weight capacity
- Start micro-loading: Week 1-2 at 5% weight, 15-minute grass walks 3x weekly
- Progress scientifically: Add 1% weight every 2 weeks with new movements
- Add bone-targeted moves: Heel drops → squats → step-ups as tolerated
- Monitor red flags: Pain ≤2/10, resolves within 2 hours, no next-day stiffness
- Re-test annually: DEXA scans guide long-term adjustments
Your bones respond only to the loads you consistently give them. A weighted vest transforms osteoporosis management from passive medication reliance to active skeletal empowerment—but demands respect for spinal vulnerability. Start at 5% body weight, prioritize perfect form over heavy loading, and let your next DEXA scan prove the difference between hope and measurable bone density gains. The window for building bone closes with age; your vest is the key to unlocking it safely today.


