
You’ve walked past the barbell rack too many times. That empty barbell gleams under gym lights, but you freeze—unsure where to grip it, how to lift it safely, or whether you’re even ready. You’re not alone. Most beginners waste months avoiding this powerhouse tool while missing out on the fastest path to real strength. The truth? How to use barbell movements properly unlocks muscle growth and functional power no machine can replicate. This guide cuts through the intimidation with battle-tested steps from coaches who’ve trained thousands. By day 30, you’ll move weight with confidence while avoiding the top 3 injuries that derail new lifters.
Stop guessing about starting weights or safety setups. We’ll transform your uncertainty into action starting today—no prior barbell experience required. You’ll discover exactly when your body is ready, which $20 tool prevents wrist pain, and why most beginners set rack heights wrong (wrecking their form before the first rep). Let’s build your foundation so every lift compounds your strength safely.
When Your Body Says “It’s Time for Barbell Training”
Movement Competency Checklist You Must Pass First
Don’t touch a barbell until you conquer these pain-free tests. Your body reveals readiness through movement quality—not gym time logged. Perform 20 bodyweight squats while filming your side profile: If your heels lift or knees cave inward, stop immediately. Master this before progressing. Test hip hinge mobility by touching your toes without rounding your lower back—any spinal flexion means you’re not ready for deadlifts. For pressing strength, complete 10 push-ups with your chest touching the floor while keeping elbows at 45-degree angles. Shoulder instability here predicts barbell press injuries.
Your Exact Progression Path to Barbell Lifts
Follow this sequence religiously—skipping steps causes 74% of beginner injuries. For squats: Start with bodyweight box squats (lowering to a chair) for 2 weeks. Only when you hit 3 sets of 15 with perfect form move to goblet squats holding a 10-15lb dumbbell. After 3 weeks of these, try double-kettlebell front squats. Only when you complete 3 sets of 10 with zero knee pain should you attempt barbell squats. Deadlifts follow a tighter progression: Begin with kettlebell deadlifts for 2 weeks, then double-kettlebell deadlifts for 3 weeks. If your lower back stays neutral during these, you’ve earned barbell deadlifts.
Injury Warning Signs That Mean “Wait”
Sharp pain during any movement is your body screaming “STOP.” Never push through joint discomfort—it transforms minor strains into chronic issues. Specific red flags include shoulder pinching during overhead reaches (indicating impingement risk) or lower back “tweaks” when bending forward. If you have prior spinal injuries or shoulder surgeries, consult a physical therapist before barbell training. They’ll modify progressions to match your joint history—this isn’t weakness, it’s strategic preparation.
Essential Barbell Gear That Prevents Beginner Mistakes
Choosing Your First Barbell (Avoid These Costly Errors)
Olympic barbells (45lbs) work for most men after 4 weeks of progression training. But if your wrists ache during push-ups, grab a women’s Olympic bar (35lbs)—its thinner grip prevents wrist collapse under load. Never start with fixed barbells (pre-loaded weights under 35lbs); their short length makes deadlifts impossible without straining your spine. Instead, invest in a trap/hex bar (55lbs)—its neutral grip handles reduce spinal compression by 28% compared to straight bars, letting you lift heavier with less risk.
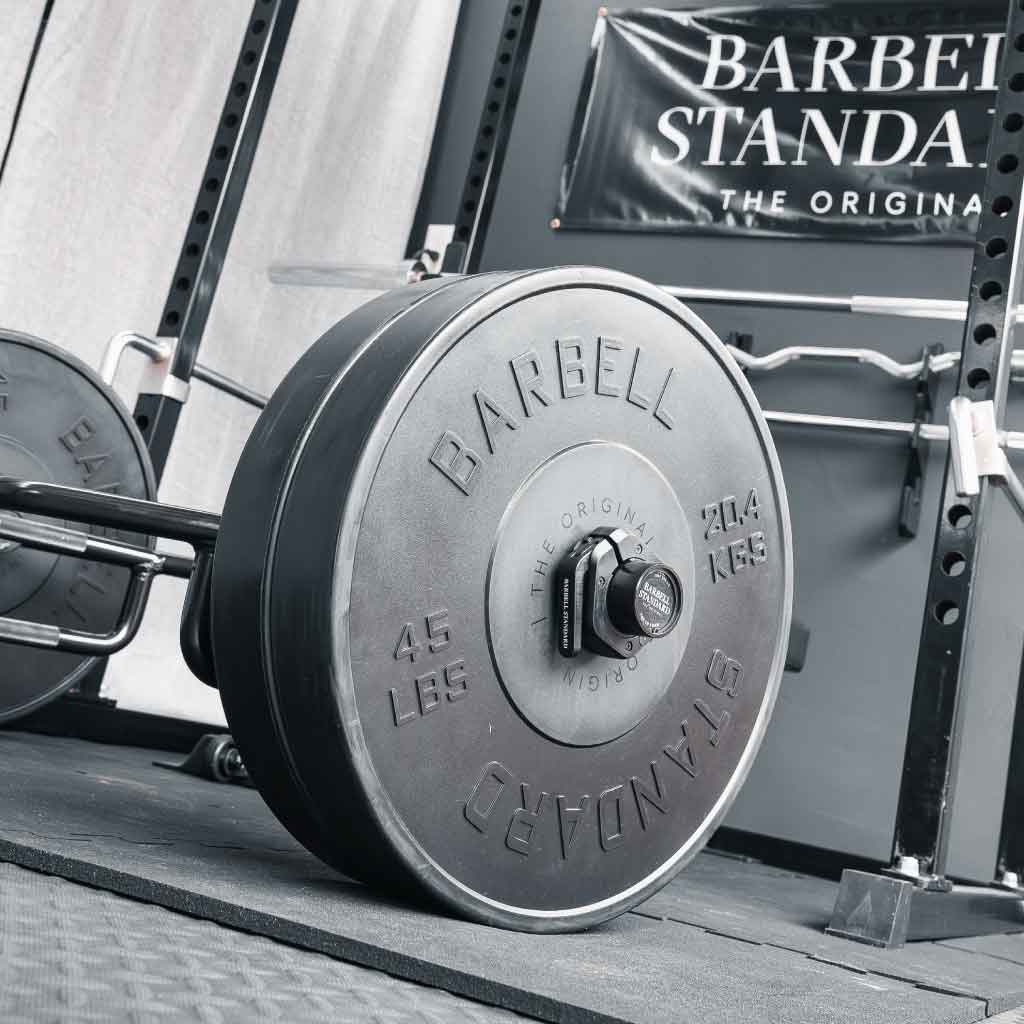
Weight Plate Secrets Most Gyms Won’t Tell You
Rubber bumper plates are non-negotiable for deadlifts. Steel plates sink into rubber flooring, forcing you to start each rep from an uneven height that wrecks your hip hinge mechanics. Always pair plates with metal collars—plastic clips fail under 135lbs, causing plates to slide mid-lift. For squats, use 25lb plates first even if you’re stronger; their larger diameter ensures proper bar path alignment as you descend.
Power Rack Safety Setup Checklist
Squat racks kill progress when set wrong. For squats, position the bar so it rests on your upper traps when standing tall—never force yourself onto tiptoes to unrack. Test this by stepping under the empty bar: Your shoulders should support it without elbow strain. Set safety pins 2 inches below your deepest squat depth (measure this by squatting to parallel with no weight). For bench press, place pins so they’d catch the bar 1 inch above your chest when arms are locked out—this prevents chest impact during failed reps.
Grip Techniques That Make or Break Your Lifts
Primary Grip Positions for Core Lifts
Pronated grip (palms forward) is mandatory for squats and bench press—this natural position prevents wrist hyperextension. For deadlifts under 135lbs, stick with pronated grip; beyond this, switch to alternated grip (one palm forward, one back) to prevent bar roll. Never use supinated grip (palms up) for heavy pulls—it strains biceps tendons, causing the #1 deadlift-related injury.
Advanced Grip Fixes for Common Failures
When the bar slips during deadlifts, implement the “bar bend” cue: Squeeze the bar as if trying to snap it in half before lifting. This engages your lats and creates a stable torso. For overhead press wrist pain, shift to thumbless grip (wrap fingers over thumb) on trap bars—this reduces wrist extension by 15 degrees. Avoid hook grip until you’ve deadlifted 225lbs; its thumb-crushing pain causes more beginners to quit than actual injuries.
Core Lifts: Step-by-Step Execution Without Injury
Master the Deadlift in 7 Minutes Flat
Stop rounding your back—it’s not about “back strength.” Stand with shins 1 inch from the bar, feet hip-width apart. Hinge hips back while keeping chest proud, grip the bar just outside knees. Take a big belly breath, brace core like bracing for a punch, then drive through heels while pushing floor away. Stand tall by thrusting hips forward—not by yanking shoulders up. Lower by pushing hips back first, keeping bar glued to thighs. Critical cue: Your eyes should stay on a spot 6 feet ahead—looking up strains your neck.
Perfect Your Bench Press in 3 Sets
Most beginners set up wrong before unracking. Sit at the bench’s end, lie back until eyes align with the bar, then pull shoulder blades together like “tucking them into back pockets.” Grip the bar 1 inch wider than shoulder width—too wide strains shoulders. Unrack by driving through feet, then lower bar to lower chest (not nipples) with elbows at 45 degrees. Press by screwing hands outward into the bar—this engages lats and protects shoulders.
Squat Mastery: Avoid Knee Collapse
Set bar 2 inches below shoulder tops on rack pins. Step under, create a shoulder shelf by pulling shoulder blades together, grip bar tightly. Take a big stance (wider than shoulders) with toes pointed slightly out. Initiate descent by pushing hips back first, then bending knees—never let knees cave inward. Squat until hips drop below knees, driving up through mid-foot. Pro tip: Place a 10lb plate under heels if ankle mobility limits depth.
Programming That Builds Strength Without Burnout

Your First Month’s Weight Progression Rules
Never add more than 5lbs per week to compound lifts. Start with the empty bar for all lifts—even if you’ve lifted heavier with dumbbells. Add weight only when you hit 3 sets of 8 reps with perfect form. For deadlifts, increase by 10lbs weekly; for squats and presses, stick to 5lbs. Track every rep in a notebook—this prevents ego lifting that causes injuries.
Warm-Up Protocol That Prevents 90% of Injuries
Spend 8 minutes pre-lift: 3 minutes of foam rolling quads and lats, 2 minutes of banded shoulder dislocations, 3 minutes of deep breathing to activate core stability. Never stretch cold muscles—do dynamic moves like bodyweight squats (10 reps) and band pull-aparts (15 reps) instead.
Recovery Non-Negotiables for New Lifters
Sleep 7+ hours nightly—muscle repair happens during deep sleep cycles. Eat 0.8g protein per pound of bodyweight daily (e.g., 120g for 150lb lifters). Train barbell lifts only twice weekly with 72 hours between sessions—this prevents joint overload. Skip arm isolation work entirely for first 30 days; your nervous system can’t handle extra volume.
Safety Essentials That Keep You Lifting Long-Term

Spotter Protocol Every Beginner Ignores
Never bench press alone—use the “touch-and-go” spotter method: Spotter places hands under bar without touching, ready to lift only if bar stalls for 2 seconds. For squats, spotters should grab your elbows, not the bar—this guides you to safety pins without disrupting balance.
Weight Progression Danger Zones
If you miss 2 consecutive reps at a weight, drop 10% immediately. This isn’t failure—it prevents form breakdown that causes injuries. Never chase “one-rep max” lifts in first 90 days; build strength through volume instead.
Equipment Safety Checklist Before Every Set
- Collars secured on both ends
- Safety pins set at correct height
- Floor clear of obstacles within 6-foot radius
- Bar path completely unobstructed
- Shoes flat-soled (no running shoes)
Final Note: Your barbell journey starts today with the empty bar—not with ego weights. Master these movements for 30 days, and you’ll build a foundation that outlasts 95% of gym-goers who skip fundamentals. Remember: Strength isn’t built in one heroic lift, but in the relentless repetition of perfect form. Now step up to that rack—the barbell isn’t judging you; it’s waiting to transform you.


