
Struggling with wobbly resistance band workouts? Learning how to use door anchor for resistance bands properly transforms any standard door into your personal gym station—no drilling, no damage, and hundreds of exercise options. This guide reveals exactly how to install your anchor securely, select the perfect position for each muscle group, and execute 15+ proven exercises with proper form while protecting your door frame. Whether you’re a beginner setting up your first home gym or an experienced trainer maximizing limited space, these techniques ensure safe, effective resistance training anywhere.
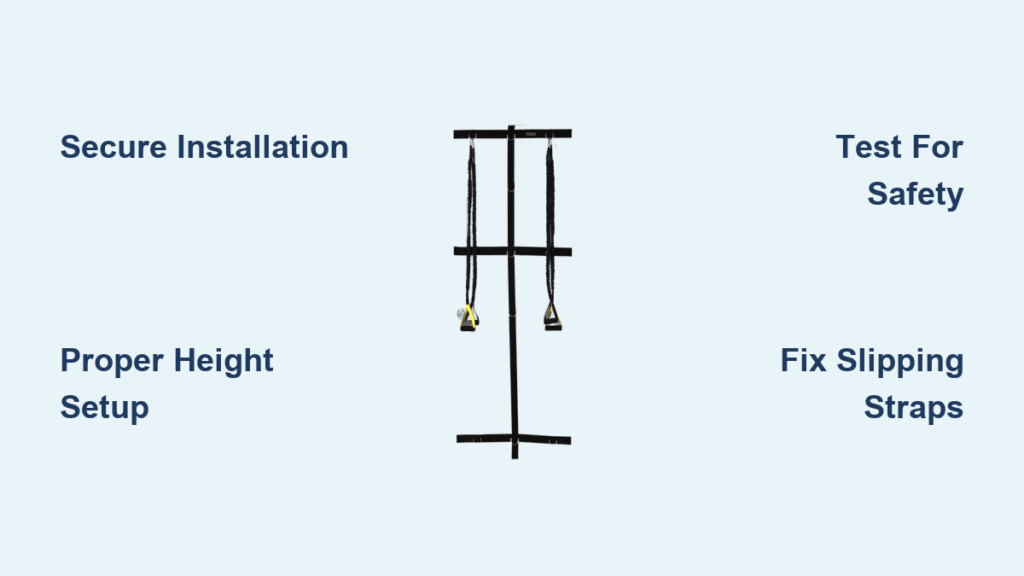
Secure Door Anchor Installation Techniques

Choosing Your Door Anchor Position
Your anchor position determines which muscles you target and how effectively you build strength. For upper body pulling exercises like rows and face pulls, position the anchor at chest height to maximize back engagement. Need better bicep activation? Lower the anchor to waist level where the resistance curve matches natural bicep movement patterns.
When setting up for pressing movements, reverse your positioning: anchor high for chest presses, mid-height for shoulder development, and low for tricep extensions. Test different heights by performing 5-10 reps of your target exercise at each position—the optimal spot creates consistent tension throughout the full range of motion without dead zones.
Installing Strap-Style Anchors Without Damage
Open your door fully and drape the strap over the top edge, ensuring the padded section contacts both the door frame top and hinge-side surface. Pull the strap downward firmly until snug—this tension creates the friction lock that prevents slippage during exercises. Most quality straps include a quick-release buckle; engage this only after verifying proper tension by tugging sharply on the attachment point.
Critical check: Close the door gently with the anchor installed. If the door doesn’t latch properly or creates gaps, reposition the strap slightly toward the hinge side where clearance is typically greater. Never force a door closed with an anchor installed—that’s the fastest way to damage both your door and equipment.
Essential Door Anchor Exercises by Muscle Group
Build a Strong Back With Anchor Rows
Door-anchored seated rows deliver superior back development without gym equipment. Sit facing the door with legs extended, loop the band handles through your feet, and pull elbows straight back while squeezing shoulder blades. Keep your spine neutral—no rounding or overextending—and stop when handles reach your lower ribs. This position maximizes lat engagement while minimizing lower back strain.
Pro tip: Add 2-3 seconds of isometric hold at peak contraction. The constant tension from resistance bands makes this brief pause incredibly effective for muscle growth. You’ll feel the difference in your next pull-up session.
Chest and Shoulder Pressing Variations
Standing cable flyes with door anchor solve the weakness in traditional resistance band chest work. Anchor at shoulder height, stand sideways to the door with one foot forward, and perform flyes with controlled tempo. The horizontal resistance vector mimics gym cable machines, creating maximum tension at peak contraction—exactly where bands normally lose effectiveness.
Troubleshooting: If you feel shoulder strain during presses, lower the anchor point by 6 inches. This adjustment reduces anterior shoulder stress while maintaining chest activation. Your shoulders will thank you during high-rep sets.
Lower Body Training You Never Knew Was Possible

Glute-Focused Band Squats
Loop your resistance band above your knees and secure the other end to a low door anchor position. Perform squats while actively pushing knees outward against band tension. This external resistance forces your glute medius to work harder, building the hip stability crucial for injury prevention and athletic performance.
Time-saving hack: Perform 5 “mini-squats” at the bottom position before standing. These partial reps at the hardest part of the movement create metabolic stress that accelerates muscle growth—no additional equipment needed.
Door Anchor-Assisted Lunges
Anchor the band at hip height behind you and step forward into a lunge position. As you lower into the lunge, the band pulls you forward, requiring extra hamstring and glute activation to control the movement. This horizontal resistance builds functional strength that transfers directly to sports performance and daily activities.
Form alert: Keep your front knee tracking over your second toe—not past your toes—to protect your knee joint. If you feel knee pressure, shorten your stance slightly while maintaining band tension.
Core Stability and Rotational Power
Anti-Rotation Press Holds
Stand perpendicular to your anchored door with the band at chest height. Extend arms straight out holding the band handle and resist the rotational pull for 20-30 seconds. This isometric hold develops the deep core stabilizers that protect your spine during lifts and athletic movements.
Progression path: Once you master 30-second holds, add small arm circles against the resistance. This dynamic movement challenges your core through multiple planes of motion, building the rotational stability essential for golf, tennis, and throwing sports.
Standing Rotational Woodchops
Anchor the band at shoulder height, stand sideways to the door, and pull the band diagonally across your body from hip to opposite shoulder. Control the return movement for 3 seconds before repeating. This exercise builds rotational power while teaching proper sequencing from hips through torso.
Common mistake: Avoid leading with your arms—initiate the movement by rotating your hips first. Your arms should merely follow the power generated from your lower body. Film yourself to verify proper mechanics.
Critical Safety Checks Before Every Workout
Door Frame Integrity Verification
Before attaching any resistance, press firmly against your door frame with both hands. Listen for creaking sounds and watch for movement—if the frame shifts even slightly, choose a different door. Solid core doors handle resistance better than hollow-core models, but any door with loose hinges or visible cracks presents unacceptable risk.
Emergency signal: If your door starts creaking during exercises, stop immediately. This indicates structural stress that could lead to sudden failure. Reduce resistance by 30% and reassess your anchor position before continuing.
Band and Anchor Security Testing
Perform the “snap test” before each workout: pull your band to 75% of working tension and release it slowly. A healthy band returns smoothly without jerking. Check attachment points by tugging laterally—your carabiner or D-ring should show zero movement against the anchor strap.
Warning: Never use bands with visible nicks, frays, or inconsistent thickness. The risk of snapping increases exponentially with damage. Keep a spare set of bands on hand so you can immediately replace compromised equipment.
Troubleshooting Common Door Anchor Problems
Fixing Slipping Anchor Straps in 60 Seconds
If your strap slips during rows, twist the strap 180 degrees before reinstalling—it creates more friction against the door frame. For persistent slippage on smooth doors, wrap the contact section with athletic tape (sticky side out) to dramatically increase grip without damaging surfaces.
Pro solution: Place a folded hand towel between the strap and door frame. This increases friction while protecting your paint and provides instant stability even on problematic doors.
Solving Band Attachment Failures
Standard carabiners often fail with looped resistance bands. Replace them with locking carabiners that feature a screw gate mechanism—these stay securely closed under dynamic tension. For bands with handles, thread the handle through the D-ring rather than clipping the carabiner to the handle loop.
Quick fix: Tie a simple overhand knot in the band loop before attaching to the carabiner. This creates a smaller, more secure connection point that won’t slip out during explosive movements.
Maximizing Training Results With Smart Programming
Progressive Overload Strategies for Band Training
Since resistance bands provide variable tension, track progress by measuring:
– Anchor height (lower = harder for pulling movements)
– Band thickness combined
– Rep quality (full range of motion vs. partial)
– Tempo control (especially eccentric phase)
Sample progression: When standard seated rows become easy, lower the anchor by 4 inches and add a 2-second pause at peak contraction. This small adjustment significantly increases difficulty without needing heavier bands.
Door Anchor Workout Template for Full-Body Development
Monday (Upper Pull Focus):
– Seated rows: 3 sets x 10-12 reps (anchor at chest height)
– Single-arm face pulls: 3 sets x 12/side (anchor at eye level)
– Bicep curls: 3 sets x 15 reps (anchor at floor level)
Wednesday (Lower Body Focus):
– Banded squats: 4 sets x 12 reps (anchor at knee height)
– Reverse lunges: 3 sets x 10/side (anchor behind you)
– Glute bridges: 3 sets x 20 reps (band above knees)
Friday (Push & Core Focus):
– Standing chest presses: 3 sets x 12 reps (anchor at shoulder height)
– Pike presses: 3 sets x max reps (anchor at floor level)
– Anti-rotation holds: 3 sets x 30 seconds/side
Final Note: Mastering how to use door anchor for resistance bands properly unlocks professional-grade training in any space. The key is consistent attention to anchor positioning, door frame safety, and progressive overload techniques. Start with basic movements to build confidence, then expand to advanced techniques as your proficiency grows. Your doorframe awaits—transform it into your most versatile training tool today.


