
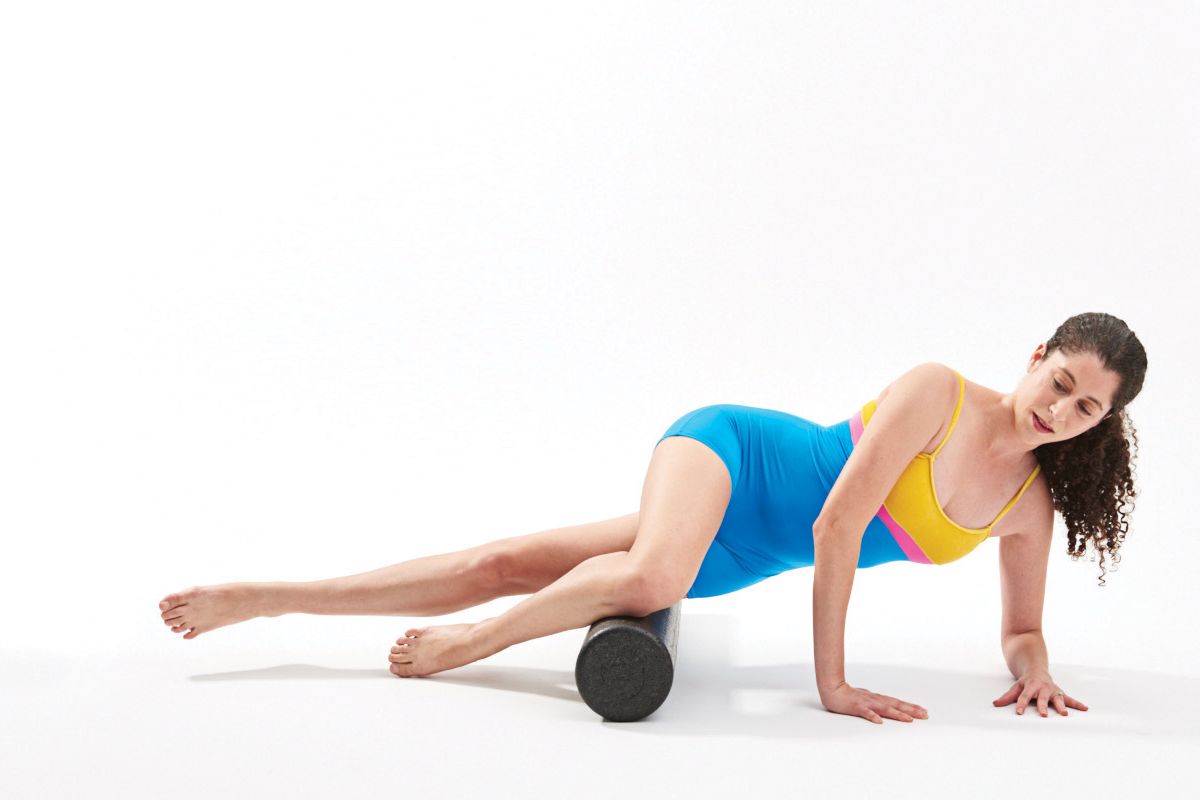
Hip pain can turn simple movements into agony—struggling to climb stairs, wincing when standing from your desk, or tossing all night in bed. Millions turn to foam rollers seeking relief, but grabbing the wrong roller or using improper technique often worsens discomfort instead of fixing it. When done correctly, foam rolling targets deep hip muscles that conventional stretching misses, breaking up tension in areas like your piriformis and tensor fasciae latae (TFL) that refer pain to the hip joint. This guide cuts through the guesswork with precise, joint-safe techniques proven to deliver real results—no vague advice or risky maneuvers. You’ll learn exactly how to position your body, control pressure, and identify which hip zones need attention based on your specific pain pattern.
Why Standard Foam Rolling Fails for Hip Pain
Most hip pain sufferers make critical errors that trigger inflammation instead of relief. Rolling directly over bony hip joints or the sciatic nerve pathway causes nerve irritation that mimics worsening injury. Generic “roll your whole leg” advice misses how hip pain stems from specific muscle imbalances—like a tight piriformis compressing the sciatic nerve or overactive TFL pulling the pelvis out of alignment. Without isolating these culprits, you waste time on ineffective rolling that ignores the root cause. Worse, excessive pressure on sensitive areas like the hip flexors can damage delicate tendons, turning minor discomfort into chronic pain requiring physical therapy.
How to Identify Your Pain Source Before Rolling
- Piriformis syndrome test: Sit with affected leg crossed over opposite knee. If deep buttock pain radiates down your leg when leaning forward, piriformis is likely involved
- TFL/IT band trigger: Pain on outer hip that flares when lying on your side or walking downstairs points to tensor fasciae latae tension
- Hip flexor red flags: Sharp groin pain when lifting knee toward chest indicates strained iliopsoas—never roll directly here
Critical Mistakes That Worsen Hip Pain
- ** ❌ Rolling over bony prominences**: Pressure on anterior superior iliac spine (ASIS) or greater trochanter causes periosteal inflammation
- ** ❌ Ignoring pain signals**: “Good pain” stops at moderate discomfort; burning or nerve-like zings mean STOP immediately
- ** ❌ Skipping warm-up**: Cold muscles resist release—always walk 5 minutes before rolling
Essential Safety Protocol for Hip Pain Relief
Foam rolling hips requires surgical precision—apply too little pressure and tension remains; too much and you inflame tissues. Start with a medium-density roller (avoid high-density for initial sessions) and never roll for more than 90 seconds per zone. Crucial: Position yourself so body weight rests on your hands and opposite foot, NOT the painful hip. This lets you instantly reduce pressure if pain spikes. Always roll toward the heart (upward for legs) to support lymphatic drainage. Stop immediately if you feel electric shocks, numbness, or pain exceeding 5/10 intensity—these indicate nerve compression requiring professional evaluation.
Must-Avoid Zones for Hip Pain Sufferers
- Directly over hip joint: The ball-and-socket joint has no muscle to roll—pressure here damages cartilage
- Groin crease: Hip flexor tendons attach here; rolling risks tendonitis
- Lower spine: Rolling near sacrum strains ligaments supporting pelvis
When to Skip Foam Rolling Entirely
- Acute pain lasting <72 hours (indicates fresh injury)
- Swelling or warmth around hip joint
- Hip pain after fall or trauma (possible fracture)
- Medical conditions: Osteoporosis, blood thinners, cancer history
Precision Foam Rolling Techniques for Specific Hip Pain
Forget “roll your whole leg.” Targeted releases on these zones deliver faster relief by addressing the actual pain generators. Perform each move slowly (3 seconds per inch) with controlled breaths—exhale as you roll over tender spots to relax muscles.
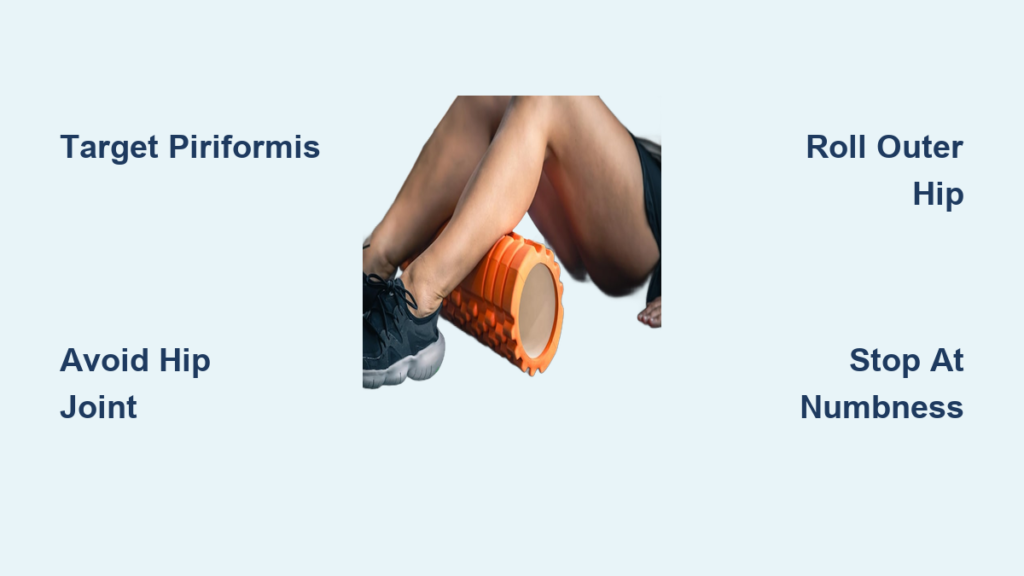
Releasing Piriformis Trigger Points (Buttock Pain Relief)
Why it works: The piriformis sits directly atop the sciatic nerve; tension here causes “sciatica” without disc involvement.
Step-by-Step:
1. Sit on foam roller with knees bent, feet flat
2. Cross affected ankle over opposite knee (figure-4 position)
3. Shift weight toward painful side, supporting upper body with hands
4. Roll 2 inches below hip bone toward tailbone—never roll on tailbone
5. Pause 20 seconds on tender spots while taking deep belly breaths
Pro Tip: Place tennis ball under glute for deeper piriformis release if foam roller feels too broad
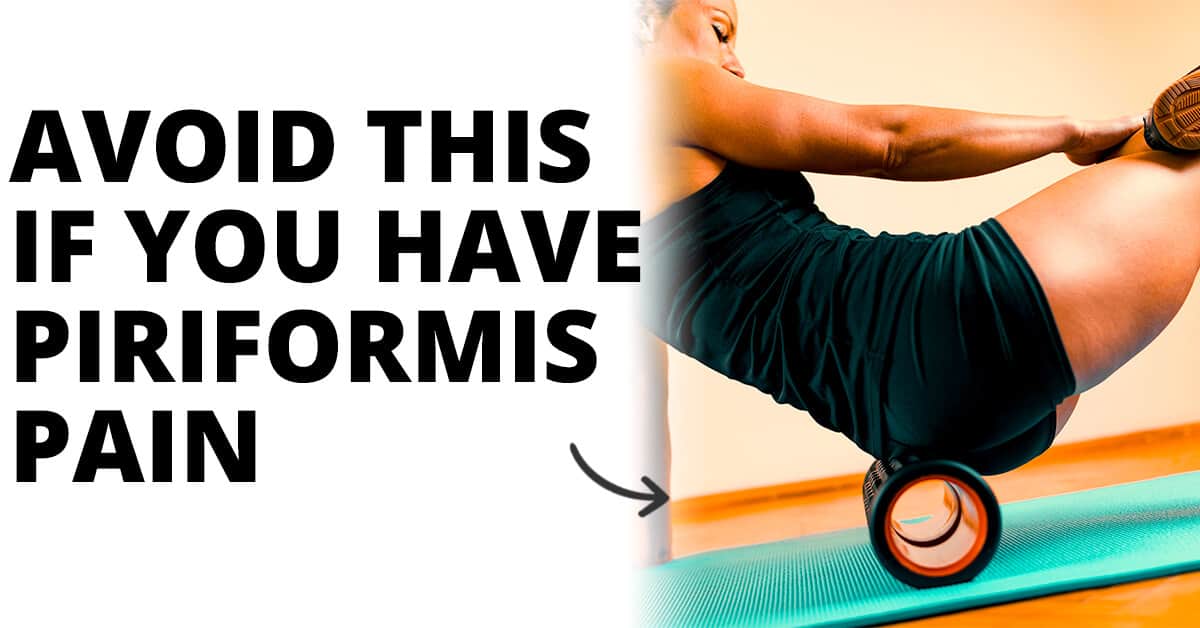
Correcting TFL/IT Band Tension (Outer Hip Pain Fix)
Why it works: Overactive TFL pulls the iliotibial band tight, grinding it over the hip’s bony prominence.
Step-by-Step:
1. Lie on side with roller under hip crease (not on hip bone)
2. Stack legs straight, bottom foot flexed for stability
3. Prop upper body on forearm—keep hips stacked vertically
4. Roll only from hip crease to mid-thigh (6-inch range)
5. For stubborn spots: Bend top knee, place foot on floor in front for added pressure
Critical Check: If you feel bone-on-roller, scoot 1 inch toward thigh—bone contact means mispositioning
Safe Hip Flexor Release (Groin Pain Solution)
Never roll directly on hip flexors—this strains tendons. Instead:
1. Lie face-down with roller under front thigh (not pelvis)
2. Prop up on forearms, engage core to prevent lower back arching
3. Gently roll quadriceps from hip crease to knee
4. Focus on inner thigh zone where rectus femoris attaches to pelvis
5. Hold tender spots while rocking knee side-to-side 1 inch
Why this works: Releases quadriceps tension that indirectly unloads hip flexors
Troubleshooting Common Foam Rolling Setbacks

“I Feel Numbness/Tingling During Rolling”
- Cause: Compressing sciatic nerve (common in piriformis rolling)
- Fix: Immediately stop, shift weight forward 2 inches away from nerve pathway
- Prevention: Roll with leg externally rotated (toes pointed out) to create nerve clearance
“Pain Gets Worse After Rolling”
- Likely error: Rolling too long (>90 seconds per zone) or excessive pressure
- Solution: Reduce duration to 45 seconds, use softer roller, add cushion (fold towel under roller)
- Recovery: Ice hip for 10 minutes post-rolling; skip next session if pain persists 24+ hours
“No Relief After 2 Weeks of Daily Rolling”
- Red flag: Hip pain may stem from joint issues (labral tear, arthritis) not muscle tension
- Action: Stop rolling and consult physical therapist for differential diagnosis
- Clue: If pain occurs during rolling but not walking, it’s likely muscular; if walking hurts more, see a specialist
Maintenance Protocol for Lasting Hip Pain Relief
Foam rolling alone won’t fix chronic hip pain—it must be part of a strategic routine. Perform targeted rolling only when pain flares, not daily. After rolling, immediately activate weak muscles with these moves to prevent recurrence:
- Clamshells: 2 sets of 15 (fires gluteus medius to stabilize pelvis)
- Dead bugs: 2 sets of 10/side (trains deep core to protect hip joint)
- Standing hip hikes: 2 sets of 12/side (retrains TFL control)
Optimal schedule: Roll problem zones 2x/week maximum, always followed by activation exercises. For maintenance, switch to weekly 5-minute rolling sessions focusing on areas that feel tight. Pair with daily 10-minute walks to improve hip blood flow—sedentary behavior is the #1 aggravator of hip pain.
When Foam Rolling Isn’t Enough: Critical Next Steps
If hip pain persists beyond 3 weeks of proper rolling plus activation exercises, seek professional evaluation. Red flags requiring immediate medical attention include:
– Pain waking you from sleep
– Inability to bear weight for >2 minutes
– Hip joint “locking” or catching
– Pain spreading to knee or lower back
Smart next moves:
– Physical therapy: Ask for a therapist specializing in running injuries or pelvic health
– Diagnostic imaging: X-ray rules out arthritis; MRI detects labral tears
– Complementary care: Dry needling for deep trigger points, gait analysis for biomechanical fixes
Final Note: Foam rolling for hip pain demands precision, not pressure. By targeting specific muscles like the piriformis and TFL while avoiding dangerous zones, you transform a frustrating tool into a pain-relief powerhouse. Remember: less rolling time with perfect form beats aggressive sessions that backfire. Stop immediately at nerve sensations, pair rolling with activation exercises, and never ignore persistent pain—your hips power everything you do. For lasting relief, combine these techniques with professional guidance to address the root cause, not just the symptoms.


