
Knee pain transforms ordinary activities into painful challenges, making simple tasks like climbing stairs or taking a walk feel like major obstacles. If you’re searching for an affordable, effective way to ease knee discomfort without medication or professional treatments, learning how to use foam roller for knee pain could be your solution. This self-treatment method targets the muscles surrounding your knee joint, releasing tension that often causes or worsens pain. With consistent practice, many people experience noticeable improvement within just a few weeks.
Foam rolling works through self-myofascial release, applying controlled pressure to tight connective tissues around your knee. When muscles like your quadriceps or hamstrings become tight from overuse, inactivity, or injury, they pull your kneecap out of alignment and create uneven pressure on joint surfaces. This mechanical imbalance leads to the pain that sends millions searching for relief. The beauty of foam rolling is its accessibility—you can do it at home with minimal equipment, putting pain management directly in your hands.
This guide delivers exactly what you need to know about using a foam roller for knee pain, from selecting the right equipment to mastering specific techniques for different knee pain locations. You’ll learn proper preparation methods, step-by-step rolling sequences, critical safety guidelines, and how to integrate foam rolling into your daily routine for lasting relief.
Why Foam Rolling Works for Knee Pain Relief
Foam rolling targets the root cause of many knee problems: tight muscles and restricted fascia surrounding the joint. When these tissues become stiff from inactivity, overuse, or injury, they alter your knee’s natural movement patterns and create painful pressure points. Understanding how this technique provides relief helps you use it more effectively.
The knee joint depends on balanced tension from multiple muscle groups working together. Your quadriceps, hamstrings, calves, and iliotibibial (IT) band all influence how your kneecap tracks during movement. When any of these become tight, they pull the patella out of its proper groove, causing friction, inflammation, and pain. Foam rolling restores balance by releasing tension in specific muscle groups without requiring expensive equipment or professional assistance.
During foam rolling, sustained pressure on tight areas triggers several beneficial physiological responses:
- Breaks up fascial adhesions that restrict movement
- Increases blood flow to deliver healing nutrients
- Stimulates sensory receptors that signal muscles to relax
- Improves tissue elasticity for better joint mobility
This combination explains why many people feel immediate improvement after just one session. For lasting results, consistency matters more than intensity—regular moderate sessions produce better long-term outcomes than occasional aggressive rolling that might irritate tissues.
Selecting the Best Foam Roller for Knee Pain

Choosing the right foam roller makes the difference between effective pain relief and frustrating, uncomfortable sessions. Not all rollers work equally well for knee pain, so understanding your options prevents wasted time and money on unsuitable equipment.
Low-density foam rollers provide the gentlest pressure, ideal if you’re new to foam rolling or experiencing acute knee pain. These softer rollers compress easily under your body weight, allowing gradual pressure application without overwhelming sensitive tissues. Start with this option if your knee pain is severe or you’ve never foam rolled before.
High-density foam rollers offer firmer support for deeper tissue penetration once you’ve built tolerance. These rollers don’t compress as easily, enabling more intense pressure on stubborn knots around your knee. While effective for chronic pain, never jump straight to high-density rollers—build up to them gradually over weeks to avoid tissue damage.
Textured foam rollers feature raised surfaces that target specific muscle fibers around your knee. The varying textures help isolate individual muscle bundles, particularly useful for addressing the IT band on the outer knee where many experience pain. The textured surface provides more precise pressure but feels more intense, so beginners should approach cautiously.
Vibrating foam rollers add mechanical vibration that enhances blood flow and helps muscles relax faster. Though more expensive, these rollers can reduce your session time while achieving similar results. If budget allows and you want maximum efficiency, consider this option after mastering basic foam rolling techniques.
Massage balls make essential complements to foam rollers for knee pain. These small tools target precise areas a foam roller can’t reach, like the space just below your kneecap or specific trigger points along your shin. Many people find combining a foam roller for large muscle groups with massage balls for precision work delivers the best knee pain relief.
Essential Pre-Rolling Preparation Steps
Skipping proper preparation reduces foam rolling effectiveness and increases injury risk. Taking five minutes to prepare creates optimal conditions for tissue release and prevents unnecessary discomfort during your session.
Begin with light cardiovascular activity for 5-10 minutes to warm up your muscles. Marching in place, gentle cycling, or body-weight squats all work well. This warm-up raises your body temperature, increases blood flow to target muscles, and triggers production of synovial fluid that lubricates your knee joint. Cold, stiff muscles don’t release as effectively as warm, pliable ones, so this step significantly impacts your results.
Wear appropriate clothing that allows access to your thighs and calves without restriction. Athletic shorts or loose pants work best—avoid thick fabrics that interfere with pressure transmission from the roller to your tissues. Make sure your clothing won’t bunch up during rolling, which could create uneven pressure points.
Set up your foam rolling space with these considerations:
- Place a yoga mat on hard floors for cushioning
- Ensure enough floor space for full movement
- Maintain comfortable room temperature (not too cold)
- Keep water nearby for hydration between rolling segments
Perform a quick self-assessment before starting. Note your current pain level, location, and intensity. Identify any visible swelling or redness that might indicate an acute injury requiring medical attention rather than foam rolling. This assessment helps you focus your session on the areas needing most attention and prevents rolling when it’s unsafe.
Quadriceps Rolling Technique for Knee Pain Relief
Tight quadriceps frequently cause anterior knee pain by pulling your kneecap out of alignment. Mastering this fundamental technique addresses one of the most common contributors to knee discomfort.
Position the foam roller horizontally on the floor and lie face down with the roller just above your knees. Support your upper body on your forearms with your core engaged. Begin rolling slowly from just above your knees toward your groin and back again. Cover the entire quadriceps muscle group while maintaining steady breathing.
When you encounter a tight spot, pause and hold pressure for 30-90 seconds rather than continuing to roll. Breathe deeply and consciously relax the muscle under the roller—tensing against the pressure reduces effectiveness. For increased intensity, cross one leg over the other to add body weight to the working leg.
Focus special attention on the vastus medialis obliquus (VMO)—the teardrop-shaped muscle on your inner thigh near the knee. Angle your body slightly toward the working side and concentrate rolling on this inner portion. This often-neglected area plays a crucial role in proper kneecap tracking and frequently contributes to knee pain when tight.
Complete 2-3 passes through the full range before switching legs. If you experience sharp pain rather than dull discomfort, reduce pressure immediately. Never roll directly over your kneecap—always position the roller on muscle tissue surrounding the joint.
IT Band Release for Lateral Knee Pain
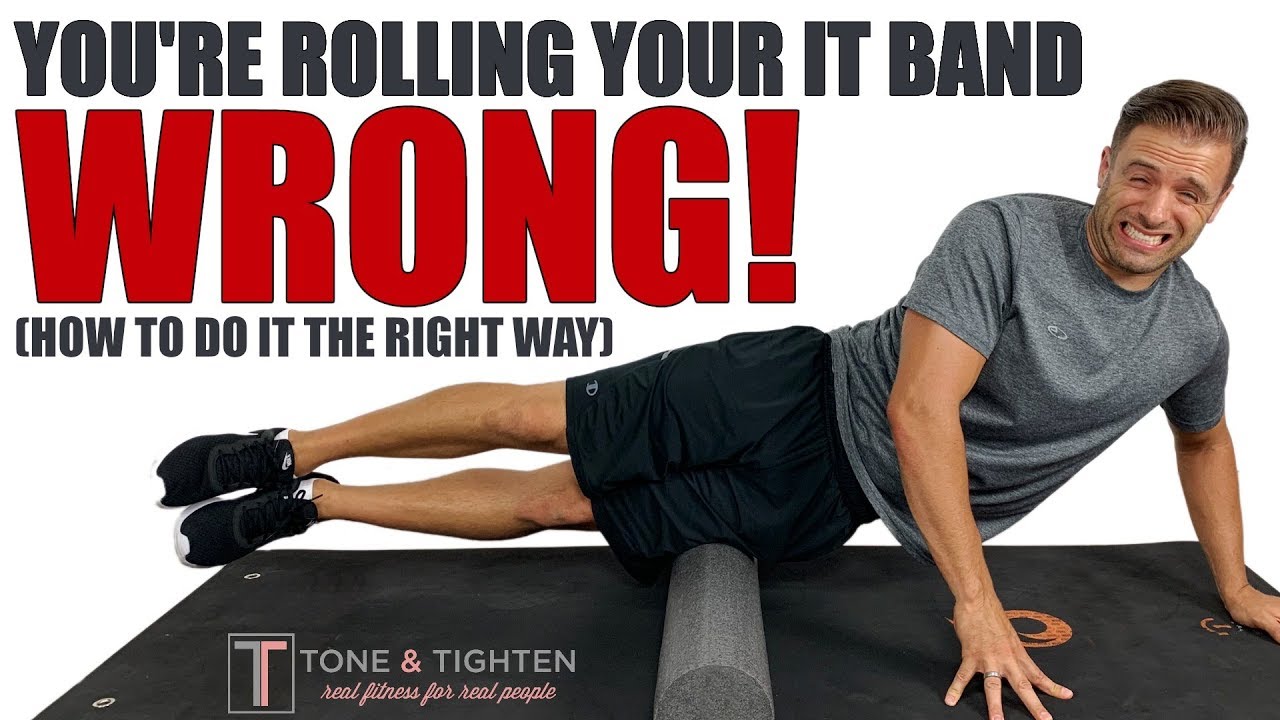
The iliotibial (IT) band commonly causes outer knee pain, especially in runners and cyclists. Proper technique here addresses one of the most frequent sources of knee discomfort.
Lie on your side with the foam roller positioned along your outer thigh, starting below your hip bone. Support your upper body on your bottom forearm with your top leg stacked over the bottom leg. Roll slowly from your hip toward your knee and back, pausing on tender spots.
The IT band feels different to roll than muscle tissue—it’s denser connective tissue, so pressure feels more intense. Manage discomfort at a 5-7 level on a 1-10 pain scale; sharp, stabbing pain means you’re applying too much pressure. If direct IT band rolling consistently increases pain, focus instead on the tensor fasciae latae muscle at your hip and biceps femoris at your knee.
Complete 2-3 passes before switching legs. Consistency matters more than intensity—regular moderate rolling gradually improves tissue pliability better than occasional aggressive sessions that might irritate the band.
Hamstring and Calf Techniques for Posterior Knee Support
Tight hamstrings and calves contribute significantly to posterior knee pain and overall knee instability. Addressing these areas completes your comprehensive knee pain relief routine.
For hamstrings, sit with the roller under your thighs and support your weight on your hands. Roll from your glutes to just above your knees, varying leg rotation to access all hamstring heads. When you find tight spots, pause and hold pressure while keeping your knee straight but not locked. Pay extra attention to the hamstring tendons near your knee if you experience posterior discomfort.
For calves, position the roller under your lower legs just above your Achilles tendon. Cross one leg over the other for increased pressure and roll from your ankle toward the back of your knee. To target the deeper soleus muscle, bend your knees slightly during rolling. Complete 2 passes before switching legs.
These techniques address often-overlooked contributors to knee pain. Tight calves alter ankle mechanics, which indirectly stresses your knee joint with every step you take.
Safety Guidelines: When NOT to Foam Roll Your Knees
While foam rolling helps most knee pain cases, certain situations require modification or complete avoidance. Recognizing these prevents injury and ensures your efforts produce positive results.
Avoid foam rolling during the first 48-72 hours after an acute knee injury when inflammation is highest. During this initial phase, follow the RICE protocol (Rest, Ice, Compression, Elevation) instead. Once swelling subsides, gentle rolling of surrounding tissues can begin while avoiding direct pressure on injured structures.
Certain conditions require medical clearance before foam rolling:
- Severe osteoporosis (fracture risk)
- Deep vein thrombosis
- Open wounds or skin infections near the knee
- Severe peripheral neuropathy
Stop immediately and consult a healthcare provider if you experience:
- Sharp, stabbing pain (not dull discomfort)
- Numbness or tingling in your leg
- Increasing swelling after rolling
- Pain that radiates down your leg
Apply pressure at a 5-7 discomfort level on a 1-10 scale where 10 is unbearable. Your breathing should remain steady—gasping or holding your breath indicates excessive pressure. Never roll directly over bones, joints, or your kneecap itself.
Creating Your Daily Knee Pain Relief Routine
Consistency transforms foam rolling from temporary relief to lasting solution. This simple daily routine delivers maximum benefits without requiring significant time commitment.
Begin with 5 minutes of light activity to warm up your muscles. Then follow this sequence:
- Quadriceps: 2-3 minutes per leg
- IT band: 2 minutes per leg
- Hamstrings: 2-3 minutes per leg
- Calves: 2 minutes per leg
- Patellar area with massage ball: 2 minutes
Perform this routine once daily for maintenance or twice daily when actively addressing knee pain. Morning sessions prepare your tissues for the day’s activities, while evening sessions help release accumulated tension.
Combine foam rolling with other evidence-based approaches:
- Strength training for quadriceps and hamstrings
- Gentle stretching after rolling sessions
- Proper footwear for daily activities
- Anti-inflammatory nutrition (omega-3s, turmeric)
Progress gradually—start with low-density rollers and light pressure, increasing intensity over weeks as your tissues adapt. More isn’t always better; consistent moderate sessions produce better long-term results than occasional aggressive rolling.
Long-Term Knee Health Maintenance Strategies
Sustaining the benefits of foam rolling requires ongoing attention to tissue quality beyond immediate pain relief. These maintenance practices prevent recurrence and support lifelong knee health.
Continue regular foam rolling even when pain subsides to maintain tissue quality. A brief 5-10 minute daily session prevents new restrictions from developing—think of it as preventive maintenance for your knees. Modify activities that repeatedly stress your knee rather than avoiding them entirely; proper preparation and adequate recovery time allow continued enjoyment of favorite activities.
Maintain strength in your quadriceps, hamstrings, and hip muscles—the primary stabilizers of your knee joint. These muscles protect your knee with every step you take, making their strength crucial for long-term joint health. Manage your weight to reduce mechanical load on your knee, as even modest weight loss significantly decreases knee stress.
Schedule periodic check-ins with a physical therapist to identify developing problems before they become symptomatic. Combine foam rolling with adequate sleep, stress management, and anti-inflammatory nutrition for comprehensive joint health support. By committing to these practices, you’ll enjoy lasting relief from knee pain and continued mobility for years to come.


