
If you’ve ever struggled with traditional loop resistance bands digging into your palms during intense workouts, HPYGN Resistance Bands offer a game-changing solution. These innovative bands with integrated handles deliver gym-quality strength training in a compact package that fits in your suitcase or desk drawer. Unlike standard loop bands that limit your exercise options and cause discomfort during extended sessions, the HPYGN design with comfortable handles transforms how you approach resistance training anywhere you go. This guide shows you exactly how to use HPYGN resistance bands to build real strength while avoiding common mistakes that undermine your results.
Why HPYGN Handle Design Changes Your Workout
The integrated handle system completely redefines your resistance training experience compared to traditional loop bands. When you grip these handles during exercises, you eliminate the painful hand fatigue and skin irritation that often forces you to cut workouts short with standard bands. This ergonomic advantage means you can maintain proper form through your entire set without distraction, directly translating to better muscle activation and growth.
Fitness enthusiasts and trainers like Chuke specifically recommend HPYGN Resistance Bands because the handle design dramatically expands your exercise possibilities. You can perform chest presses, rows, and overhead movements with stability that loop bands simply can’t provide. The secure grip mimics the feel of cable machines at commercial gyms, making your home workouts more effective and your transition between gym and home training seamless.
Portability remains one of the biggest advantages when learning how to use HPYGN resistance bands properly. Their space-saving design solves the most common barrier to consistent training—lack of equipment access. Whether you’re traveling for business, working from home, or simply short on space, these bands deliver a complete strength solution that travels with you. No more skipping workouts when you can’t reach a gym; your fitness routine stays consistent wherever life takes you.
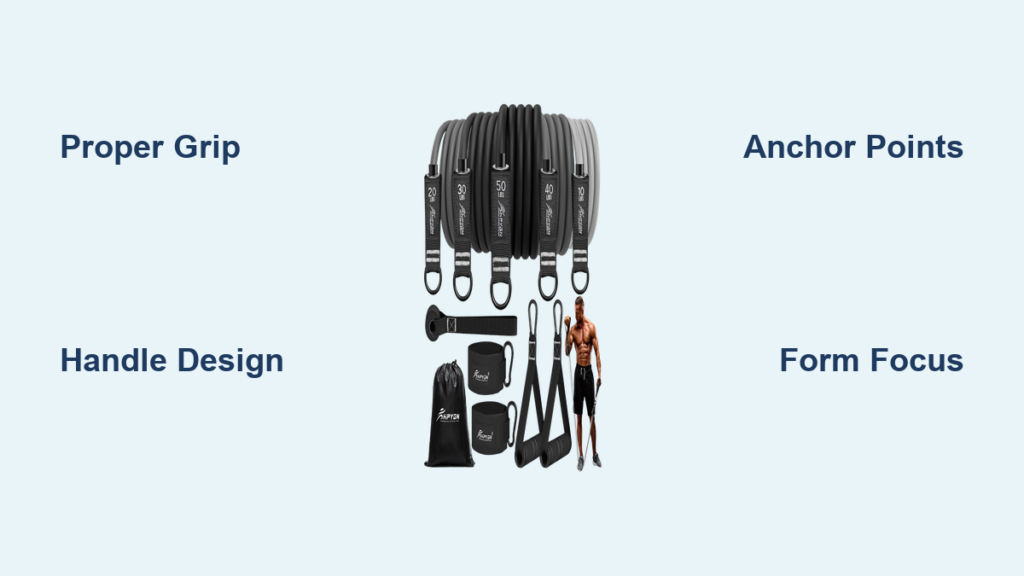
Essential Grip and Form Fundamentals
Mastering how to use HPYGN resistance bands starts with proper grip technique that maximizes effectiveness while minimizing strain. Wrap your fingers completely around each handle, maintaining a firm but relaxed grip that prevents premature forearm fatigue. Remember that tension should come from the band’s resistance, not from white-knuckle gripping that steals energy from your target muscles.
Maintain a neutral wrist position throughout all exercises to protect your joints and maximize force transfer. When your wrists bend during pressing or pulling movements, you waste energy and risk injury. Think of your hands as simple connection points between your body and the band—let the handles rest comfortably in your grip while your larger muscle groups do the actual work.
Your body positioning relative to the anchor point determines the resistance curve you experience. Stepping farther from the anchor increases tension throughout the movement, while standing closer reduces it. This adjustability lets you precisely match the resistance to your current strength level. Beginners should start with shorter stances and gradually increase distance as strength improves, using the visual feedback of band stretch to maintain consistent tension.
Master Fundamental Movement Patterns

Before exploring advanced techniques for how to use HPYGN resistance bands, build proficiency in the five fundamental movement patterns: pressing, pulling, squatting, hinging, and carrying. Each pattern recruits multiple muscle groups and forms the foundation of functional strength that translates directly to real-world activities.
For pressing movements like chest presses, anchor the band behind you at chest height, grasp both handles, and extend your arms forward against resistance. Focus on controlling the return phase slowly rather than letting the band snap you back—this eccentric portion builds significant strength. For overhead pressing, stand on the band with feet shoulder-width apart and press upward until arms reach full extension.
Pulling exercises develop your back and rear shoulder muscles critical for posture and everyday lifting. Anchor the band at chest height in front of you, grasp the handles, and draw your elbows backward while squeezing your shoulder blades together. The handle design allows you to maintain a natural hand position that feels similar to dumbbell rows while providing consistent resistance throughout the movement.
Squat patterns with resistance bands add dynamic loading to one of the most fundamental human movements. Stand on the band with feet shoulder-width apart, hold both handles at shoulder height, and perform squats by pushing your hips back and bending your knees. The band provides increasing resistance as you rise, challenging your leg muscles throughout the entire range of motion.
Target Upper Body Muscle Groups Effectively

Building a balanced upper body requires addressing all major muscle groups with exercises that create sufficient tension for development. The handle design of HPYGN Resistance Bands enables precise targeting through stable anchor points and controlled movement paths.
Chest development benefits from multiple angle variations that hit different portions of the pectoral muscle. Perform chest presses with the band anchored behind you to emphasize the lower chest fibers. Move to a higher anchor point to target the upper chest. Include fly movements by spreading your arms wide while maintaining a slight elbow bend, squeezing your chest to bring the handles together.
Back training through rows builds the thickness that creates a balanced physique. Single-arm rows allow you to focus intensely on one side at a time, addressing strength imbalances. Anchor the band low, step away to create tension, and pull one handle toward your hip while keeping your elbow close to your body. The handle grip enables a natural pulling motion throughout the full range.
Shoulder development through raises creates balanced deltoid development. Stand on the band for lateral raises, keeping your arms slightly bent and raising them to shoulder height. Front raises target the front shoulders by raising the handles directly in front of you. Rear deltoid work requires anchoring the band at chest height and pulling your arms backward.
Build Lower Body Strength and Power
Your lower body contains the largest muscle groups, and training them effectively produces significant metabolic benefits. Resistance bands provide excellent lower body training when you understand proper anchoring techniques.
Glute bridges specifically target your posterior chain, developing strength that improves performance and reduces injury risk. Lie on your back with the band positioned across your hips, and perform hip extension movements against resistance. The handles allow you to hold the band in place while focusing entirely on your glute contraction.
Lunges train each leg independently, addressing imbalances while building functional strength. Place one foot on the band and hold the handles, then perform lunges by stepping forward and lowering your back knee. This single-leg loading reveals weaknesses that bilateral training masks.
Calf development through standing raises completes your lower body training. Stand on the band with both feet, hold the handles, and raise your heels off the ground, squeezing your calf muscles at the top before lowering with control. The constant tension challenges your calves throughout the entire range.
Maximize Your Portable Workout Space
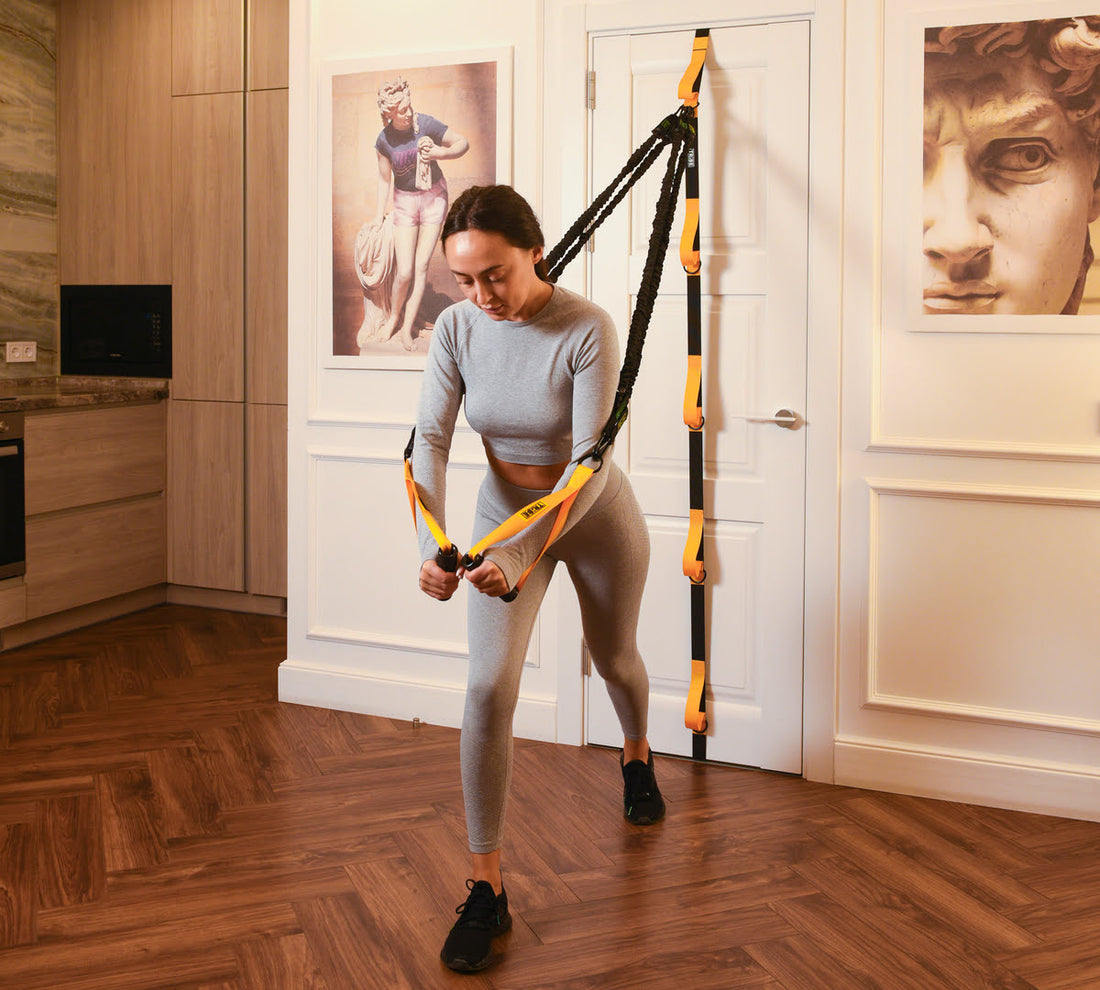
The compact nature of HPYGN Resistance Bands means you can train effectively in spaces where traditional equipment wouldn’t fit. Understanding anchor point creation unlocks your ability to train anywhere.
Door anchor techniques create stable points in any room with a door. Simply close the band in the door and shut it securely—this creates a fixed point for countless exercises. Position the band at different heights by sliding it higher or lower to change resistance angles.
Tree and pole anchoring extends your outdoor training options. Wrap the band around a sturdy tree trunk or parking meter, grasp the handles, and perform exercises with the natural anchor point. Always test the anchor’s stability before loading the band fully.
Furniture anchoring provides additional indoor options. Heavy furniture, shower rods, and sturdy fixtures can serve as anchor points when used appropriately. Ensure your anchor point won’t move under resistance load—when in doubt, start with lighter tension.
Maintain and Care for Your Bands
Proper care extends the lifespan of your HPYGN Resistance Bands and ensures consistent performance. Store your bands in a cool, dry location away from direct sunlight, as UV exposure accelerates material degradation.
Inspect your bands before each use for signs of damage like small cracks or fraying near connection points. If you notice any damage, replace the band immediately—using compromised equipment creates injury risk.
Avoid extreme temperature exposure that can weaken the material. Never leave bands in hot cars or expose them to freezing temperatures for extended periods. Allow bands to return to room temperature before storing them long-term.
Mastering how to use HPYGN resistance bands properly transforms your strength training by combining portability with gym-quality results. The handle design solves the comfort and versatility limitations of traditional loop bands while maintaining the space-saving benefits that make resistance training accessible anywhere. By focusing on proper grip techniques, fundamental movement patterns, and strategic anchor point creation, you’ll maximize your results with this versatile equipment. Remember that consistent training with progressive resistance—not equipment complexity—drives real strength development. Keep your bands properly maintained, gradually increase your challenge level, and you’ll build impressive strength regardless of your location or available space.


