
That intimidating rower in your gym isn’t just collecting dust—it’s your ticket to a full-body powerhouse workout when used correctly. Mastering how to use Life Fitness rowing machine transforms it from a mystery into your most efficient calorie-torching, muscle-building ally. Whether you’re a first-timer or refining your technique, skipping proper setup and stroke mechanics wastes energy and risks injury. This guide cuts through the guesswork with actionable steps to optimize every stroke, from perfecting your posture to programming killer workouts that deliver real results.
Master the Four-Phase Rowing Stroke
Drive Through Your Legs First
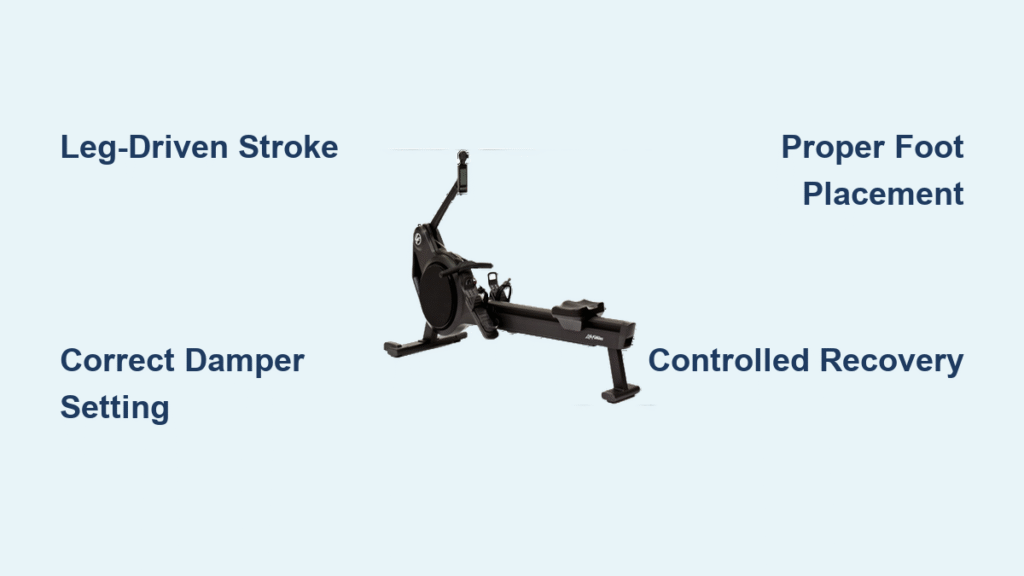
Your quads and glutes should ignite the movement—not your arms. Start at the catch position: shins vertical, arms fully extended, torso leaning slightly forward with a neutral spine. Explosively push through your heels while keeping arms straight and torso stable. This leg-driven phase generates 60% of your power, so resist yanking the handle prematurely. Key visual cue: Watch your seat glide smoothly backward as your legs straighten. If your arms bend early, you’ll strain your back and lose momentum.
Complete the Full Stroke Sequence
Only after your legs are 90% extended should you hinge your torso back 10–15 degrees. Then—and only then—pull the handle straight to your lower ribs, elbows squeezing past your body. At the finish, your legs are locked out, core braced, and shoulders relaxed. Pro tip: Place a hand on your lower back during practice—your spine should stay flat, not arched. This sequence prevents the “arm-only” mistake that turns rowing into a shoulder workout.
Reset with Control
Recovery isn’t rest—it’s preparation for your next powerful stroke. Reverse the sequence: extend arms first, hinge torso forward from the hips (not the waist!), then bend knees to slide forward. Move deliberately; rushing recovery disrupts rhythm. Critical mistake to avoid: Collapsing your chest or rounding your back as you return to the catch. Keep your core tight like you’re bracing for a punch.
Set Damper & Footplate Correctly

Choose Your Damper Setting Wisely
That numbered lever (1–10) controls airflow to the flywheel—not resistance. New users often max it out, thinking it increases difficulty. For technique drills and endurance, use 3–5. Strength-focused sessions? Bump to 6–8. But remember: intensity comes from your effort, not the damper. Test it now: Row 20 strokes at damper 3, then 20 at damper 8 with identical power—you’ll see higher watts at the lower setting because you move faster.
Adjust Foot Strap Position
Your feet must stay planted for power transfer. Position the strap across the ball of your foot (widest part, just below toes). Heels should lift only slightly at the catch—not fully off the plate. If your shins can’t go vertical when compressed, raise the footplate height. Warning: Loose straps cause heel lift, wasting leg drive and risking ankle strain. Tighten until secure but not constricting.
Check Your Form Every Session

Spot Common Posture Mistakes
Rounded shoulders or an arched lower back? That’s your cue to stop immediately. Film yourself or use a mirror to check: Your spine must stay neutral from catch to finish. Quick fix: Imagine holding a tennis ball between your shoulder blades—keep it there throughout the stroke. If your lower back aches, reduce damper settings and focus on leg-driven power before adding intensity.
Track Your Handle Path
The handle should move in a dead-straight horizontal line toward your ribs—not upward toward your chin or downward toward your lap. Crooked paths waste energy and strain shoulders. Visual trick: Place a piece of tape on the rail at handle height. Keep the handle aligned with it during recovery and drive.
Start with Beginner Workouts
Learn with 30-Second Intervals
Ditch the “just row for 20 minutes” approach. Instead, do 30 seconds of powerful strokes (focus on leg drive and full extension) followed by 30 seconds of ultra-slow recovery strokes. Repeat 5x. Why this works: The rest intervals let you reset form without fatigue compromising technique. This 5-minute drill builds muscle memory faster than 30 minutes of sloppy rowing.
Build Endurance Base
Once form clicks, progress to 10 rounds of 1 minute at 24–26 strokes per minute (spm), followed by 1 minute of light paddling. Keep splits consistent—don’t sprint the first minute only to gas out later. Time estimate: This 20-minute session builds aerobic capacity while reinforcing rhythm. Stop if your stroke rate jumps above 28 spm; quality beats speed here.
Progress to Advanced Training
Power Sprint Sessions
Ready to ignite your metabolism? Try 15 rounds of 20 seconds max-effort (pulling 20–30% harder than your 2,000m pace) followed by 100 seconds of easy recovery. Crucial: Use a wattage target—not perceived effort—to gauge “max.” If your baseline 2,000m pace is 250 watts, aim for 300+ watts during sprints. These 30-minute sessions torch fat and boost anaerobic power.
Steady-State Endurance
For true stamina gains, row 5,000m at a consistent pace. Keep stroke rate at 22–24 spm and splits within 3 seconds of each other. Pro strategy: Break the distance into 500m chunks, checking splits after each. If you slow down after 2,000m, you started too fast. This 25-minute session improves cardiovascular efficiency better than interval training alone.
Monitor Your Performance Data
Track Key Metrics
Ignore the flashy “calories burned” number. Focus on these four:
– Split time: Your 500m pace (lower = faster)
– Watts: Real-time power output
– Stroke rate (spm): Balance with power—higher isn’t better
– Heart rate: Confirm you’re in target zones
Featured snippet tip: A 10% watt increase at the same split time = true progress. Track weekly!
Set Progressive Goals
Establish baselines: Row 500m, 2,000m, and 5,000m at your best sustainable pace. Once you nail form for the full distance, improve by 5–10% every two weeks. Example: If your 2,000m split is 2:15/500m, aim for 2:12 within 14 days. Avoid burnout: Only increase one variable at a time—distance, intensity, or frequency.
Maintain Your Rower & Stay Safe
Daily Machine Checks
Before rowing, spend 30 seconds ensuring:
– Rail is clean and smooth (wipe with dry cloth)
– Handle cord shows no fraying
– Foot straps lock securely
Consequence of skipping: A gritty rail causes jerky motion, disrupting stroke rhythm and straining knees.
Post-Workout Care
After your last stroke:
1. Set damper to 3–4 (reduces tension on the bungee system)
2. Wipe sweat from handle and rail
3. Store handle in cradle—not stretched out
Why it matters: Leaving the damper at 10 shortens flywheel belt life by 40%.
Prevent Common Injuries
Rowing injuries almost always stem from poor form, not the machine. Stop immediately if you feel:
– Lower back strain (sign of rounded spine)
– Shoulder pinch (indicating crooked handle path)
Critical rule: Return to technique drills for 3 sessions before resuming intensity. Pair workouts with core-strengthening moves like planks to stabilize your spine.
Mastering how to use Life Fitness rowing machine turns it into your most versatile fitness tool—no gym hopping required. Start with perfect stroke sequencing, dial in your damper for the workout goal, and chase progress through data, not guesswork. Remember: A 20-minute session with textbook form trumps an hour of rushed, sloppy rowing. Your first step? Grab that handle today and feel the difference when your legs—not arms—power every stroke. Ready to own the water? Your rower’s waiting.


