
You’re in downward dog, hands firmly planted, but your heels won’t touch the mat. Or perhaps you’re attempting a seated forward fold, fingers straining to reach your toes while your hamstrings scream in protest. This common frustration stops many yogis from fully experiencing poses that could transform their practice. The Manduka yoga mat strap solves this exact problem by extending your reach without compromising form or risking injury. Whether you’re a beginner struggling with basic poses or an experienced practitioner working toward advanced asanas, properly using your Manduka strap unlocks deeper stretches and better alignment.
This essential yoga accessory isn’t just for beginners—it’s a tool that benefits practitioners at every level. By bridging the gap between where your body is and where your pose requires it to be, the Manduka strap allows you to experience proper alignment while gradually building flexibility. In this guide, you’ll discover precisely how to use your Manduka yoga mat strap to deepen stretches safely, maintain perfect form in challenging poses, and track measurable progress in your flexibility journey. Get ready to transform ordinary stretches into powerful alignment tools that deliver real results.
Fix Your Forward Fold with Proper Strap Technique
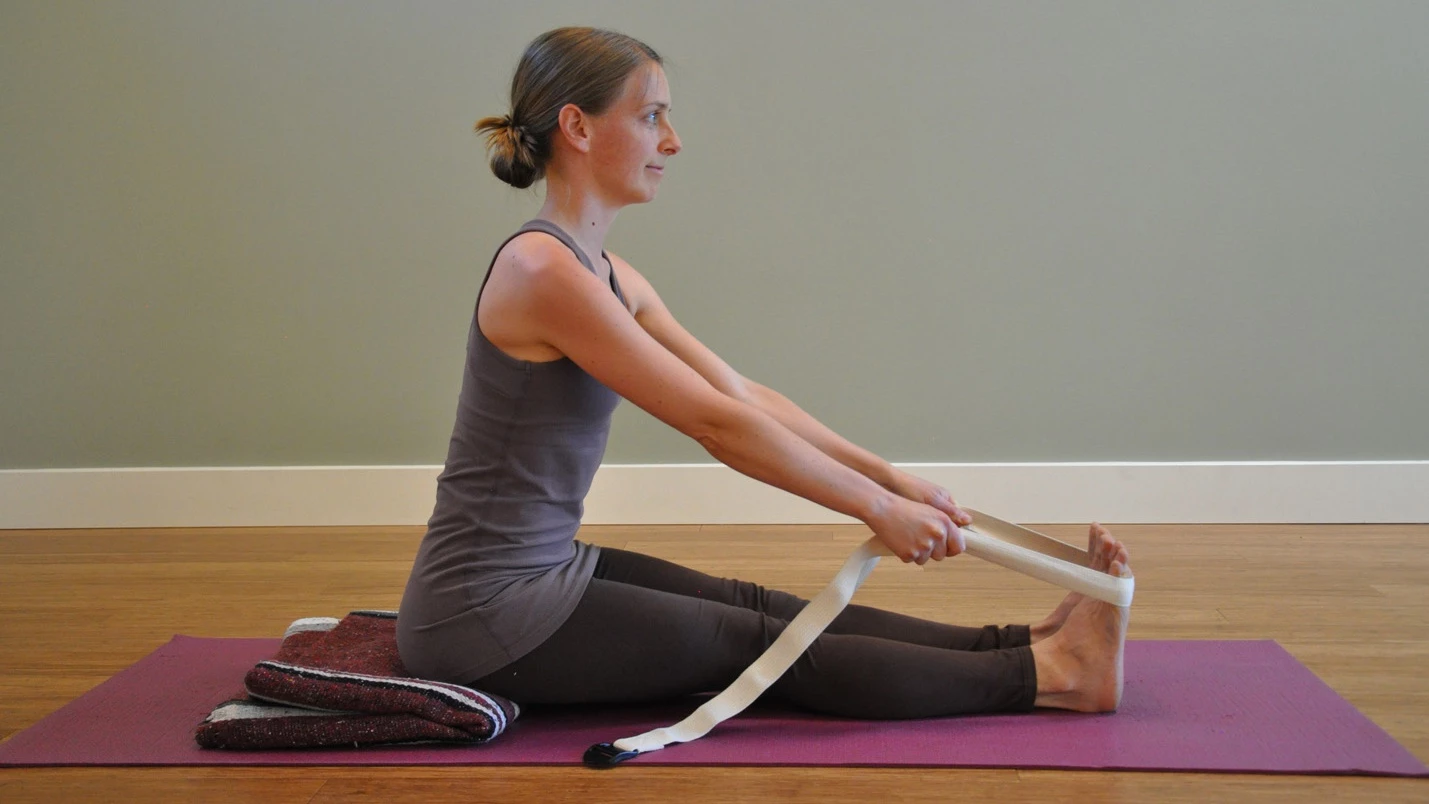
The seated forward fold (Paschimottanasana) represents one of the most common applications for your Manduka yoga mat strap, especially when tight hamstrings prevent proper alignment. To use your strap correctly, create a loop large enough to encircle both feet while leaving ample strap on each side for gripping. Hold one end in each hand, keeping your spine long and avoiding the common mistake of rounding through the shoulders to reach further.
As you fold forward from the hips, maintain a straight spine by using the strap to gently pull yourself deeper while keeping your chest lifted. Focus on hinging from the hip joints rather than collapsing through the lower back. The ideal tension should allow you to feel a stretch without triggering muscle resistance—think of the strap as creating space rather than forcing movement. Hold this position for 5-8 breaths, gradually releasing any tension with each exhale while maintaining steady strap tension.
Avoid These Two Common Strap Mistakes
Many practitioners unknowingly undermine their practice by making these critical errors with their Manduka strap. First, creating a loop that’s too loose creates excess strap material that distracts from your pose and can slip unexpectedly during holds. Second, pulling too aggressively activates the stretch reflex, causing muscles to contract defensively rather than lengthen. Instead, establish a comfortable position you can maintain, then breathe into the stretch, allowing the Manduka strap to provide consistent, gentle tension that supports relaxation rather than resistance.
Unlock Hip Openers with Reclined Pigeon Modification
The reclined pigeon pose (Supta Kapotasana) becomes dramatically more accessible when you incorporate your Manduka yoga mat strap correctly. Begin by lying on your back with both knees bent. Cross your right ankle over your left thigh, creating the figure-four position. Thread your strap behind your left thigh and hold both ends in your right hand, keeping your left hand stabilizing the crossed ankle if needed.
Gently pull the strap toward your chest while maintaining a neutral spine, allowing your hip to open without strain. The key is to focus on relaxing the gluteal muscles rather than forcing the stretch—your Manduka strap should create just enough tension to feel the stretch without triggering resistance. Hold for 30 seconds to 1 minute per side, breathing deeply into any areas of tightness. As flexibility improves, gradually reduce the amount of strap between your hands to deepen the stretch while maintaining proper form.
Perfect Your Shoulder Alignment in Gomukhasana

The cow face pose (Gomukhasana) challenges even experienced practitioners with its demanding shoulder stretch. To modify this pose using your Manduka strap, sit tall with both arms extended forward. Hold one end of the strap in your right hand and bring that arm overhead, bending at the elbow to reach down your back. Bring your left hand behind your lower back, reaching up to grasp the other end of the strap.
Instead of forcing your hands together, allow the strap to bridge the gap while maintaining proper spinal alignment. The goal isn’t to bring your hands closer immediately but to create consistent tension that you breathe into over time. Adjust your grip on the strap until you feel a gentle stretch across the shoulders and upper back without compression in the neck or spine. Hold for 5-8 breaths, gradually working toward bringing your hands closer together as your shoulder flexibility improves.
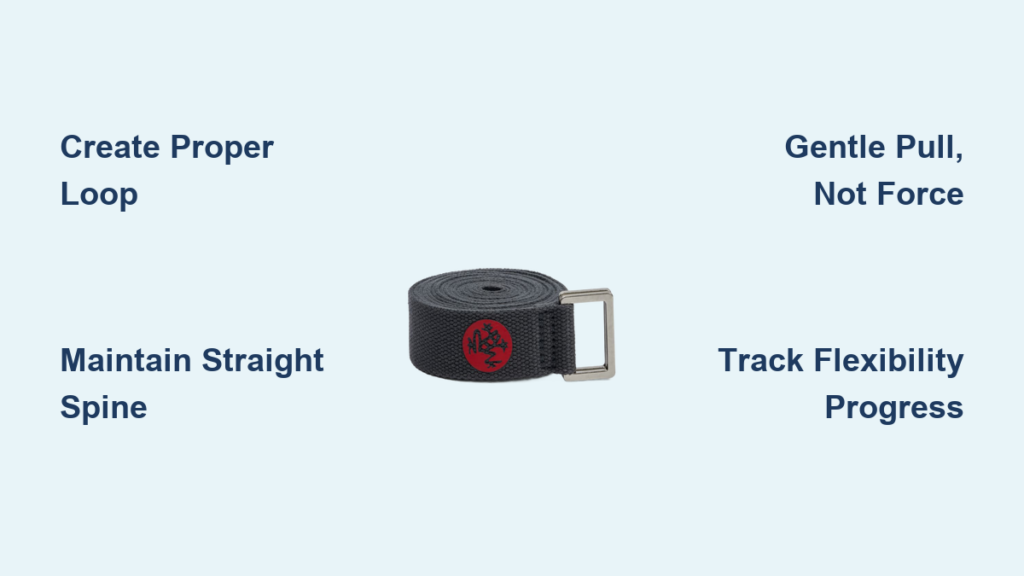
Master the Fundamental Loop for Any Pose
Creating the perfect loop with your Manduka yoga mat strap transforms it from a simple accessory into a precision alignment tool. Start by passing one end through the metal buckle or D-ring at the opposite end, creating a loop slightly larger than needed for your current pose. Hold both sides of the strap and gently pull to tighten the loop to your desired size—this technique gives you precise control over the loop diameter.
The ideal loop should allow you to maintain a firm grip while still having 2-4 inches of strap extending beyond your hands. This extra length prevents the strap from slipping during holds while providing enough material to adjust as needed. Practice creating consistent loops at different sizes so you can quickly adapt between poses without interrupting your practice flow. Remember that different poses require different loop sizes—your seated forward fold needs a larger loop than a shoulder stretch.
Essential Loop Adjustments for Different Poses
| Pose Type | Recommended Loop Size | Grip Position |
|---|---|---|
| Seated Forward Folds | Large (accommodates both feet) | Hands at ends of strap |
| Standing Poses | Medium (single hand grip) | One hand through loop |
| Shoulder Stretches | Small (fist-sized) | Hands close together on strap |
| Hip Openers | Variable (adjust during pose) | One hand through loop, one holding end |
Extend Your Strap’s Lifespan with Proper Care

Your Manduka yoga mat strap represents an investment in your practice that deserves proper maintenance. After each use, wipe down the strap with a damp cloth to remove sweat and oils that can degrade the material over time. For deeper cleaning, use mild soap and lukewarm water, focusing on areas near buckles where dirt accumulates. Never machine wash or dry your strap—this damages the fibers and weakens the stitching.
Store your Manduka strap properly by rolling it neatly rather than stuffing it into your yoga bag. Avoid leaving it in direct sunlight or hot environments like a car trunk, as UV exposure and heat accelerate material breakdown. Periodically inspect the strap for fraying, especially near the buckle and ends, and check metal components for signs of corrosion. With proper care, your Manduka strap will remain a reliable practice companion for years of deepening stretches and improving alignment.
Track Your Flexibility Progress Visibly
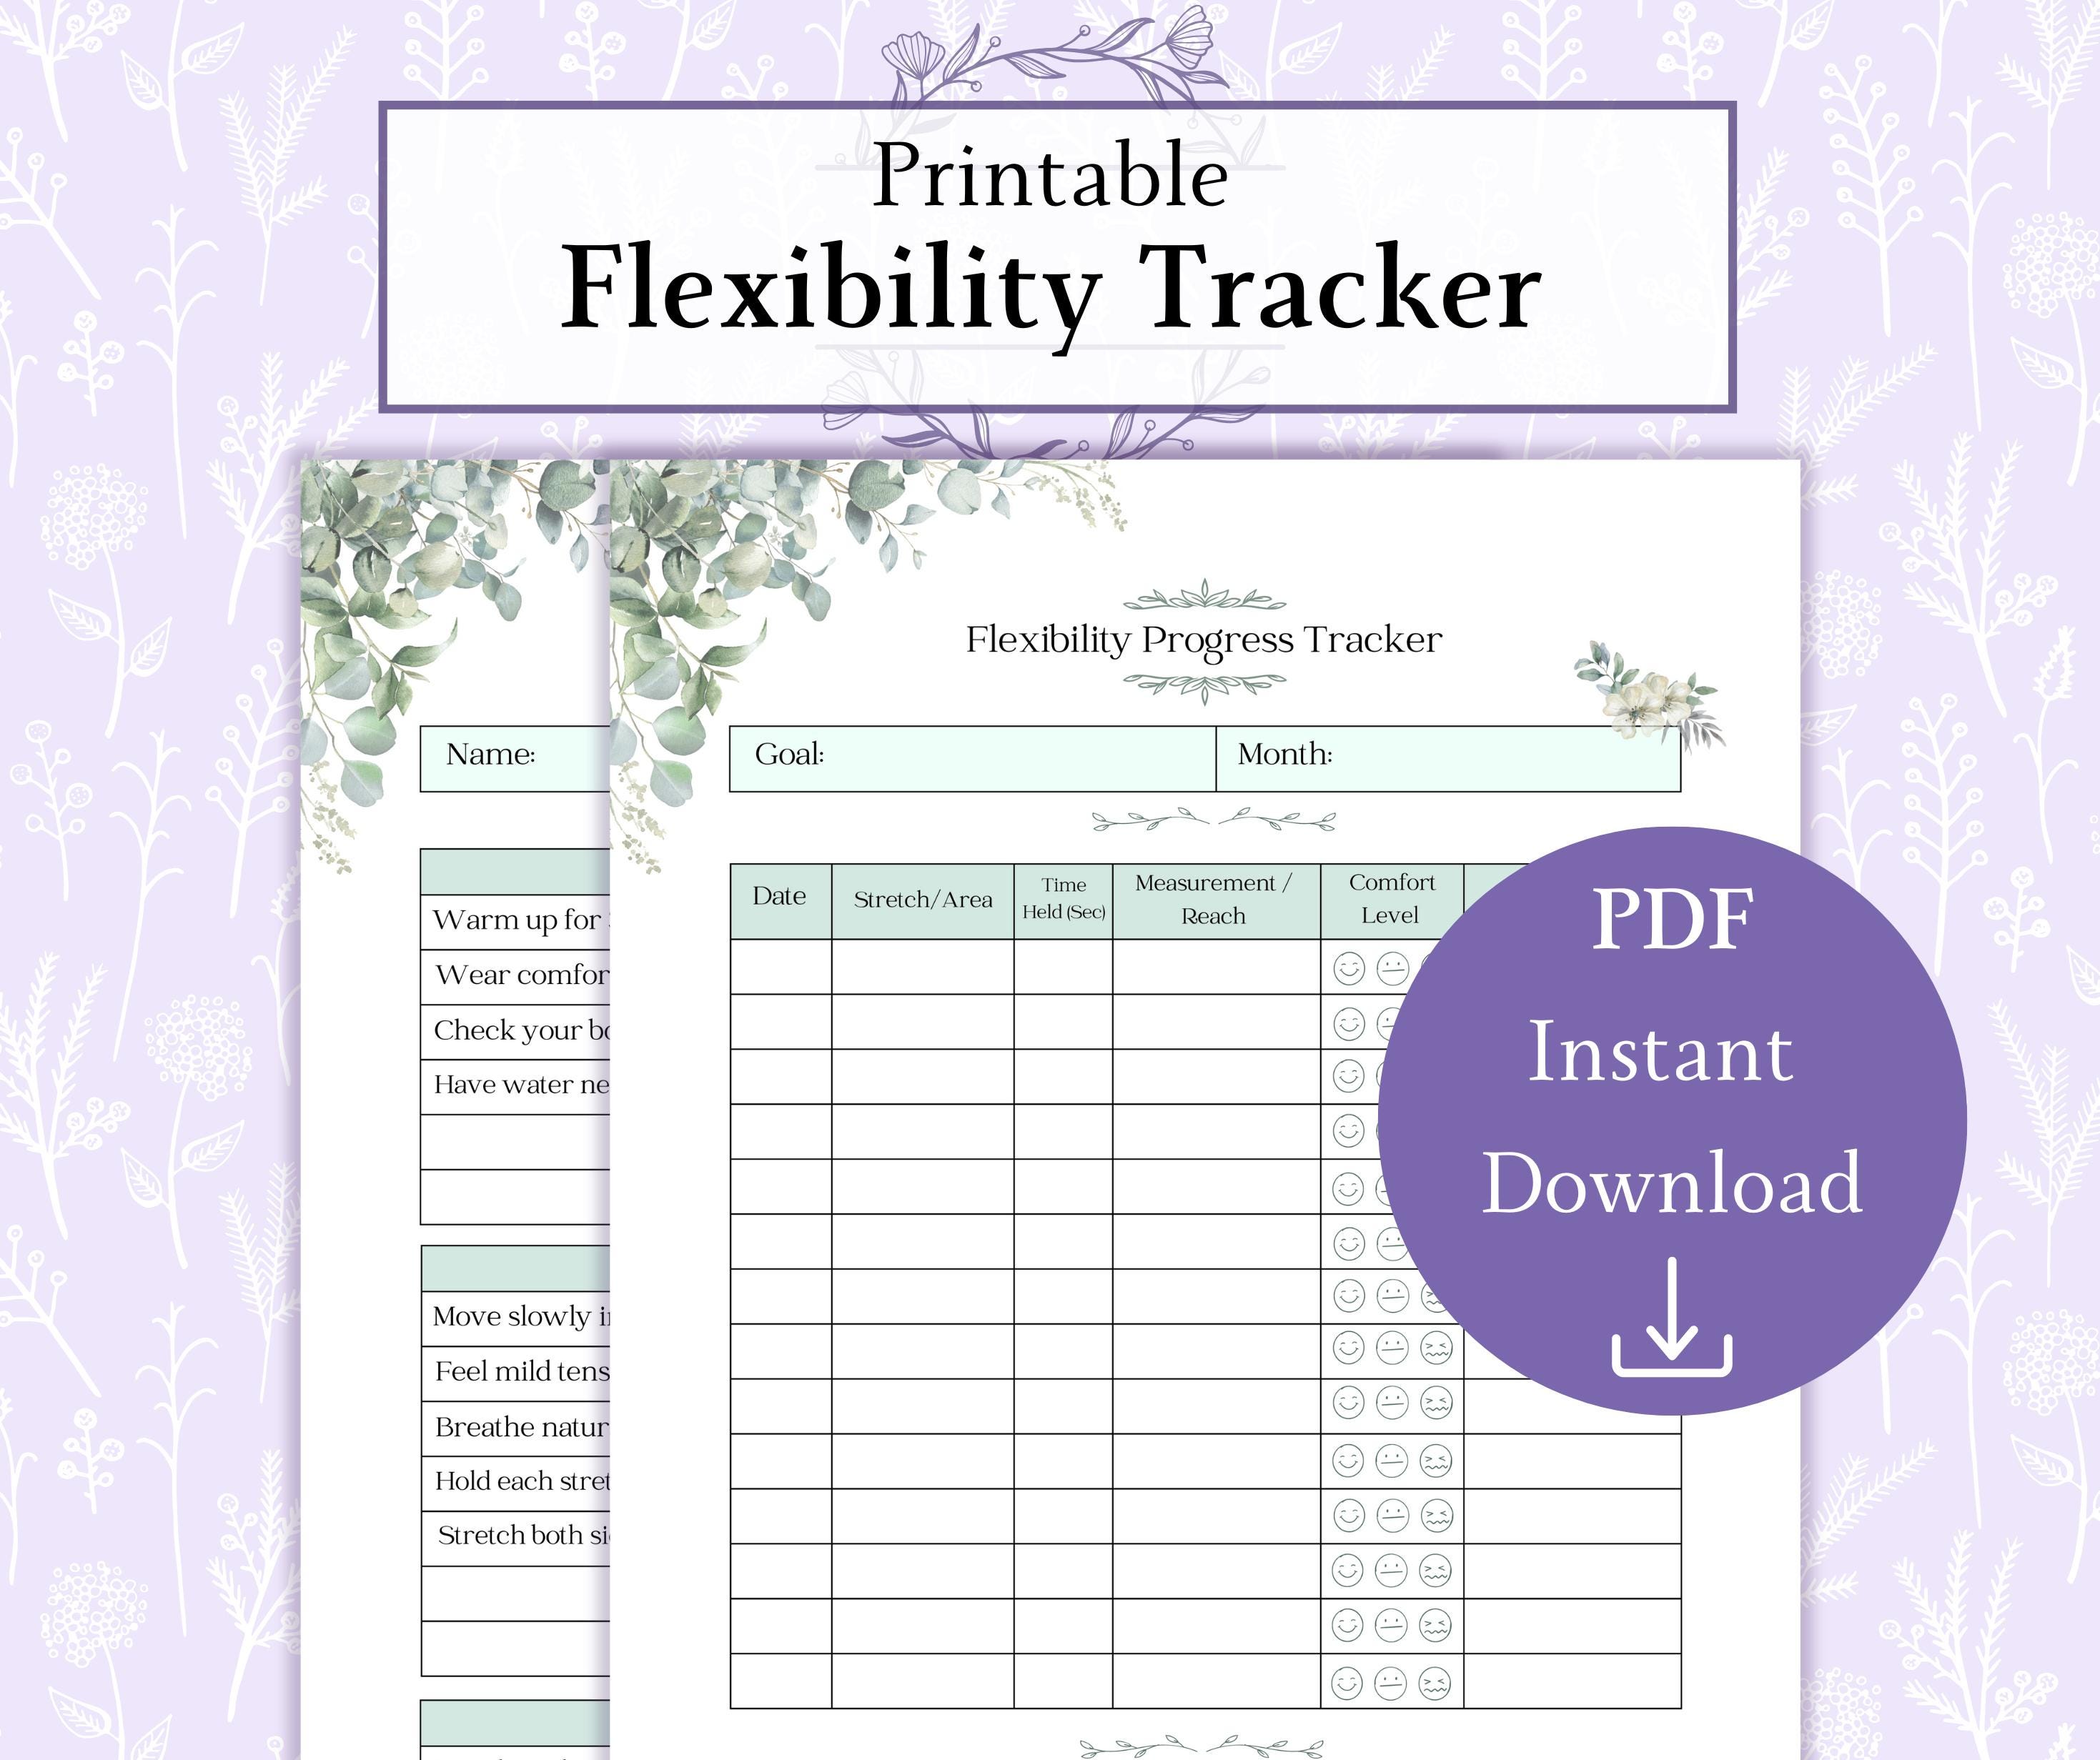
One of the most powerful yet underutilized aspects of your Manduka yoga mat strap is its ability to provide tangible evidence of your progress. Establish a simple tracking system by noting how much strap extends beyond your hands in key poses like seated forward fold or shoulder stretches. Take photos or measurements monthly to document how your grip position gradually moves closer to the center of the strap.
Create a dedicated journal entry for each practice session where you use the strap, recording which poses you worked on, the loop size you used, and how the stretch felt. This documentation transforms abstract progress into concrete evidence of improvement, providing motivation during plateaus. Celebrate milestones like when you can hold a pose with 6 inches less strap extension than you could three months prior—these measurable achievements reinforce consistent practice.
Elevate Your Entire Practice with Strategic Strap Use
Integrating your Manduka strap into a pre-session routine dramatically enhances your entire yoga practice. Begin each session with five minutes of strap-assisted stretching to prepare muscles for deeper work. Focus on hamstring, hip, and shoulder stretches that commonly limit your range of motion in more advanced poses. This preparation loosens tight areas while establishing proper alignment patterns that carry through your entire practice.
The Manduka strap becomes more than just an assistive tool—it evolves into a teacher that shows you what your body can achieve with proper support. By consistently using your Manduka yoga mat strap to maintain alignment while gradually deepening stretches, you build the flexibility, body awareness, and patience that characterize accomplished yoga practitioners. Your strap transforms from a temporary aid into a permanent part of your practice evolution, revealing new dimensions in poses you thought you’d mastered.


