
Nothing beats the frustration of nagging muscle tension that turns simple movements into painful experiences. Whether you’re battling tight calves after weekend hikes, stiff shoulders from hours at your desk, or sore feet from daily commutes, a massage roller ball can deliver professional-grade relief right in your living room. This compact powerhouse targets specific muscle knots with precision that larger foam rollers can’t match, making it essential for anyone serious about self-care. By the end of this guide, you’ll know exactly how to use a massage roller ball effectively on every major muscle group, avoid common mistakes that reduce effectiveness, and build a routine that keeps your muscles feeling loose and rejuvenated. Let’s transform how you recover from daily stress and physical activity.
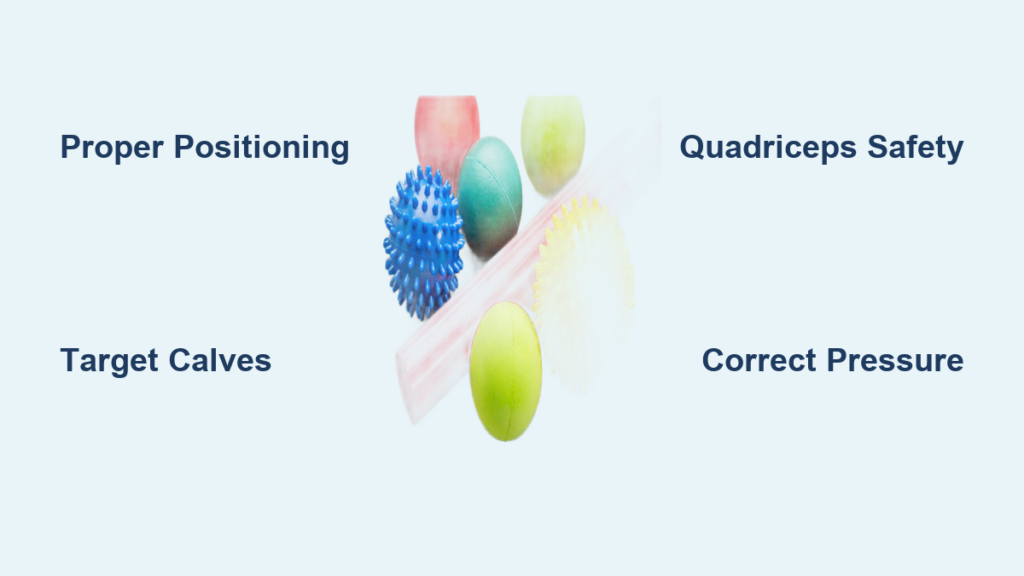
Master Proper Body Positioning for Maximum Effectiveness
Your body positioning determines whether your roller ball session delivers relief or causes discomfort. Learning to control your body weight creates the perfect pressure for muscle release without risking injury.
Place the roller ball on a firm surface like a yoga mat or hardwood floor, then position your target muscle group over it. For lower body work, sit or lie down slowly, allowing your body weight to gradually settle onto the ball. Keep your core engaged to maintain stability and prevent rolling off target areas. Your supporting limbs—whether hands for upper body work or opposite leg for lower body—should create a stable tripod position that lets you adjust pressure with small weight shifts.
When working on your back or glutes, experiment with different hip angles to isolate specific muscle fibers. Tilting your pelvis forward targets deeper gluteal muscles, while a neutral spine focuses on mid-back tension. For shoulder work, rotate your arm across your body to expose different sections of the trapezius muscle. These subtle position changes help you reach stubborn knots that standard positioning misses.
Never force your body into uncomfortable positions to reach difficult areas. If you find yourself straining to maintain position, reduce the pressure by supporting more weight with your hands or opposite leg. Proper positioning should feel challenging but sustainable for 30-60 seconds per spot—any position causing pain or instability needs immediate adjustment.
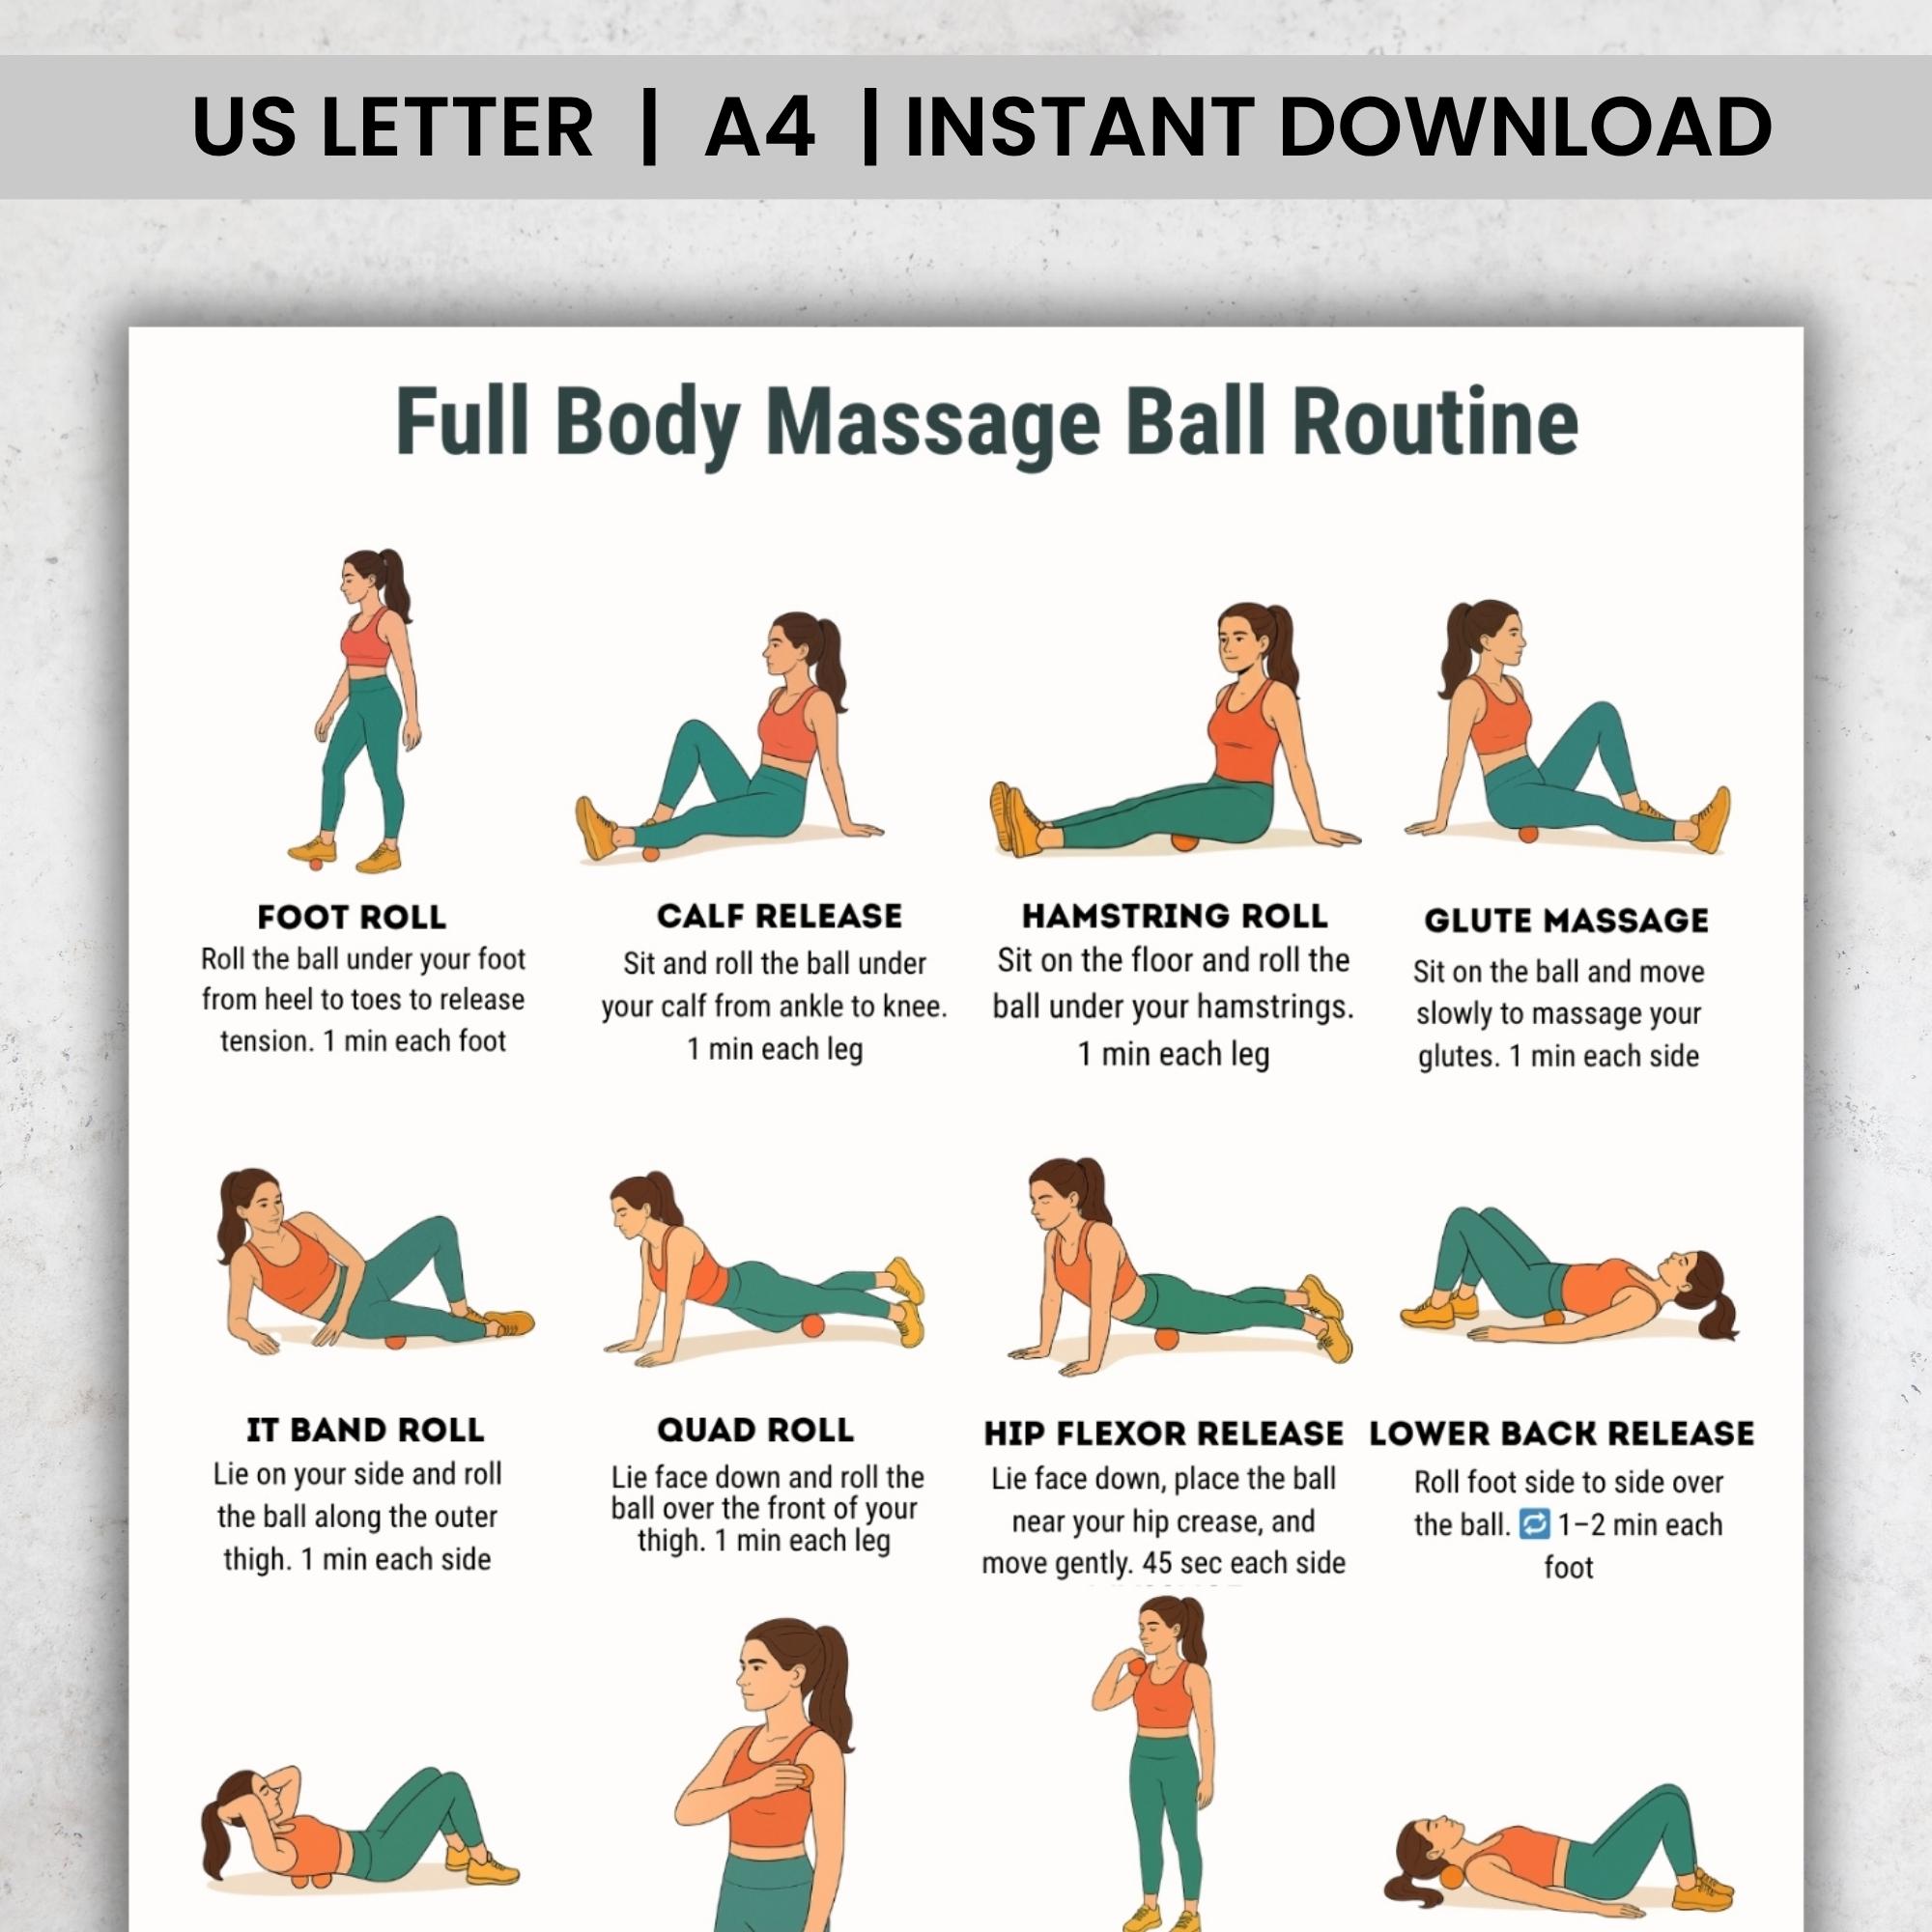
Target Your Calves with Precision Rolling Techniques
Tight calves sabotage your stride, limit ankle mobility, and often trigger plantar fasciitis. Using a massage roller ball on this critical muscle group requires specific techniques that address both the gastrocnemius and soleus muscles.
Sit on the floor with knees bent, placing the roller ball under your right calf. Cross your left ankle over your right knee to stabilize your leg and increase pressure. Slowly roll from just below your knee toward your Achilles tendon, moving only 1-2 inches per roll. When you hit a tender spot—often felt as a pea-sized knot—pause and gently rotate your foot inward and outward while maintaining pressure. This dynamic movement helps break up adhesions more effectively than static pressure alone.
For deeper soleus work (the muscle beneath your gastrocnemius), bend your knee to 90 degrees while keeping the roller ball positioned mid-calf. This shifts pressure to the deeper muscle layer that commonly tightens from sitting or wearing flat shoes. Apply moderate pressure for 30 seconds on stubborn spots while taking deep belly breaths to encourage muscle relaxation.
Many people unknowingly roll too quickly over their calves, reducing effectiveness. Aim for a glacial pace—about 5 seconds per inch—to allow your nervous system to process the pressure and release tension. Spend 2-3 minutes per calf, focusing on quality over quantity, for optimal results without post-session soreness.
Release Quadriceps Tension Without Knee Strain
Tight quads pull on your kneecaps and contribute to lower back pain, but improper roller ball technique can strain vulnerable knee joints. Follow these methods to safely target all four quadriceps muscles.
Lie face down with the roller ball positioned just above your right knee. Support your upper body on your forearms and slowly roll toward your hip, stopping 2 inches short of your pelvic bone. Keep your toes pointed downward to engage the vastus medialis (inner quad)—the muscle most crucial for knee stability. When you encounter tightness, bend and straighten your knee 5-6 times while maintaining ball position to dynamically release the muscle.
For your outer quads (vastus lateralis), turn your leg slightly inward as you roll. This subtle rotation targets the IT band attachment point that often causes outer knee pain. Apply lighter pressure here since this area contains less muscle and more connective tissue.
Never roll directly over your kneecap or the bony prominence below it. If you feel sharp pain during quad rolling, you’re either pressing too hard or targeting bone instead of muscle. Reduce pressure immediately and reposition higher on your thigh. Most people achieve best results with 2 minutes of focused quad rolling per leg immediately after workouts.
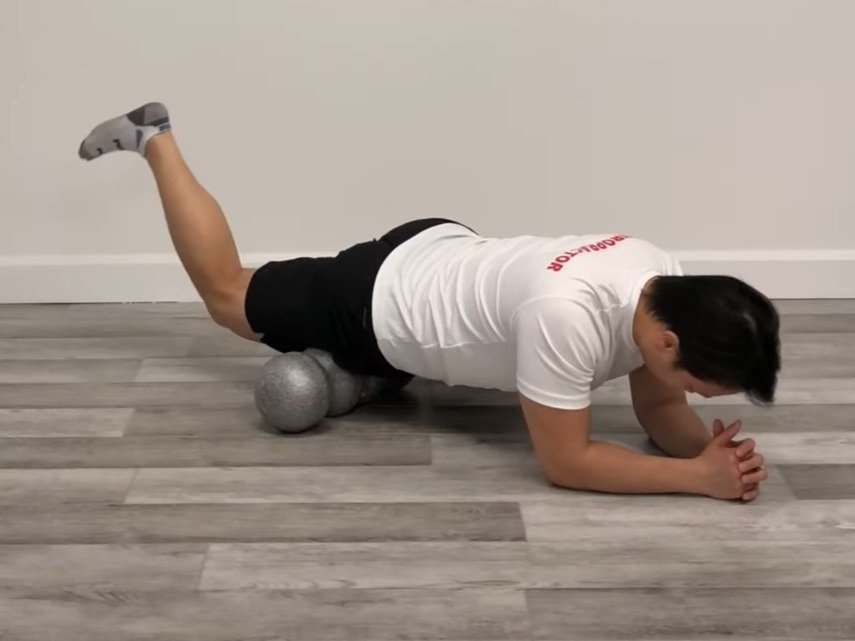
Activate Trigger Points in Your Glutes for Back Pain Relief
Your gluteal muscles harbor trigger points that refer pain to your lower back and legs, yet most people avoid properly treating them. Learn these safe techniques to unlock tension without aggravating sciatic nerves.
Sit upright with the roller ball positioned under your right buttock. Cross your right ankle over your left knee to expose the gluteal muscles. Lean slightly toward your right side while maintaining an upright posture—this targets the gluteus medius responsible for hip stability. Roll in small 2-inch circles, pausing on tender spots for 30-45 seconds while taking slow, deep breaths.
For the deeper piriformis muscle (a common sciatica trigger), maintain the figure-four position but shift your torso forward slightly. This exposes the muscle deep beneath your glutes that frequently compresses the sciatic nerve. Apply moderate pressure here—enough to feel significant tension but not sharp nerve pain. If you experience radiating leg pain, reduce pressure immediately as you’re likely irritating the nerve.
Most people make the mistake of sitting directly on the roller ball without proper positioning, which targets the wrong muscle fibers. The key is using your arms to control pressure while maintaining active engagement of your core to protect your lower back during glute work.
Apply Correct Pressure for Different Muscle Groups

Using the right amount of pressure separates effective roller ball sessions from painful experiences that leave you more tense than before. Learn these pressure guidelines to maximize results without causing tissue damage.
For large muscle groups like quads and hamstrings, use 50-70% of your body weight—enough to feel significant tension but still maintain steady breathing. Your facial muscles should stay relaxed; if you’re grimacing, reduce pressure immediately. Smaller muscles like calves and feet require less pressure (30-50% body weight) due to their lower muscle mass and higher nerve density.
When targeting trigger points, gradually increase pressure over 10 seconds until you reach a “7 out of 10” discomfort level. Maintain this pressure for 30-60 seconds while taking deep diaphragmatic breaths. The discomfort should decrease by at least 50% during this time—if it doesn’t, you’re likely pressing on bone or a nerve rather than muscle tissue.
Never use enough pressure to cause bruising or prolonged soreness lasting more than 24 hours. Effective roller ball work creates temporary discomfort that resolves quickly, not tissue damage. If you experience numbness, tingling, or sharp pain, stop immediately and reposition—you’re pressing on nerves or blood vessels rather than muscle tissue.
Create an Effective Weekly Routine for Lasting Results
Consistency with proper timing transforms occasional relief into permanent muscle tension reduction. Build this science-backed schedule into your weekly wellness routine.
For general maintenance, roll tight areas for 1-2 minutes daily—ideally after a warm shower when muscles are most pliable. Focus on 1-2 problem areas per session to avoid overworking your system. Morning sessions on calves and feet prepare your body for the day’s demands, while evening sessions on shoulders and back release accumulated tension.
Before workouts, use light pressure (20-30% body weight) for 30 seconds per muscle group to increase blood flow without fatiguing muscles. Post-workout, spend 2-3 minutes per major muscle group with moderate pressure to accelerate recovery—wait at least 15 minutes after intense exercise to allow initial inflammation to settle.
During flare-ups of chronic pain, roll the affected area twice daily for 2 minutes at moderate pressure, but never to the point of increased pain. Pair this with light movement like walking to circulate fresh blood to the treated area. Most people see significant improvement within 2-3 weeks of consistent, proper use.
Recognize When to Avoid Roller Ball Treatment
Knowing when not to use your roller ball prevents potential injury and ensures you’re supporting—not hindering—your body’s healing process.
Avoid roller ball use during the first 72 hours after acute injury when inflammation is peaking. This includes recent muscle strains, ligament sprains, or post-surgical recovery. The pressure can exacerbate inflammation and delay healing during this critical phase. Instead, follow RICE protocol (Rest, Ice, Compression, Elevation) during initial injury stages.
Skip roller ball treatment over areas with open wounds, rashes, or active infections. The pressure can spread bacteria and delay healing. Also avoid rolling directly over varicose veins, recent scars (less than 6 weeks old), or areas with known blood clots.
If you have osteoporosis, cancer, or are undergoing radiation treatment, consult your physician before using a roller ball. The pressure could damage fragile bones or irritate compromised tissues. Similarly, pregnant women should avoid rolling the lower back and abdomen without professional guidance.
When in doubt about whether to roll an area, apply gentle pressure for 15 seconds. If pain increases or radiates, stop immediately—your body is signaling that the tissue isn’t ready for this level of intervention.
Mastering how to use a massage roller ball properly transforms it from a simple tool into your personal muscle therapist available 24/7. By applying these targeted techniques with correct pressure and timing, you’ll experience faster recovery from workouts, reduced chronic tension, and improved mobility in everyday movements. Remember that consistency beats intensity—daily 5-minute sessions deliver better long-term results than occasional marathon rolling. Start with light pressure on your most problematic areas, gradually increasing as your muscles adapt, and always listen to your body’s feedback. Within weeks of proper use, you’ll notice muscles that feel looser, movements that feel easier, and a newfound ability to address tension before it becomes debilitating pain. Keep your roller ball accessible in your workout space or beside your desk, and make these quick sessions part of your daily wellness ritual for lasting muscle health.


