
If you’ve ever battled stubborn muscle knots after long hours at your desk or struggled with tightness that stretching alone can’t fix, you’ve probably considered investing in a massage tool. The peanut massage ball has emerged as a game-changer for self-myofascial release, offering precision that standard foam rollers and single massage balls can’t match. Unlike traditional tools, its unique dual-sphere design cradles muscles while providing targeted pressure exactly where you need it. This makes it particularly effective for hard-to-reach areas like the spine, glutes, and hip flexors where tension often hides. Learning how to use peanut massage ball techniques properly transforms this simple tool from a novelty into your most valuable recovery asset—whether you’re a weekend warrior, office professional, or fitness enthusiast seeking natural pain relief.
This comprehensive guide cuts through the confusion surrounding peanut massage ball techniques, giving you the exact methods professionals use to release tension safely and effectively. You’ll discover not just how to position the ball, but how to apply the perfect amount of pressure, how long to hold each spot, and which muscle groups respond best to this specialized tool. Most importantly, you’ll learn to avoid the common mistakes that turn what should be therapeutic into painful or even counterproductive.
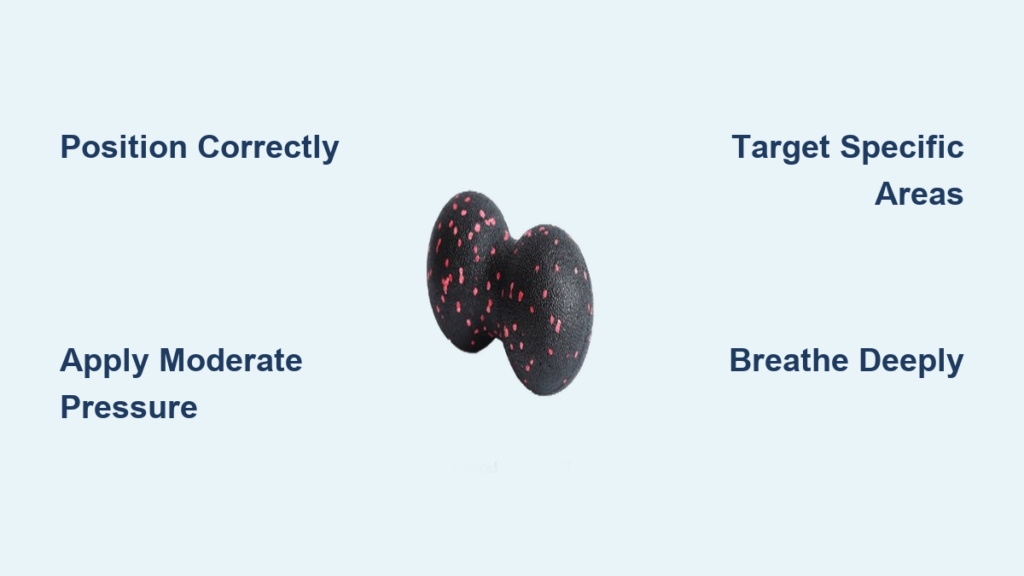
Positioning Your Body for Maximum Effectiveness
Proper positioning separates effective self-massage from frustrating attempts that miss your target muscles. The peanut shape’s genius lies in how it stabilizes against your body, but only when you position yourself correctly. When targeting your back muscles, lie flat on the floor with knees bent and feet planted. Place the peanut massage ball vertically along either side of your spine—not directly on it—and slowly lower your torso until you feel moderate pressure. Your hips should remain slightly elevated off the floor, allowing you to control intensity by shifting weight through your feet.
For stubborn knots in your shoulders, sit upright against a wall with the peanut massage ball positioned between your shoulder blade and spine. Cross the arm on the targeted side behind your back, then gently lean into the wall. This position creates the perfect angle to access those deep, hard-to-reach spots that cause that nagging upper back tension most desk workers know all too well. Never place the ball directly on your spine—this can cause injury and provides no therapeutic benefit since you’re targeting muscles, not bones.
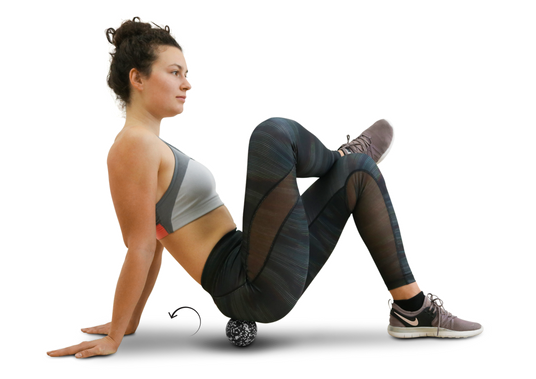
When working on your glutes, sit directly on the peanut massage ball with one ankle crossed over the opposite knee. Lean slightly toward the crossed leg to increase pressure on the piriformis muscle—the deep hip rotator responsible for many cases of sciatica-like pain. This precise positioning allows the dual lobes to cradle the muscle tissue while avoiding excessive pressure on sensitive nerves.
Applying Pressure Like a Professional Therapist
The difference between effective release and painful bruising comes down to pressure control. Most beginners make the critical mistake of pressing too hard too soon, triggering their body’s protective tension response. Start with what feels like 30% of your maximum tolerable pressure—enough to feel the muscle working but not enough to make you tense up or hold your breath. Spend 20-30 seconds at this gentle level before gradually increasing.
As you find tender spots, use the “talk test” to gauge appropriate pressure: you should be able to speak in complete sentences without gasping. If you can’t, reduce pressure immediately. Hold each trigger point for 60-90 seconds while taking slow, deep breaths—inhale through your nose for 4 counts, exhale through your mouth for 6 counts. This breathing pattern activates your parasympathetic nervous system, allowing muscles to relax beneath the ball.
For particularly stubborn knots, try the “pump technique”: slowly roll the ball 1-2 inches toward the heart, hold for 15 seconds, then roll back to the original spot. Repeat this 3-5 times before holding sustained pressure. This movement encourages blood flow to the area, making the tissue more responsive to treatment. Avoid applying direct pressure to joints, bones, or nerve clusters—focus exclusively on fleshy muscle tissue.
Targeting Specific Muscle Groups with Precision

The peanut massage ball shines when addressing muscles that standard tools can’t effectively reach. Each area requires specific positioning and pressure techniques to achieve results without discomfort.
Upper Back Tension That Desk Work Creates
Sit against a wall with the peanut massage ball positioned horizontally under your shoulder blades. Slowly slide up and down about 3 inches to locate the most tender spots—these often feel like small peas beneath your skin. Once found, pause and apply moderate pressure while taking deep breaths. For side-to-side tension along your ribcage, lie on your side with the ball positioned between your armpit and hip bone, then gently roll forward and back.
Hip Flexors That Tighten from Sitting All Day
Lie face down with the peanut massage ball positioned just below your hip bone on the front of your thigh. Support yourself on your forearms and slowly shift your weight onto the ball. If you feel sharp pain, you’re likely pressing on bone—adjust slightly downward. Hold tender spots for 60-90 seconds while gently straightening and bending your knee to engage the tissue. This movement helps release the psoas muscle, which often becomes chronically tight from prolonged sitting.
Calves That Ache After Walking or Running
Sit with legs extended and place the peanut massage ball under your calf muscle. Cross one ankle over the other to increase pressure if needed. Roll slowly from ankle to knee, pausing on any tight bands or knots. For the soleus (deeper calf muscle), bend your knee to 90 degrees while maintaining pressure. Spend extra time on the inner calf where many people develop tension that contributes to plantar fasciitis.
Optimizing Your Session Duration and Frequency

More isn’t better when learning how to use peanut massage ball techniques. Overdoing it creates inflammation that counteracts the benefits. Target 8-12 minutes per session, focusing on 2-3 problem areas. Spend 60-90 seconds on each major knot before moving to the next spot.
For chronic tension, daily sessions yield the best results initially, but scale back to 3-4 times weekly once you notice improvement. Morning sessions work well for stiffness from sleeping positions, while post-workout sessions help prevent next-day soreness. Never work the same area intensely multiple times in one day—this causes microtrauma that slows recovery.
Track your progress with a simple log noting which areas were most tender each session. You’ll notice previously painful spots become less sensitive over 2-3 weeks as your muscles release chronic tension. If you experience bruising or increased pain lasting more than 24 hours, you’re applying too much pressure—scale back significantly during your next session.
Avoiding Costly Mistakes That Reduce Effectiveness
Many users unknowingly sabotage their results through common errors. Applying excessive pressure is the most frequent mistake—remember that effective release happens at the edge of comfort, not through pain. If you find yourself clenching your jaw or holding your breath, reduce pressure immediately.
Another critical error: skipping the warm-up. Cold muscles resist release and can tighten further in response to pressure. Always spend 5 minutes warming up with light movement or a warm shower before using your peanut massage ball. This simple step makes the difference between a frustrating session and noticeable results.
Many people also neglect hydration after self-massage. The release process moves metabolic waste into your bloodstream—drink 16-24 ounces of water within 30 minutes of your session to help flush these toxins. Dehydration after self-massage often leads to headaches and increased soreness.
Integrating Your Peanut Massage Ball Into Your Wellness Routine
For maximum benefit, pair your peanut massage ball work with complementary practices. Use it before stretching to release tight spots that limit your range of motion—this combination produces dramatically better flexibility results than stretching alone. After intense workouts, follow your peanut massage ball session with 5-10 minutes of gentle dynamic stretching to lock in the increased mobility.
Morning routines benefit from 5 minutes targeting your most problematic areas to relieve overnight stiffness. Evening sessions should focus on calming techniques—use lighter pressure and slower movements to prepare your body for restful sleep. Many users report improved sleep quality when they incorporate gentle self-massage 30-60 minutes before bedtime.
Consider creating a weekly schedule: target upper body areas on strength training days, lower body after cardio sessions, and full-body maintenance on rest days. This strategic approach prevents overworking specific areas while ensuring comprehensive coverage of your most tension-prone zones.
Mastering how to use peanut massage ball techniques transforms this simple tool into your most effective weapon against everyday muscle tension. By positioning your body correctly, applying intelligent pressure rather than brute force, and targeting specific trouble spots with precision, you’ll achieve results that generic foam rolling can’t match. Start with shorter sessions using moderate pressure, focus on proper breathing, and track your progress to stay motivated. Within weeks, you’ll notice improved mobility, reduced pain, and greater comfort throughout your daily activities. The real power of the peanut massage ball lies not in occasional intense sessions, but in consistent, intelligent application—making it a cornerstone of your long-term wellness strategy rather than just another fitness gadget.


