
Nothing beats the frustration of wanting to build a strong, defined chest but lacking access to a gym or heavy weights. That’s where resistance bands become your secret weapon—these portable, affordable tools deliver surprising muscle-building results when used correctly. Unlike traditional weights that rely on gravity, resistance bands create tension through elastic force that increases as you stretch them, challenging your chest muscles exactly where they’re strongest. Whether you’re stuck at home, traveling, or simply prefer minimalist training, mastering resistance band chest exercises gives you complete control over your development without bulky equipment. In fact, bands provide constant tension throughout your entire range of motion, something free weights can’t match, leading to greater muscle fiber recruitment and faster growth.
This guide cuts through the confusion surrounding resistance band chest training by revealing exactly how to position bands, anchor them properly, and execute movements that maximize pectoral activation. You’ll discover specific techniques most beginners miss—like controlling the return phase to double time under tension and adjusting anchor heights to target different chest areas. By the end, you’ll have a complete workout plan you can implement immediately, regardless of your current fitness level or available equipment.
Nail the Standing Resistance Band Chest Press Technique
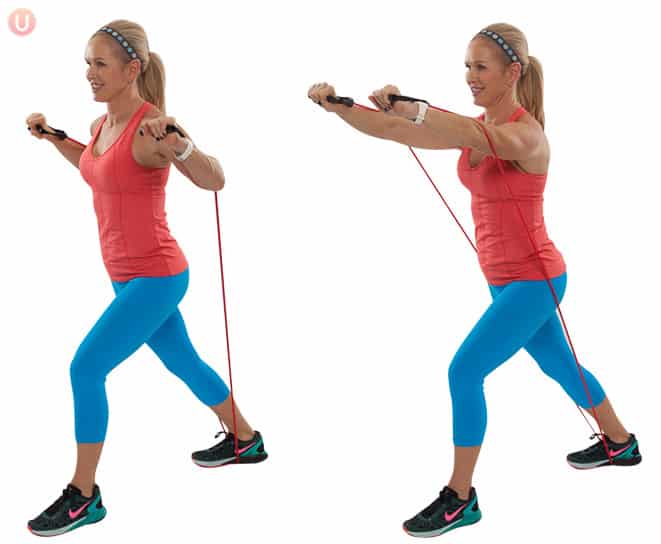
The standing band chest press serves as your foundational chest-building movement, but only if performed with precision. To set up correctly, loop your band behind your upper back at shoulder blade height, grasp both handles with palms facing forward, and step forward until you feel moderate tension with arms extended at shoulder height. Your feet should be shoulder-width apart with knees slightly bent, core engaged, and chest lifted—not rounded forward.
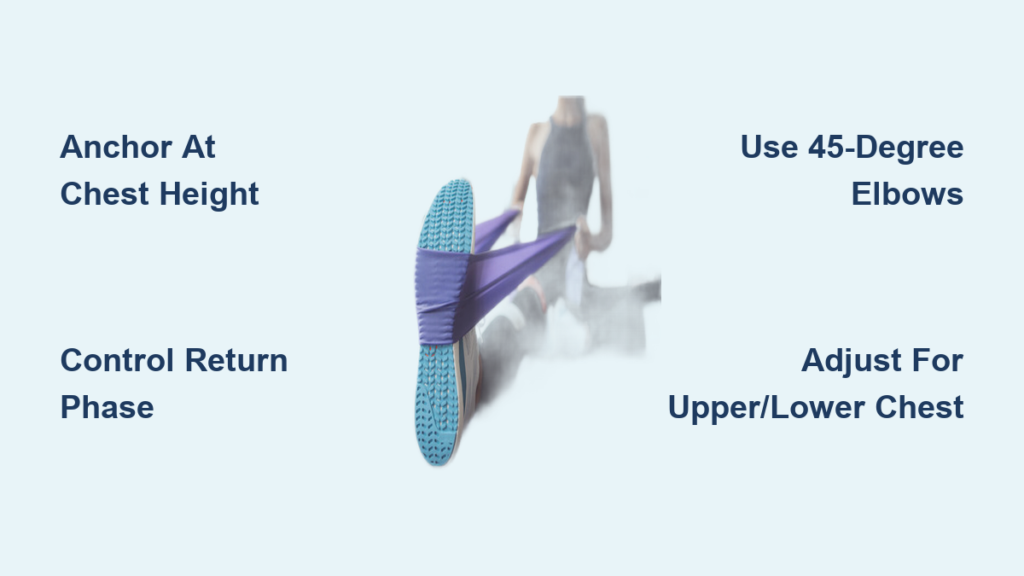
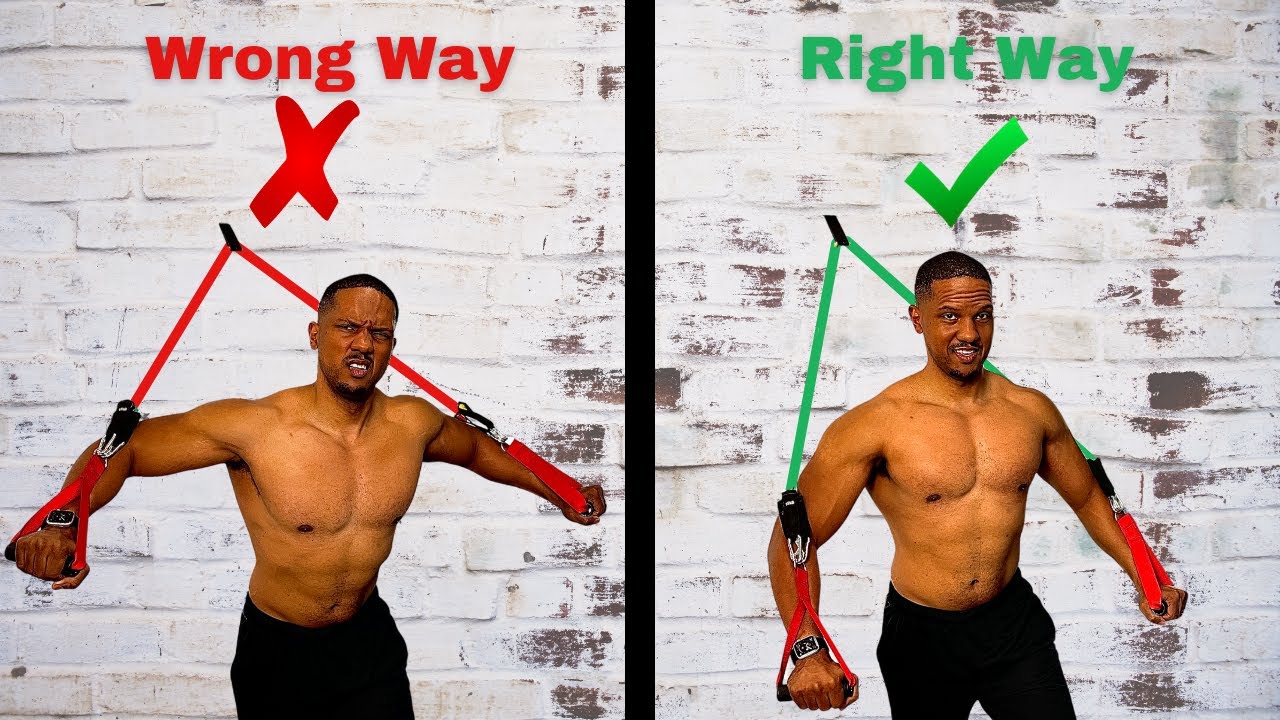
As you press outward, focus on two critical details most people miss: angle your elbows back at 45 degrees (not flared straight out) to protect your shoulders, and maintain perpendicular forearms throughout the movement. This subtle adjustment keeps tension on your pecs rather than shifting load to your triceps. At full extension, squeeze your chest muscles together forcefully before slowly returning to start position over two seconds—never let the band snap your arms back.
Pro Tip: If you feel this primarily in your shoulders, your anchor point is likely too high. For optimal chest activation, anchor the band at chest height or slightly below. Perform 3-4 sets of 8-12 reps, choosing a band that makes the last 2-3 reps challenging while maintaining perfect form.
Execute Flawless Resistance Band Chest Flys for Maximum Definition
While presses build overall chest strength, band flys isolate your pectoral muscles to create that coveted separation and definition. Anchor your band behind you at chest height, grasp both handles, and step forward until arms extend comfortably out to your sides with palms facing forward and elbows slightly bent.
The magic happens in your movement path—bring hands together in a wide arc (not straight line) while maintaining constant slight elbow bend. As your hands meet in front of your chest, squeeze pecs hard for 1-2 seconds before slowly returning. This arc motion keeps tension on chest fibers throughout rather than transferring load to joints.
Common Mistake Alert: Using too heavy resistance forces momentum and shoulder involvement. If you can’t maintain elbow bend through full range, switch to lighter band. Perform 3 sets of 10-15 reps, focusing on feeling your chest muscles doing the work rather than just moving handles.
Anchor Points That Transform Your Chest Development

Where you anchor your band completely changes which chest fibers work hardest—master these three positions to build a complete, well-rounded chest:
Low Doorway Anchor: Creates upward resistance that emphasizes lower chest and sternal fibers. Perfect for building that “shelf” appearance below the nipples. Position band near floor on non-hinged side of door.
Chest-Height Anchor: Provides horizontal resistance ideal for middle chest development. Anchor band at sternum level for standard presses and flys that target the bulk of your pectoral muscle.
High Anchor Point: Generates downward resistance that shifts emphasis to upper chest and front delts. Great for developing that “capped” look above the nipples. Position band near top of doorway.
Pro Technique: For incline presses targeting upper chest, anchor low and lean slightly forward. For decline presses emphasizing lower chest, anchor high and lean back slightly. Each position creates unique resistance curves that stimulate different muscle fibers.
Fix These 3 Band Chest Training Mistakes Immediately
Even experienced lifters sabotage their results with these preventable errors:
Mistake #1: Sacrificing Form for Heavier Bands
Using excessive resistance forces momentum and secondary muscles to take over. Your chest won’t grow if other muscles compensate.
Solution: Choose bands that make last 2-3 reps challenging but maintainable with strict form. If first reps feel too easy, that’s intentional—bands provide more resistance as they stretch.
Mistake #2: Cutting Range of Motion
Stopping short of full extension avoids maximum tension where your chest is strongest.
Solution: Push through discomfort at full extension and allow complete stretch at start position. Full range = full muscle development.
Mistake #3: Ignoring Eccentric Control
Letting bands snap arms back reduces effectiveness and stresses joints.
Solution: Control return phase for 2-3 seconds to double time under tension—this builds more muscle than additional reps with poor form.
Build Your Complete Band Chest Workout Routine
Combine these exercises into a structured plan that hits all chest areas:
Warm-up (3 minutes):
– Band pull-aparts: 2 sets of 15 reps
– Arm circles: 30 seconds forward/backward
Main Workout:
1. Standing Band Chest Press: 3 sets of 8-12 reps (anchor at chest height)
2. Band Chest Fly: 3 sets of 10-15 reps (anchor behind at chest height)
3. Single-Arm Band Press: 2 sets of 10-12 reps per side (anchor to side at chest height)
Finisher (Choose One):
– Upper chest focus: Incline band press (anchor low, lean forward) – 2 sets of 12-15 reps
– Lower chest focus: Decline band press (anchor high, lean back slightly) – 2 sets of 12-15 reps
Rest 60-90 seconds between sets. Perform this routine twice weekly with at least 48 hours between sessions for optimal recovery and growth.
Maintain Your Bands for Safety and Consistent Results
Your bands’ condition directly impacts both safety and training effectiveness:
Inspect Before Every Workout: Check for nicks, tears, or fraying—especially at anchor contact points. Replace immediately if damaged.
Store Properly: Keep away from direct sunlight and extreme temperatures. Hang on hooks or loosely coil in drawer—never store stretched.
Know When to Replace: Quality bands last 6-12 months with regular home use. Replace when resistance feels inconsistent or bands show visible wear.
Pro Tip: Invest in natural latex bands rather than cheap rubber—they maintain resistance curve longer and are less likely to snap unexpectedly.
Progress Your Chest Training Without Plateauing
Keep making gains with these progression strategies:
Resistance Progression: Move to thicker bands when current resistance feels too easy. Track which bands you use for each exercise to monitor progress.
Volume Progression: Gradually increase from 2 to 4 sets per exercise or extend rep ranges from 8-12 to 15-20 reps as strength improves.
Exercise Variety: Rotate in new movements every 4-6 weeks—try single-arm presses, incline/decline variations, or band pullovers to stimulate fresh muscle growth.
Key Insight: Progress isn’t just about harder bands—sometimes adding pauses at peak contraction or slowing the eccentric phase creates new stimulus without increasing resistance.
Consistent band chest training delivers impressive results when executed with proper technique and progression. Focus first on mastering form with lighter resistance before advancing to heavier bands or complex variations. Within weeks, you’ll notice improved chest definition and strength that translates to real-world functional power. The beauty of this approach lies in its simplicity—you need only one set of bands and a doorway to build a chest that rivals gym-goers with access to expensive equipment. Start today with the basic press and fly, track your progress, and watch your chest transform through the intelligent application of elastic resistance.


