
Struggling to break through your push-up plateau? Adding resistance bands instantly transforms this classic exercise into a muscle-building powerhouse that challenges your chest, shoulders, and triceps throughout the entire movement. How to use resistance bands for push ups properly unlocks continuous tension that traditional bodyweight versions can’t match—whether you’re a beginner working toward your first clean repetition or an advanced athlete seeking serious overload. The elastic resistance creates maximum challenge where you’re weakest (at the bottom position) while maintaining tension where standard push-ups get easiest (at the top).
This simple equipment upgrade delivers gym-quality strength development anywhere—no expensive machines required. Just one loop band in your gym bag or suitcase enables consistent training regardless of location, making it the ultimate portable upper body builder. In this guide, you’ll discover exactly how to implement resistance band push-ups for dramatic strength improvements while avoiding common form mistakes that undermine results.
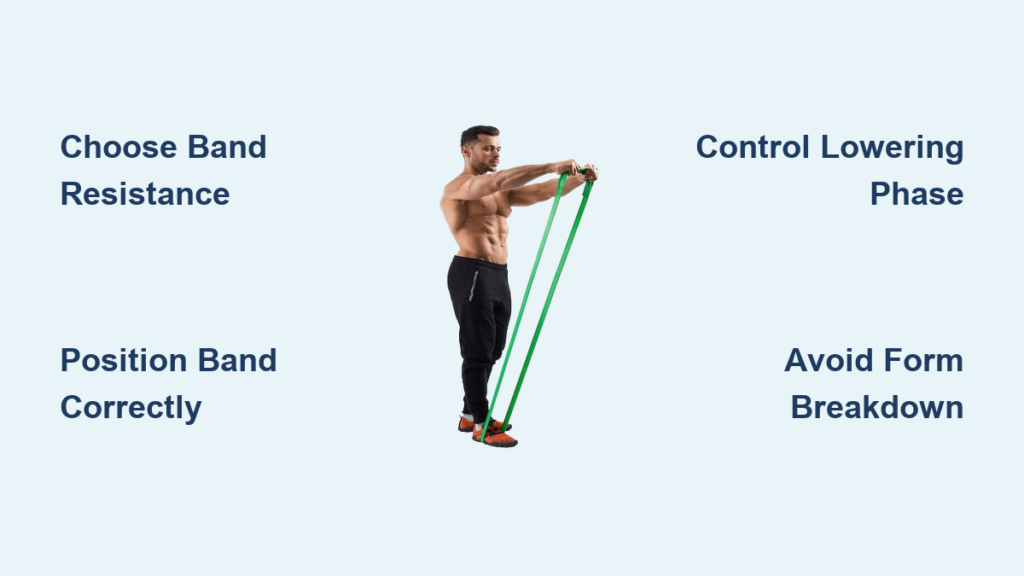
Select the Perfect Resistance Band for Push-Up Intensity

Choosing the right band makes or breaks your how to use resistance bands for push ups success. Loop bands work best for most users thanks to their secure upper-back positioning and consistent tension profile. Start with light resistance (15-25 lbs) if you can perform fewer than 15 standard push-ups, medium (35-55 lbs) if you hit 15-25 reps, or heavy (60+ lbs) if you crush 25+ clean repetitions. The band should challenge your last 2-3 reps while letting you maintain perfect form throughout.
Flat bands with handles offer superior grip security for those with wrist sensitivity or who prefer controlled hand positioning. Position the handles beneath your palms during setup, allowing the band to stretch across your upper back as you lower. Fabric bands provide maximum comfort for high-volume protocols, distributing pressure evenly without pinching skin during extended sets—ideal for rehabilitation or high-rep endurance training.
Position Your Resistance Band Correctly for Maximum Effect
Band placement determines whether your resistance band push-ups feel effective or frustrating. Stand with feet shoulder-width apart, step into the loop band, and pull it upward until it rests across your upper back just below the shoulder blades. The band should form an “X” pattern that crosses between your shoulder blades before extending outward toward your shoulders. This crossing configuration prevents slippage and ensures balanced resistance distribution during movement.
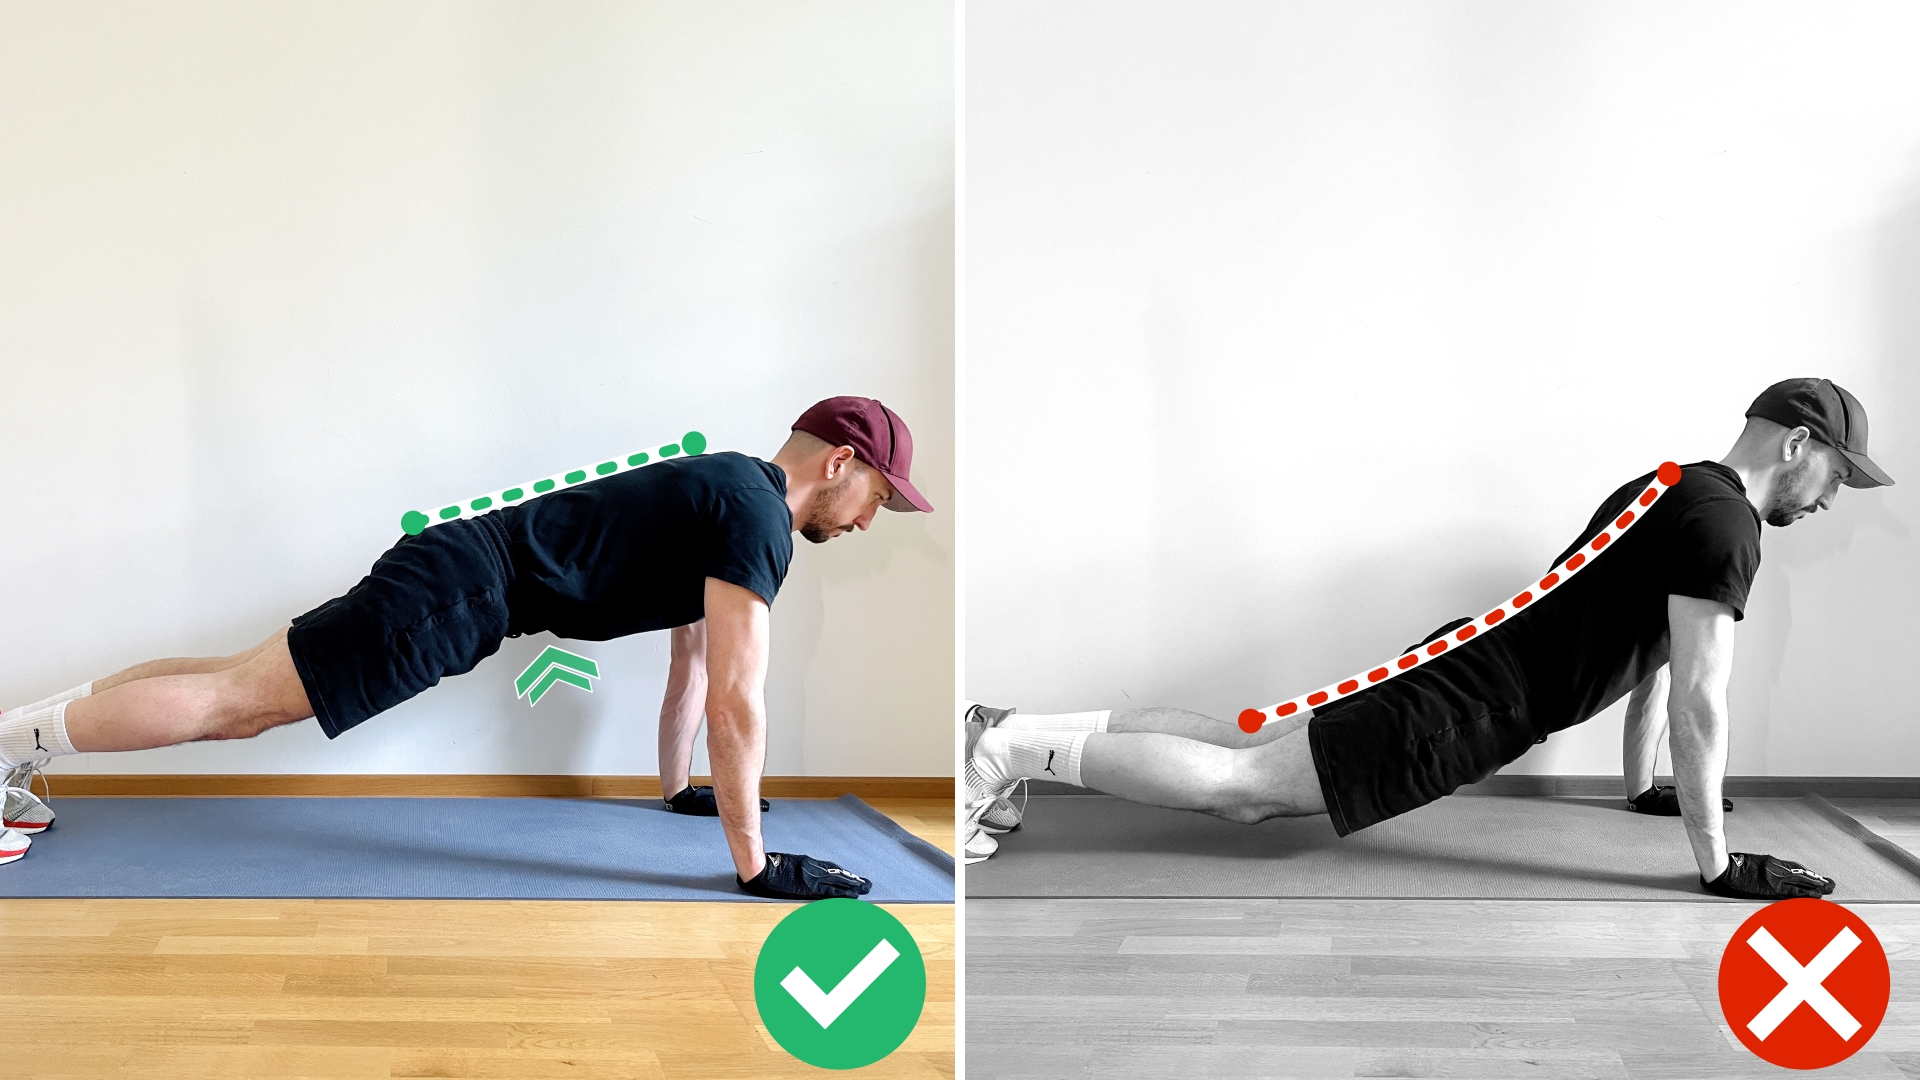
Assume your push-up position with hands slightly wider than shoulder width, fingers pointing forward. The band’s anchor points must sit securely beneath your palms—if the band slips during descent, it’s positioned too high on your back. Engage your core to maintain a straight line from head to heels, avoiding hip sag or raised buttocks that compromise spinal alignment. For wrist comfort, keep your wrists in neutral position directly below shoulders, or use push-up handles if joint stress occurs with heavier bands.
Execute Flawless Banded Push-Up Form in 3 Phases
Controlled movement quality matters more with resistance bands than standard push-ups due to the increased tension. The eccentric (lowering) phase requires special attention—slowly descend for 2-3 seconds while keeping elbows at 45 degrees from your torso. The band increases resistance as you lower, making the bottom position significantly harder than standard push-ups. Avoid flaring elbows outward, which strains shoulder joints under the added load.
At the transition point, pause briefly with your chest nearly touching the floor and elbows fully bent. This isometric hold maximizes muscle activation where traditional push-ups provide minimal resistance. During the concentric (pushing) phase, drive upward while maintaining core tension, exhaling as you overcome the band’s maximum resistance at lockout. Squeeze your chest muscles at the top position without hyperextending your elbows. Rushing repetitions reduces effectiveness—each rep should feel challenging but controlled.
Why Banded Push-Ups Outperform Standard Variations

How to use resistance bands for push ups properly delivers measurable advantages over traditional versions. Research shows banded push-ups increase chest muscle activation by 20-40% throughout the full range of motion, especially at the bottom position where gravity provides minimal resistance in standard variations. The continuous tension forces your triceps to work harder during lockout while significantly increasing anterior deltoid engagement.
The progressive overload capability makes resistance band push-ups sustainable for long-term development. Unlike bodyweight-only training that requires mastering increasingly difficult variations, simply switching to a heavier band provides measurable intensity progression. This scalability supports continuous strength development whether you’re a beginner or advanced athlete—no gym membership required. Plus, the minimal equipment footprint means you can train effectively anywhere, eliminating location-based training interruptions.
Fix These 3 Common Resistance Band Push-Up Mistakes Immediately
Band slippage ruins resistance consistency and creates discomfort during repetitions. This occurs when bands sit too high on your back or when using overly smooth materials over clothing. Solve this by positioning the band lower (below shoulder blades), using fabric bands for superior grip, or applying the band directly against skin rather than clothing. Body alignment breakdown—sagging hips or raised buttocks—compromises form as fatigue sets in. Engage your core throughout each repetition and reduce band resistance when form deteriorates.
Incomplete range of motion severely limits muscle development. Many practitioners unconsciously stop short of full chest descent or fail to achieve complete arm extension at the top. Place a towel on the floor as a visual depth target and count seconds during the lowering phase to ensure full movement execution. Never sacrifice range of motion for additional repetitions—quality always trumps quantity in strength development.
Follow This Progressive Training Plan Based on Your Fitness Level
Beginners (Weeks 1-4) should perform 3 sets of 8-10 reps with light resistance (15-25 lbs), resting 60-90 seconds between sets. Train 3 non-consecutive days weekly, focusing exclusively on form mastery rather than repetition count. Intermediate lifters (Weeks 5-12) progress to medium resistance (35-55 lbs) for 4 sets of 6-8 reps or 3 sets of 10-12 reps depending on strength versus endurance goals. Increase training frequency to 4 days weekly while adding complementary pulling exercises.
Advanced athletes (Week 13+) utilize heavy resistance (60-100+ lbs) for 5-6 sets of 3-5 reps, incorporating advanced variations like archer or diamond push-ups. Implement deload weeks every 4-6 weeks by reducing resistance 40% and volume 30% to prevent overtraining. Track your band resistance and rep performance weekly to ensure consistent progressive overload without plateaus.
Pair Banded Push-Ups with These Complementary Exercises
Balanced upper body development requires pairing your how to use resistance bands for push ups routine with adequate pulling movements. Perform band pull-aparts immediately after push-up sets—3 sets of 15-20 reps with light resistance—to strengthen rear delts and upper back muscles that stabilize your shoulders during pressing movements. Anchor a band beneath your feet for horizontal rows, pulling handles toward your torso while keeping elbows close to your sides to develop latissimus dorsi strength that counterbalances push-up volume.
Don’t neglect core stability—plank variations with band resistance significantly improve push-up performance by enhancing full-body tension control. Wrap a band around your lower back during planks to create anterior loading that forces greater core engagement. For lower body balance, incorporate banded squats or glute bridges on push-up training days to maintain functional movement patterns that support athletic performance.
Safety First: Critical Considerations for Injury-Free Training
Wrist-sensitive practitioners should use push-up handles that maintain neutral wrist alignment or reduce range of motion to avoid extreme flexion at the bottom position. Shoulder conditions require immediate modification—stop any variation causing impingement pain and focus on controlled tempo with reduced resistance. Consult a physical therapist before incorporating banded push-ups if you have existing shoulder instability or rotator cuff issues.
Manage training volume carefully—banded push-ups create greater stimulus than bodyweight versions of equal repetition counts. Beginners should limit initial sessions to 3 sets, 3 times weekly, assessing recovery before increasing volume. Never train through sharp joint pain—persistent discomfort signals the need for immediate modification or professional consultation. Remember that consistent, sustainable training beats occasional extreme sessions for long-term strength development.
Resistance band push-ups deliver unparalleled versatility for building upper body strength anywhere. By selecting appropriate resistance, mastering perfect form, and implementing progressive overload, you’ll transform this fundamental exercise into your most effective chest-building tool. Start light, prioritize technique, and gradually increase challenge as your strength improves—proper implementation of how to use resistance bands for push ups will deliver measurable results within weeks. Keep your bands accessible, integrate complementary pulling work, and enjoy continuous progress without gym dependency.


