
Imagine finishing your morning swim practice feeling stronger and more powerful in the water, all because of just 15 minutes of targeted resistance band work. Competitive swimmers worldwide are discovering that resistance bands provide the perfect supplemental training to build swimming-specific strength without bulky equipment. Unlike traditional weights that only challenge muscles in one direction, resistance bands create constant tension throughout your entire stroke motion, mimicking the water’s resistance you face in the pool. This portable training solution fits in your gym bag, works in hotel rooms during competitions, and delivers measurable improvements in your pull strength, kick power, and overall stroke efficiency.
The magic of resistance bands lies in their ability to isolate and strengthen the exact muscle sequences you use during each stroke cycle. When you perform band exercises that replicate your swimming motions, you’re building neuromuscular pathways that directly translate to faster times and less fatigue. Whether you’re a Masters swimmer looking to shave seconds off your personal best or a high school athlete preparing for championship season, incorporating these exercises into your routine just two or three times weekly can transform your performance. Let’s dive into exactly how to implement resistance band training for swimming success.
Build Swimming-Specific Strength with Proper Technique
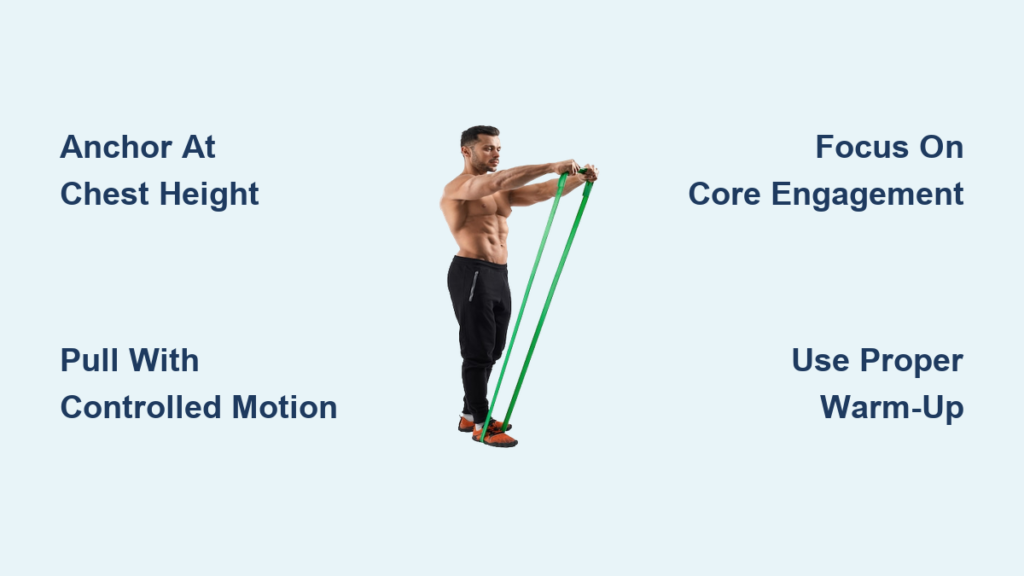
Resistance bands uniquely target the precise muscle groups that drive your swimming performance: lats, chest, shoulders, and core. Anchor your band at chest height and grip the handle with one hand, stepping back until you feel moderate tension. Pull your arm backward in a smooth swimming motion while keeping your elbow slightly bent and core engaged. What you’re looking for is a clean movement pattern that matches your in-water stroke—your shoulder should stay down (not hiking toward your ear) and your wrist should remain firm throughout the pull.
Common mistake to avoid: Many swimmers jerk the band using momentum instead of controlled muscle engagement. Focus on a 2-second pull phase followed by a 3-second return to maximize muscle development. The eccentric (return) phase builds crucial strength for maintaining technique when fatigued during long swims.
How to Scale Resistance for Your Skill Level
Beginners should start with light or medium resistance bands, performing 3 sets of 10-12 repetitions per arm with perfect form. Intermediate swimmers can progress to medium or heavy bands for 3 sets of 8-10 reps. Advanced athletes might use double bands or anchor points further back for greater resistance at 3 sets of 6-8 reps. If you can complete all repetitions without feeling significant muscle burn by the final reps, increase resistance. If your form breaks down before completing the set, reduce resistance.
Essential Band Exercises for Freestyle Power

The freestyle pull phase creates the majority of your forward propulsion. For the single-arm freestyle pull, anchor the band at chest height and stand sideways to the anchor point. Pull your arm straight back toward your hip, keeping your elbow higher than your hand throughout the motion. Rotate your torso slightly with each pull to engage your core—this is what separates effective swimmers from those who just move water. Complete 3 sets of 10 repetitions per arm, resting 45 seconds between sets.
Fix Your Recovery Phase with Band Training
Many swimmers neglect the recovery phase, leading to shoulder strain and wasted energy. Anchor the band overhead and stand facing away from the anchor point. Reach forward with one arm while resisting the band’s pull, then slowly return to your side. This trains the muscles that control your arm during recovery, preventing shoulder impingement and improving stroke rhythm. Perform 2 sets of 12 slow repetitions per arm, focusing on keeping your shoulder down and relaxed.
Master Butterfly and Breaststroke with Targeted Drills
Butterfly requires explosive power from your chest and back. For the butterfly pull, anchor the band at waist height and stand facing the anchor. Perform simultaneous arm pulls with elbows high, finishing with hands near your hips. The band resistance forces your muscles to work harder through the entire range of motion. Complete 3 sets of 8 controlled repetitions, emphasizing a smooth transition from pull to recovery.
Pro tip: Add a slight knee bend during the pull to engage your core and mimic the undulating body motion of actual butterfly. This builds the connection between upper body power and body positioning.
Breaststroke Kick Strengthener
Loop a light resistance band around both ankles while standing with feet shoulder-width apart. Perform controlled breaststroke kicks, focusing on the whip-like motion that generates propulsion. The band creates resistance during the recovery phase, strengthening the often-neglected muscles that initiate the kick. Do 2 sets of 15 kicks, keeping your core tight to prevent excessive body sway.
Strengthen Your Core and Kick Power

The Pallof press builds the anti-rotation strength crucial for maintaining body position during swimming. Anchor the band at chest height and stand sideways to the anchor. Hold the band handle at your sternum and press straight out while resisting rotation. Hold for 3 seconds, then return slowly. Perform 3 sets of 10 repetitions per side, keeping your hips square to the anchor point throughout.
Vertical Kick Power Builder
Attach a band to a low anchor point and loop it around one ankle. Stand tall and perform flutter kicks against the resistance, focusing on initiating movement from your hips rather than your knees. Complete 3 sets of 20 kicks per leg, keeping your core engaged to prevent leaning. This exercise builds the endurance needed for strong kicking during the final laps of a race.
Create Effective Training Workouts
For strength development, use heavy resistance with 3-4 sets of 6-8 repetitions and 2-3 minutes rest between sets. Schedule these sessions on your dryland days or after easy swim practices. For muscular endurance, choose medium resistance with 5 sets of 15-20 repetitions and 30-60 seconds rest. Incorporate these during the competitive season to maintain fitness without excessive fatigue.
Time-saving shortcut: Combine band exercises into supersets—pair a pulling movement with a complementary core exercise with minimal rest between them. This keeps your workout under 20 minutes while maximizing training efficiency.
Avoid Common Training Mistakes
Skipping proper warm-up before band training dramatically increases shoulder injury risk. Spend 5 minutes performing arm circles and light band pulls with minimal resistance before starting your main workout. Never rush through repetitions—each set should feel challenging but maintainable with perfect form. If you find yourself swinging your body to complete the movement, reduce resistance immediately.
Critical warning: Stop any exercise causing shoulder pain. Resistance band training should create muscle fatigue, not joint pain. Consult a physical therapist specializing in swimmer’s shoulder if discomfort persists.
Select the Right Equipment
Latex bands provide the most consistent resistance throughout the movement range and come in color-coded resistance levels. Start with light (yellow) and medium (green) bands for upper body work and medium (green) and heavy (blue) for lower body exercises. Fabric bands work better for leg exercises as they won’t roll or pinch your skin during lateral movements.
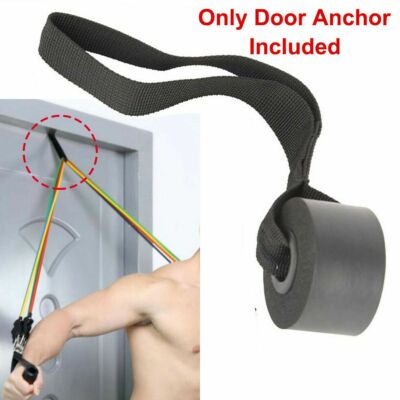
Expert note: Invest in a door anchor system that allows you to create secure anchor points anywhere. This expands your exercise options significantly without requiring expensive gym equipment.
Maximize Your Training Results
Track your progress by recording which band color, sets, and repetitions you complete each session. Every 4-6 weeks, test your maximum repetitions with a specific resistance to measure improvement. Integrate band training strategically—perform lighter sessions after hard swim practices and more intense sessions on rest days or before easy swims.
Pro tip: Perform band exercises immediately before swimming to activate the same muscle groups you’ll use in the water. This “priming” effect enhances neural connection and can improve technique during your subsequent swim workout.
Stay Consistent for Long-Term Improvement
Commit to resistance band training for at least 8 weeks before expecting noticeable improvements in your swimming. Schedule two 15-20 minute sessions weekly—consistency matters more than duration. Prepare your equipment the night before to eliminate barriers to completing your workout.
Key insight: The strength gains from band training typically appear in your swimming performance 2-3 weeks after your muscles adapt to the new stimulus. Trust the process and maintain your routine even when immediate results aren’t visible.
Resistance band training delivers swimming-specific strength improvements that directly translate to faster times and more efficient technique. By incorporating these targeted exercises into your routine with proper form and consistent effort, you’ll build the powerful stroke and resilient shoulders that separate good swimmers from great ones. Start with the fundamental exercises outlined here, progress gradually as your strength develops, and enjoy the measurable results in your next time trial. Remember, the most successful swimmers don’t just train hard—they train smart with purposeful, stroke-specific strength work that gives them an edge when it counts.


