
You’ve been faithfully logging miles on your stationary bike but feel like something’s missing from your routine. That nagging sensation that your upper body is taking a vacation while your legs do all the work? You’re not alone. Adding resistance bands to your stationary bike transforms a lower-body cardio session into a complete fitness experience that engages your entire muscular system. This simple modification creates constant tension across multiple muscle groups simultaneously, boosting calorie burn by up to 30% compared to standard cycling sessions. In this guide, you’ll discover exactly how to use resistance bands on stationary bike setups to maximize your workout efficiency without expensive equipment upgrades.
The magic happens when you combine the cardiovascular benefits of cycling with the muscular engagement of resistance training. Unlike traditional gym machines that isolate muscle groups, this integrated approach forces your core to stabilize against band tension while your arms actively pull against resistance. The result? A metabolic powerhouse workout that builds endurance, improves posture, and delivers visible results faster than cycling alone. Whether you’re recovering from injury, training for athletic performance, or simply trying to make your home workouts more effective, mastering resistance band integration will revolutionize your stationary bike sessions.
Why Your Stationary Bike Needs Resistance Bands Now
Most riders don’t realize they’re missing 70% of their potential workout by ignoring upper-body engagement during cycling sessions. Traditional stationary bike workouts create a muscular imbalance where legs develop strength while the upper body remains passive. Adding resistance bands eliminates this gap by creating continuous tension that forces your back, shoulders, and arms to work throughout each pedal stroke. This integrated approach activates stabilizer muscles that standard cycling ignores, improving overall functional strength that translates to better performance in daily activities and sports.
The metabolic advantage of band-assisted cycling makes it particularly valuable for time-crunched fitness enthusiasts. When multiple muscle groups work simultaneously, your body requires significantly more energy to sustain the effort. This increased energy demand elevates heart rate beyond standard cycling, creating an afterburn effect that continues burning calories for hours post-workout. Riders consistently report feeling the difference within just two sessions—your shoulders will engage during pulls, your core will tighten to maintain stability, and your entire body will feel the comprehensive burn that signals effective training.
Choosing the Perfect Resistance Bands for Cycling
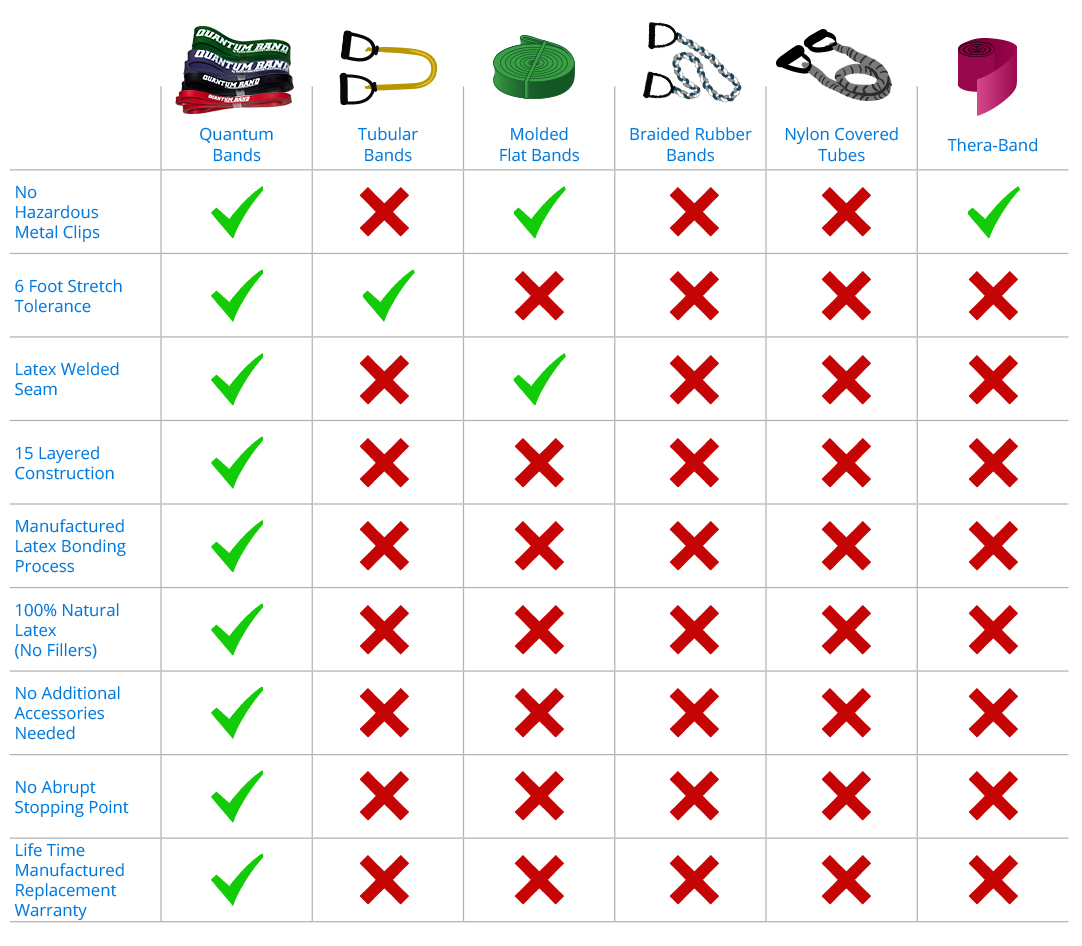
Selecting appropriate bands requires matching resistance levels to your current fitness rather than opting for maximum tension. Start with medium resistance loop bands (typically yellow or green) that measure 41-48 inches when unstretched. These provide sufficient challenge without compromising your pedal stroke mechanics. As you progress, incorporate heavier bands (blue or black) for strength-focused sessions while maintaining medium bands for endurance work. Avoid cheap, thin bands that lose elasticity quickly—invest in natural latex or high-quality synthetic rubber that maintains consistent tension through hundreds of stretches.
Fabric resistance bands with buckle attachments offer superior stability for beginners learning how to use resistance bands on stationary bike. These wide, flat bands distribute pressure evenly across your hands and body, eliminating the pinching sensation common with loop bands. Look for models with double-stitched seams and reinforced handles that won’t slip during intense sessions. The key is finding bands that maintain tension throughout your full range of motion—test them by performing your intended exercises off the bike first to ensure smooth resistance without sudden spikes in difficulty.
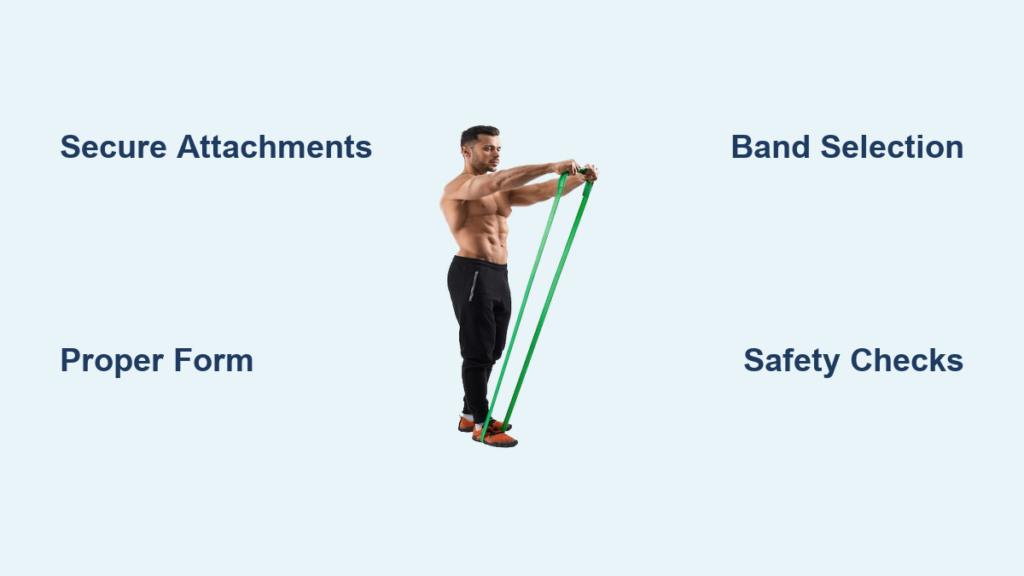
Secure Attachment Methods That Won’t Damage Your Bike
Improper band placement causes most resistance band accidents on stationary bikes, so mastering secure attachment is non-negotiable. For upper-body exercises, wrap loop bands once around the handlebar stem just below the grips, creating a secure anchor point that won’t slip during pulls. Test the attachment by applying firm tension before mounting the bike—any movement indicates insufficient wrapping. Never anchor bands to moving parts like pedals or flywheels, as this creates dangerous entanglement risks and can damage your equipment.
When targeting lower-body muscles, position bands around the rear stabilizer legs at knee height. This placement creates optimal resistance for glute and hip abductor activation during pedal strokes. For riders using upright bikes, wrap bands around the seat post base, ensuring they sit securely against the frame rather than sliding during movement. Always leave at least two inches of band overlap when wrapping to prevent slippage, and check attachment points every five minutes during your workout to confirm security.
Perfect Form Techniques for Maximum Results
Maintaining proper posture while using resistance bands on stationary bike separates effective sessions from wasted effort. Keep your spine neutral with shoulders pulled back and down—imagine balancing a book on your head throughout the workout. This positioning prevents the hunched posture that causes neck and shoulder strain during band-assisted cycling. Your core should remain actively engaged, not rigid, allowing slight movement while maintaining overall stability against band tension.
When performing pulling motions, initiate movement from your shoulder blades rather than your arms. Squeeze your scapulae together at the end of each pull, holding for one second before returning to start position. This technique maximizes back muscle engagement while minimizing strain on smaller shoulder muscles. For lower-body band exercises, maintain a smooth circular pedal stroke—focus on pulling up through the bottom of the stroke rather than just pushing down. This subtle adjustment dramatically increases glute and hamstring activation when bands create lateral resistance against your legs.
Three Proven Band Cycling Workouts You Can Start Today
Beginners should try the 15-minute Total Body Activation Routine: Warm up for 5 minutes with light resistance, then attach a medium band to the handlebars. Perform 3 minutes of alternating arm rows (pulling one arm at a time toward your hip), followed by 3 minutes of simultaneous chest presses (pushing bands forward). Reanchor the band to the rear stabilizer and cycle for 4 minutes with bands positioned above knees, focusing on outward pressure against the resistance. Cool down with 5 minutes of easy pedaling while maintaining core engagement.
Intermediate riders will benefit from the Metabolic Burn Circuit: Complete 45 seconds of high-intensity band rows followed by 15 seconds of rest, then 45 seconds of band-resisted lateral leg lifts (alternating sides) with 15 seconds rest. Follow with 45 seconds of forward band presses and 15 seconds rest. Repeat this circuit four times with 60 seconds between rounds. This workout elevates heart rate while building muscular endurance, creating the perfect balance between cardio and strength.
Advanced athletes should implement the Power Endurance Protocol: Attach a heavy band to the handlebars and maintain high-cadence pedaling while performing explosive pull-ups against resistance (3 sets of 8-10 reps). Follow with single-leg pedaling against band resistance (3 sets of 30 seconds per leg), focusing on controlled movements throughout the entire range of motion. Finish with isometric holds—maintain a static position against maximum band tension for 20 seconds while continuing to pedal with the opposite leg. This protocol builds functional strength that translates directly to real-world athletic performance.
Critical Safety Checks Before Every Session
Before starting your resistance band cycling session, perform these three essential safety checks: First, inspect bands for nicks, tears, or weak spots by stretching them slightly between your hands—any discoloration or thinning indicates replacement is needed. Second, verify all attachment points by applying firm tension off the bike—bands should remain completely stationary with no slipping. Third, ensure clear space around your workout area, removing anything that could interfere with band movement or cause tripping hazards.
Never position your face in the direct path of band tension—this common mistake causes most band-related injuries. When performing pulling motions, keep your head slightly back and eyes forward to avoid facial contact if a band snaps. Maintain proper band tension by starting each session with minimal stretch—bands become significantly more challenging as they elongate, so what feels manageable at the start may become dangerous by workout’s end. If you hear snapping sounds or feel uneven tension during your session, stop immediately and replace the band.
Pro Tips for Long-Term Progression
Track your band cycling progress by recording three key metrics: workout duration at specific resistance levels, perceived exertion on a 1-10 scale, and completion of target repetitions for each exercise. This data reveals your true progress beyond just how you “feel” after workouts. When you can complete all sets with proper form and moderate effort (rating of 6-7), it’s time to increase resistance or complexity.
Incorporate periodization by alternating between strength-focused weeks (heavier bands, lower repetitions) and endurance-focused weeks (lighter bands, longer durations). This strategic variation prevents plateaus while allowing adequate recovery. Always schedule at least one complete rest day between intense band cycling sessions—your muscles need 48 hours to fully recover and adapt to the combined cardio-resistance stimulus. The most successful riders treat band-assisted cycling as a complementary training method rather than their sole workout approach, integrating it strategically within their broader fitness program for maximum results.


