
Resistance bands with handles have revolutionized home fitness by providing gym-quality strength training in a portable, affordable package. Unlike traditional free weights, these versatile tools deliver progressive resistance that increases throughout each movement, challenging your muscles at their strongest points while reducing joint strain. Whether you’re rehabbing an injury, traveling frequently, or building a complete home gym on a budget, mastering how to use resistance bands with handles properly unlocks full-body strength development anywhere. This guide reveals the exact techniques, anchor points, and exercise variations that transform your bands from simple stretchy tubes into powerful muscle-building tools, with actionable steps you can implement immediately for noticeable strength improvements within weeks.
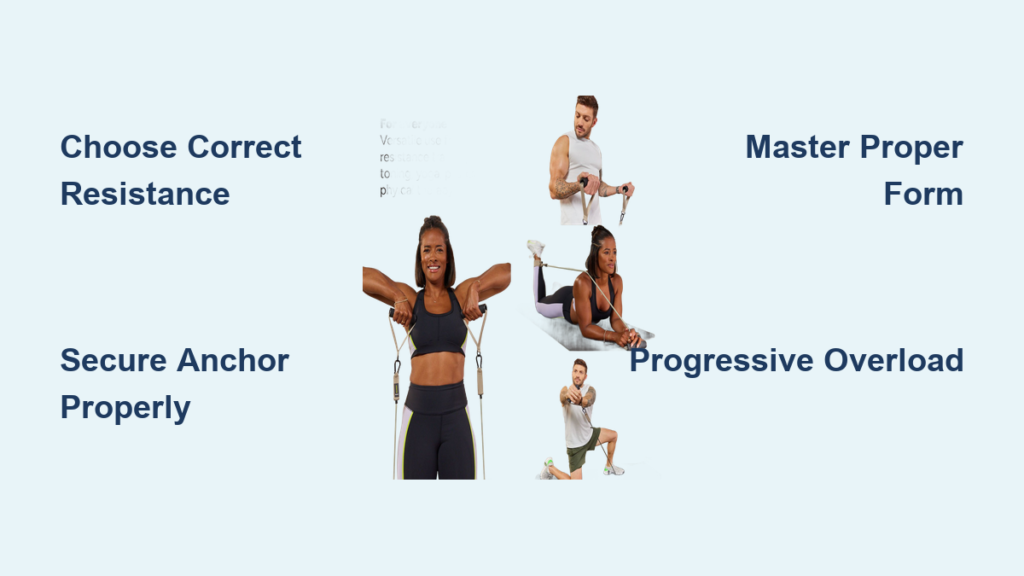
Proper Band Selection and Resistance Levels
Choosing the right resistance band with handles makes the difference between effective training and frustrating plateaus. These bands typically feature color-coded resistance levels ranging from extra light (yellow) to extra heavy (gray), with most manufacturers following a standard progression: yellow (light), green (medium-light), blue (medium), black (medium-heavy), and red (heavy). Your ideal starting point depends on both your current strength level and the specific muscle group you’re targeting—lighter bands work best for smaller muscles like shoulders and arms, while heavier bands challenge your back, chest, and legs.
When testing resistance levels, perform a trial set of bicep curls: if you can complete 15-20 repetitions with perfect form while feeling significant fatigue in the last 5 reps, that band provides appropriate resistance. Many fitness enthusiasts maintain a full set of resistance levels to accommodate different exercises—using lighter bands for shoulder isolation movements while progressing to heavier bands for compound lifts like rows and presses. Always inspect bands for nicks, fraying, or discoloration before use, as damaged bands can snap unexpectedly during intense contractions.
How to Test Your Band’s Resistance Level Accurately
Stand with feet shoulder-width apart, place the band under both feet, and hold handles at your sides. Perform slow, controlled bicep curls while paying attention to three critical points: the starting position (when your arms are fully extended), the midpoint (when your forearms are perpendicular to the floor), and the top position (when your hands reach shoulder height). If resistance feels too light at the top position but challenging at the start, you’ve selected too light a band. Conversely, if you struggle to complete the full range of motion, move to a lighter resistance. This three-point assessment ensures consistent tension throughout each movement.
Secure Anchoring Techniques for Every Exercise

Your workout’s effectiveness hinges entirely on proper band anchoring—unstable anchors lead to inconsistent resistance and potential injury. For upper body pulling movements like rows and face pulls, door anchors provide the most reliable setup. Position the anchor strap through the upper third of a solid interior door (never glass or hollow-core doors), close the door securely, and test the anchor by tugging firmly three times before beginning your set. Always stand perpendicular to the door rather than directly in front of it to maintain proper movement mechanics.
Floor-Based Anchor Methods for Lower Body Exercises
When performing squats, lunges, or glute bridges, anchor the band under your feet with precise placement. Stand with the band centered across the balls of both feet, keeping your stance shoulder-width apart for squats or split for lunges. Maintain slight knee flexion to prevent the band from slipping forward during movement. For single-leg exercises, wrap the band around the arch of your working foot while keeping your non-working foot slightly behind for balance. This technique creates stable resistance that increases naturally as you stand up, perfectly matching your strength curve.
Mastering Essential Upper Body Exercises
The seated row forms the foundation of effective resistance band training with handles. Sit on the floor with legs extended, loop the band around your feet, and grasp handles with palms facing inward. Initiate the movement by squeezing your shoulder blades together while pulling elbows back along your torso’s sides. Your hands should finish near your lower ribcage with elbows slightly behind your body—never pull handles to your chest, as this shifts emphasis from your back to your arms. Control the return phase for three seconds to maximize muscle engagement, as the eccentric portion of resistance band exercises generates significant strength gains.
Chest Press Technique That Builds Real Strength
Anchor the band behind you at nipple height, grasp handles with palms facing forward, and step forward until you feel moderate tension with arms extended. Press handles forward while maintaining a slight bend in your elbows throughout the movement—never lock out your joints. Focus on squeezing your chest muscles together at the peak contraction rather than fully extending your arms. The unique resistance curve of bands provides less tension at full extension (when your muscles are weakest) and maximum tension at peak contraction (when your muscles are strongest), making proper form even more critical than with dumbbells.
Lower Body Training with Handle Bands
Squats with resistance bands create accommodating resistance that challenges your legs throughout the entire movement. Stand on the band with feet hip-width apart, holding handles at shoulder height with elbows pointing forward. Initiate the movement by pushing your hips back while keeping your chest up, descending until your thighs reach parallel to the floor. Drive through your heels to stand, allowing the band’s increasing tension to challenge your quads and glutes most intensely at the top of the movement. For added difficulty, pause for two seconds at the bottom position before rising.
Glute Bridge Variations That Target All Hip Muscles
Lie on your back with knees bent and feet flat on the floor, placing the band just above your knees. Hold the handles for stability while pressing your knees outward against the band’s resistance as you lift your hips toward the ceiling. Squeeze your glutes hard at the top position for two full seconds before lowering slowly. To emphasize different glute fibers, try these variations: single-leg bridges (lifting one foot off the floor), elevated bridges (placing shoulders on a bench), and banded kickbacks (anchoring the band to a stable object behind you).
Avoiding Critical Form Mistakes

Most resistance band injuries stem from improper form rather than equipment failure. The most common error involves using momentum instead of muscle control—swinging your body during rows or bouncing at the bottom of squats reduces effectiveness while straining joints. Always maintain tension throughout the entire range of motion; never allow the band to go slack between repetitions. Keep your core braced during all standing exercises to protect your spine, especially during rotational movements like woodchoppers.
Handle Grip Techniques That Prevent Slippage
Sweaty hands cause more workout interruptions than any other issue with resistance bands with handles. Combat this by gripping handles with your fingers wrapped completely around the textured portion, not just holding them in your palms. For heavy pulling movements, interlock your thumbs over your fingers in a “suicide grip” (though this requires extra caution). Apply athletic chalk to your hands before workouts if sweat is a persistent problem, and regularly clean handles with disinfectant wipes to maintain their grip texture.
Creating Effective Workout Programs
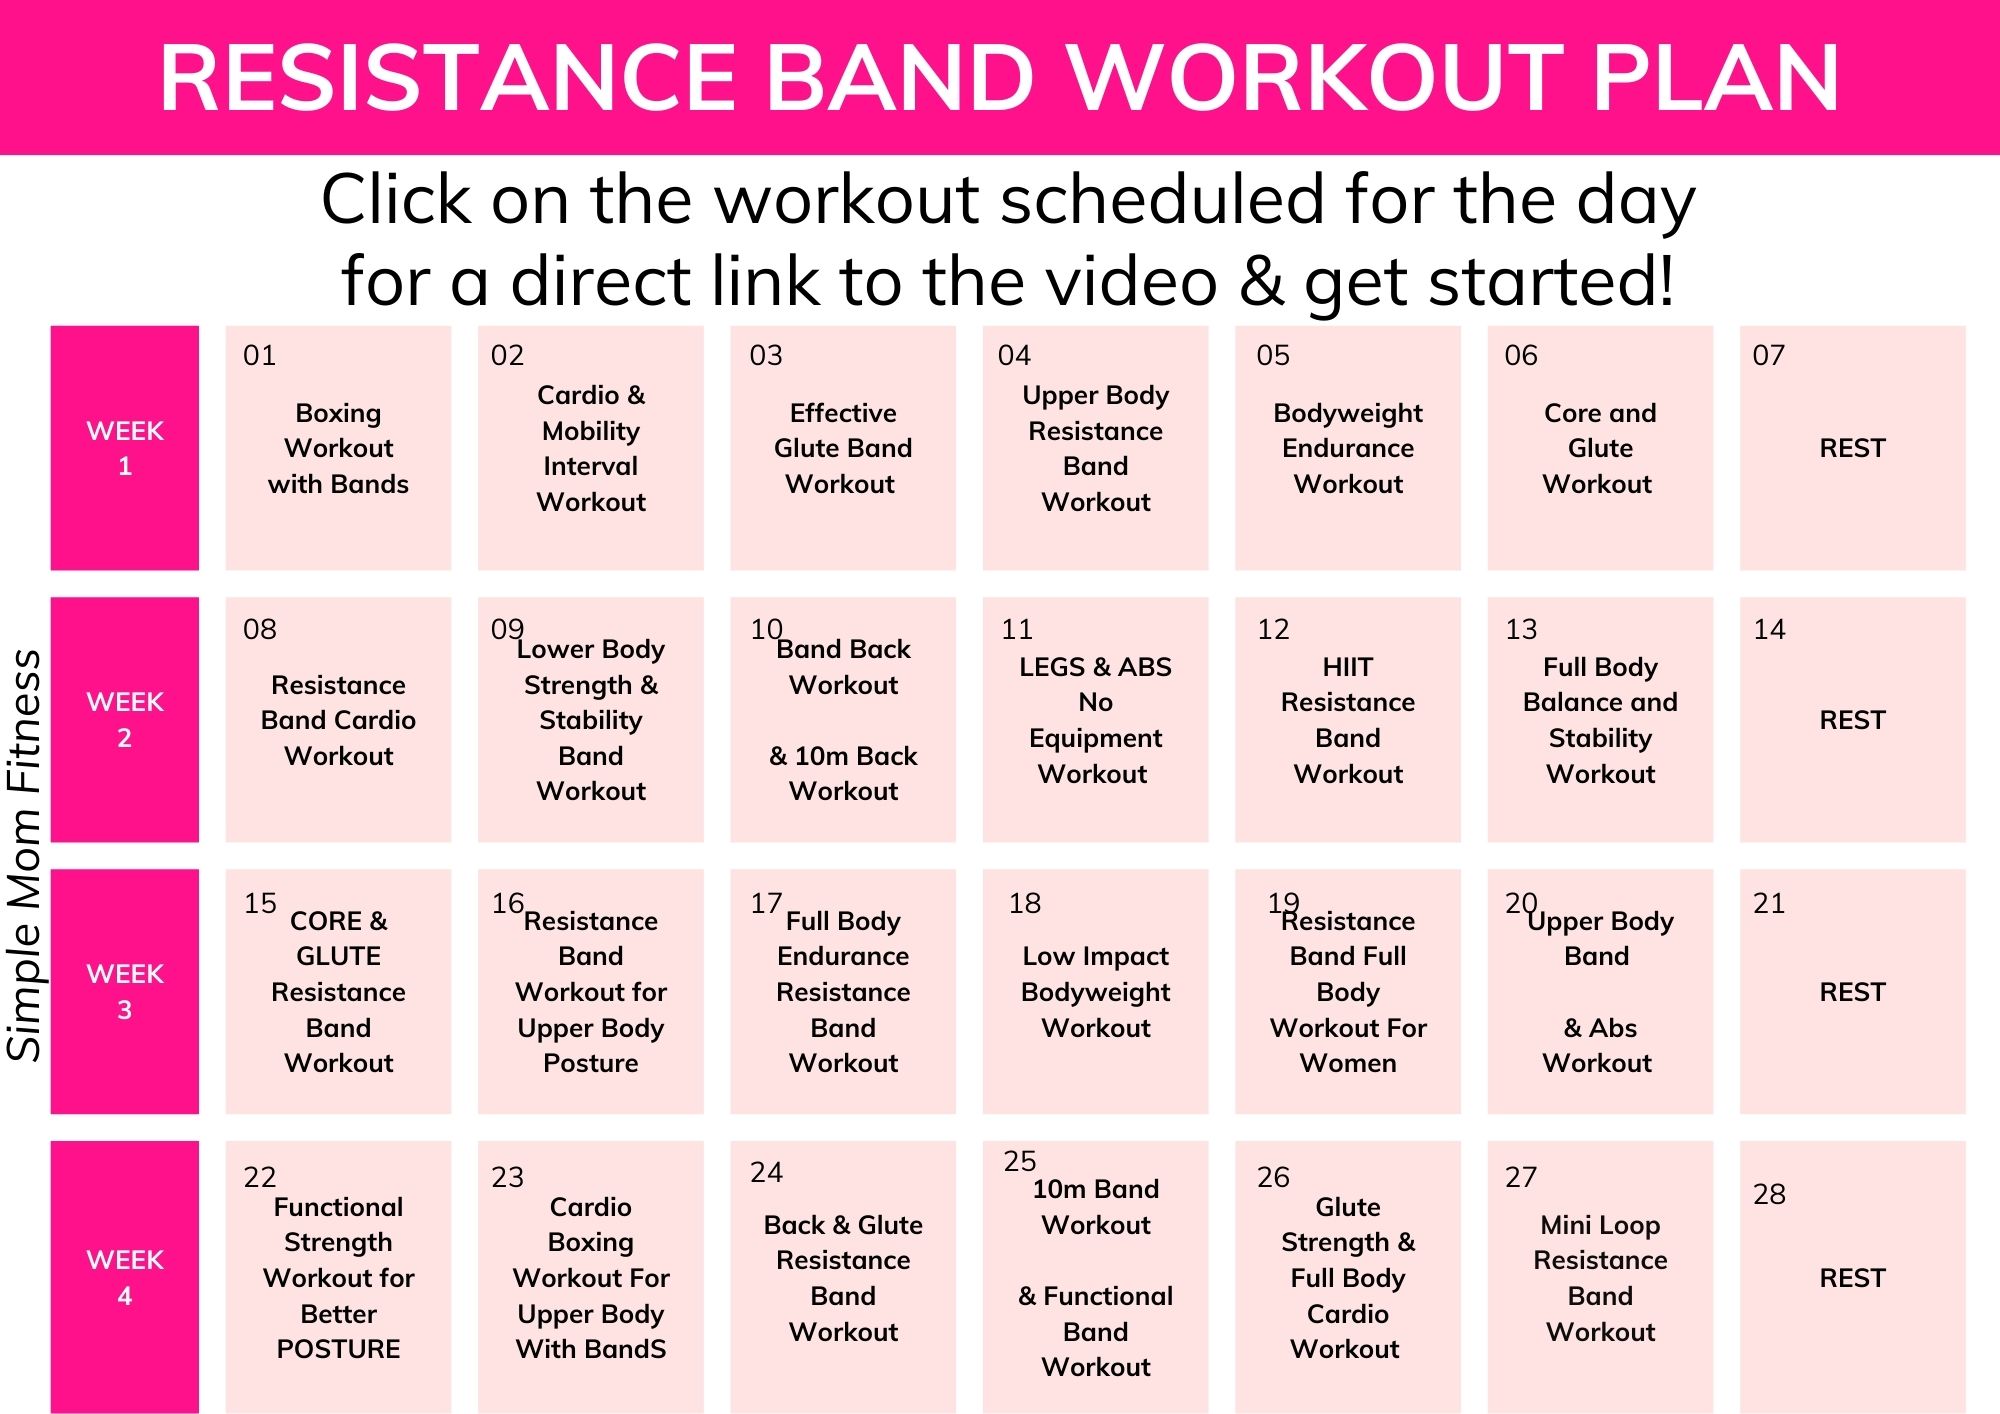
Beginners should start with full-body workouts twice weekly, focusing on mastering form with light resistance before progressing. Perform two sets of 12-15 repetitions for each major movement pattern: one horizontal pull (rows), one horizontal push (chest press), one lower body push (squats), and two isolation exercises (bicep curls, tricep extensions). Rest 60-90 seconds between sets, completing the entire circuit two times with 2 minutes of rest between circuits.
Progressive Overload Strategies for Continued Gains
After four weeks of consistent training, implement these progression methods: increase resistance level when you can complete all prescribed repetitions with perfect form; add one set to each exercise; reduce rest periods by 15 seconds; or increase time under tension by slowing the eccentric (return) phase. Track your progress in a dedicated notebook or fitness app, noting which resistance level you used for each exercise and how many repetitions you completed with proper form. This data reveals your true strength improvements beyond what the mirror shows.
Essential Maintenance and Safety Practices
Store resistance bands away from direct sunlight and extreme temperatures, as UV exposure and heat degrade elastic materials. After each workout, wipe handles clean with a disinfectant wipe to prevent sweat buildup that deteriorates grip surfaces. Inspect bands thoroughly before every use, paying special attention to connection points where handles meet the band—this area suffers the most stress and shows wear first. Replace bands immediately if you notice any nicks, discoloration, or changes in elasticity.
When traveling with resistance bands, never pack them in checked luggage where temperature extremes in airplane cargo holds can damage the material. Instead, roll them gently and store in your carry-on where temperature remains stable. For hotel room workouts, use the door anchor system only on solid interior doors—not sliding glass doors or hollow-core exterior doors that can’t withstand pulling forces.
Resistance bands with handles deliver gym-quality strength training without the expense or space requirements of traditional equipment when used correctly. By selecting appropriate resistance levels, mastering proper anchoring techniques, and maintaining perfect form through every repetition, you’ll build functional strength that transfers to real-world activities. Start with lighter resistance to establish proper movement patterns, progress gradually using documented metrics, and maintain your equipment diligently—these simple practices transform your resistance bands from casual fitness accessories into serious strength-building tools that deliver measurable results anywhere life takes you.


