
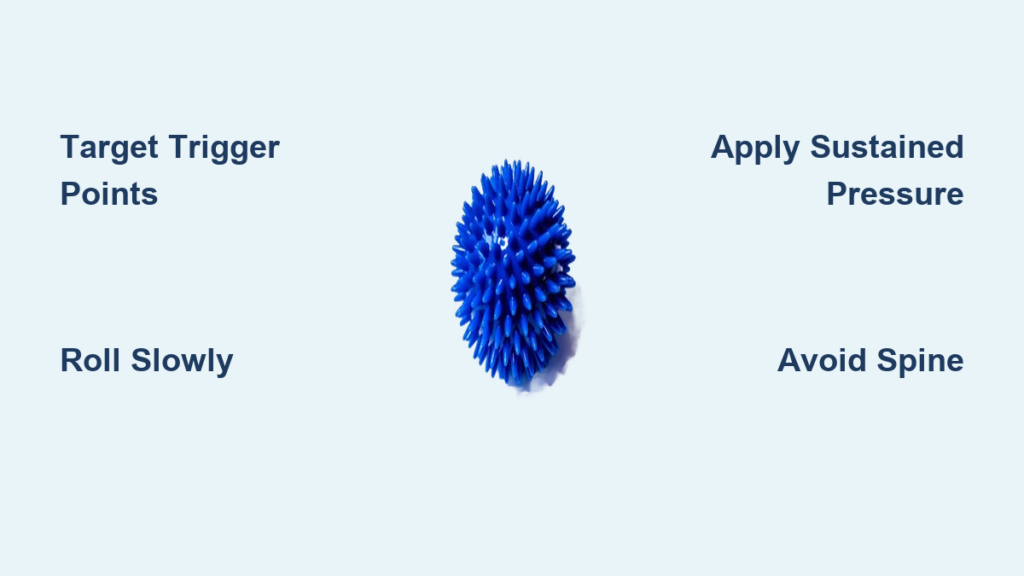
That stubborn knot in your shoulder won’t budge, your lower back feels like concrete after sitting all day, and your feet ache from morning commutes—this is exactly why learning how to use spiky massage ball techniques properly matters. Unlike smooth rollers that barely penetrate surface tension, spiky massage balls deliver concentrated pressure exactly where your muscles need it most. This comprehensive guide reveals precisely how to position, apply pressure, and target specific trouble spots for immediate relief you can feel within minutes.
The spikes on these compact therapy tools create hundreds of micro-pressure points that break through muscle adhesions regular balls can’t reach. When you learn how to use spiky massage ball techniques correctly, you’ll activate your body’s natural healing response, boost circulation to starved tissues, and melt away tension that’s been building for weeks. Forget expensive massage appointments—master these techniques and put professional-level pain relief literally at your fingertips.
Why Spiky Balls Outperform Smooth Massage Tools
The secret lies in the spike design’s ability to target specific trigger points while bypassing surface tissue. While smooth balls distribute pressure broadly across your muscle, the raised points on spiky massage balls create intense focal pressure that penetrates deeper into knotted fibers. This concentrated stimulation triggers immediate blood flow to the area while signaling tight muscles to release their grip.
You’ll notice the difference immediately when you properly position a spiky ball against tension spots. The spikes work like miniature acupressure tools, activating the same physiological responses as professional deep tissue massage. For chronic tension in areas like your upper trapezius or plantar fascia, this targeted approach delivers relief smooth tools simply can’t match.
Select Your Ideal Spiky Massage Ball

Choosing the right ball makes or breaks your self-treatment success. Beginners should start with softer silicone balls featuring rounded, moderate spikes that provide noticeable pressure without excessive discomfort. Experienced users often prefer firmer rubber or hard plastic options with sharper points for intense pressure on thick muscle groups like glutes and quads.
Consider these critical selection factors:
– Size: 2-3 inch balls target hands, feet, and neck; 4-5 inch balls cover back and glutes
– Material: Silicone = gentle; rubber/hard plastic = intense pressure
– Spike pattern: Evenly distributed points prevent uneven pressure
The perfect ball creates that satisfying “good hurt” sensation—you should feel therapeutic pressure but remain able to breathe deeply through it. Avoid balls with either dull spikes (ineffective) or excessively sharp points (risk of bruising).
Essential Safety Steps Before Starting
Skipping proper preparation turns your spiky massage session from therapeutic to harmful. Before applying pressure anywhere, ensure you’re working on muscle tissue—not bones or joints. Never place direct pressure on your spine, kneecaps, elbows, or ankles where minimal muscle padding exists between skin and bone.
Create your ideal treatment environment:
– Use a yoga mat or carpeted surface for floor work
– Warm the room to prevent muscle tightening
– Remove restrictive clothing for better access
– Keep a timer nearby to track pressure duration
Most importantly, perform 2-3 minutes of light movement first. Walk around or do arm circles to warm muscles—cold tissue responds poorly to pressure and increases injury risk. Proper preparation ensures you get maximum benefit while avoiding common mistakes that cause bruising.
Master the Basic Rolling Technique
The foundation of effective spiky ball use combines controlled rolling with strategic static pressure. Begin by positioning the ball beneath your target area, then slowly roll your body weight onto it. Move deliberately along the muscle’s length, watching for spots that feel particularly tight or tender.
When you find resistance, stop rolling and apply sustained pressure for 30-60 seconds. Breathe deeply as you maintain position—your exhales should gradually soften the muscle. If discomfort becomes sharp or unbearable, lighten pressure slightly rather than removing the ball entirely. This technique works exceptionally well for quadriceps, calves, and upper back muscles.
Release Upper Back Tension Against the Wall

Your upper back accumulates tension from desk work and stress, making it a prime target for spiky ball therapy. Position the ball between your shoulder blades and a wall, then slowly walk your feet up to increase pressure. Move the ball vertically along muscles parallel to your spine from neck to mid-back.
For precise targeting:
1. Stand with ball positioned at shoulder blade level
2. Lean back gently until you feel firm contact
3. Slowly walk feet up wall to increase pressure
4. Roll vertically 2-3 inches in either direction
5. Hold on tight spots for 30-60 seconds
Never press directly on your spine—focus on the thick muscle bands on either side. This wall technique gives you complete pressure control while preventing the ball from rolling unexpectedly.
Fix Tight Shoulders With Precision Pressure
Shoulder tension radiates into your neck and upper back, making this area critical for comprehensive relief. Target your trapezius muscles by positioning the ball against a wall at shoulder height. Lean into it and slowly rotate your torso to move the ball across the muscle surface.
For deeper rotator cuff work:
– Lie on your side with ball beneath shoulder blade
– Support head with opposite hand
– Slowly roll 2-3 inches in any direction
– Pause on tender spots for 30-60 seconds
The rear shoulder area often harbors tension that refers pain elsewhere. Apply medium pressure here—you’ll likely feel immediate release in seemingly unrelated neck tension.
Eliminate Glute and Hip Pain in 5 Minutes
Sitting all day creates stubborn tension in your glutes that contributes to lower back pain. Lie on your back with the ball positioned beneath one glute, then cross that ankle over your opposite knee. This position exposes maximum glute surface area for effective treatment.
Roll slowly to identify tight bands, then apply sustained pressure to release them. For piriformis muscle relief (deep in your glute), maintain position while slowly rotating your bent knee outward. Spend 3-5 minutes per side—you’ll notice dramatically improved hip mobility and reduced lower back strain.
Relieve Foot Tension While Working at Your Desk
Your feet absorb constant stress yet rarely get proper attention. Sit with one foot positioned on the ball and roll slowly from heel to toe. Apply pressure by pressing down with your other foot or hand, focusing on the arch and heel—common tension zones.
Standing variation for deeper pressure:
– Place ball on floor beside desk
– Rest foot on ball while standing
– Shift weight gradually onto ball
– Roll slowly from heel to ball of foot
– Spend 30 seconds on each tender spot
This technique works perfectly during work breaks and provides immediate relief for plantar fascia tension. You’ll walk with noticeably more comfort after just two minutes per foot.
Avoid These 3 Dangerous Massage Ball Mistakes
Many users unknowingly cause injury by making these critical errors:
Spine pressure: Never place direct pressure on your spine—only work on muscles beside it. Bony structures lack protective tissue and bruise easily.
Over-treating areas: Limit sessions to 5 minutes per muscle group. Excessive pressure causes inflammation that increases soreness for days.
Ignoring warning signs: Stop immediately if you feel sharp pain, numbness, or tingling. These indicate nerve compression—not therapeutic release.
If you have osteoporosis, blood clotting issues, or recent injuries, consult your doctor before using a spiky ball. Pregnant women should avoid hip and back treatment without professional guidance.
Maximize Results With Post-Session Aftercare
What you do after your spiky ball session determines how long relief lasts. Begin with 2-3 minutes of light rolling over treated areas to redistribute mobilized fluids. This cool-down phase prevents blood pooling that causes next-day soreness.
Follow with gentle stretching of worked muscles, holding each position for 20-30 seconds. This maintains the increased flexibility achieved during treatment. Most importantly, drink water—increased blood flow requires hydration to flush metabolic waste effectively.
Most users benefit from 2-4 sessions weekly, but listen to your body. If soreness persists beyond 48 hours, reduce pressure or duration in your next session. Consistent, proper use transforms your spiky massage ball from a novelty item into an essential pain-relief tool you’ll wonder how you lived without. Start with shorter sessions, gradually increasing as your body adapts, and experience professional-grade muscle release from the comfort of home.


