
You step onto the side rails, staring at a maze of buttons and flashing displays. The speed arrows, incline mountains, and mysterious icons make starting a simple walk feel like launching a rocket. This confusion wastes precious workout time and turns exercise into frustration. Mastering how to use a treadmill control panel transforms that anxiety into confidence—within minutes, you’ll navigate every function like a fitness tech pro. This guide cuts through the complexity with actionable steps verified by manufacturer specifications, so you maximize every session without guesswork.
Most users waste 15-20% of workout time fumbling with controls. But with the right approach, your console becomes a powerful fitness command center. You’ll learn to bypass common pitfalls that trigger error codes, leverage hidden features like automatic cool-down protocols, and use smart connectivity to stream entertainment seamlessly. Whether you’re a beginner or upgrading to a high-tech model, these techniques apply universally across brands like NordicTrack, ProForm, and Sole. Let’s turn confusion into control.
Locate Critical Console Components Before You Step On

Identify Left-Side Incline Controls and Safety Systems
Your left hand should naturally fall on incline controls marked with mountain icons. Below them, locate the red safety-clip recess—a magnetized slot where you’ll insert the tether cord. Always clip this cord to your shirt at rib-cage height before starting; if detached during movement, the belt stops in under 2 seconds. Critical mistake: Skipping this step risks injury during speed adjustments. Check for a solid green LED in the recess—no light means improper seating, triggering emergency shutdowns mid-run.
Pinpoint Right-Side Speed Controls and Emergency Stops
On the right, runner icons or “+” and “–” symbols govern speed. The green “Start” button sits centrally, while a large red paddle serves as the emergency stop. Pro tip: Run your fingers across these buttons while standing on the rails to build muscle memory. This prevents dangerous belt missteps when adjusting pace mid-stride. If you see flashing numbers after inserting the safety key, remove and reseat it—persistent errors indicate internal calibration issues needing service.
Execute Perfect Power-Up Without Error Codes
Complete 5-Second Startup Sequence Correctly
Insert the safety key until you hear a definitive click. Wait for the console to self-calibrate (3-5 seconds of motor whirring), displaying 0.0 mph and 0% incline. Rushing this phase causes “E1” errors. Visual cue: The deck should lower to floor level during calibration. If incline motors strain or beep, unplug the treadmill for 30 seconds to reset the system before retrying.
Configure First-Time Settings in Under 60 Seconds
New treadmills prompt for weight, age, and units (mph/km). Use the number pad to enter values, pressing “Enter” after each field. Why this matters: Incorrect weight entries skew calorie counts by 20-30%. For quick setup, press “Skip” to use defaults—but revisit settings later via “User Profile” to optimize heart-rate zone accuracy.
Adjust Speed Like a Seasoned Runner
Master Manual Speed Increments During Workouts
Press the “+” button once for 0.1 mph jumps; hold for continuous acceleration. Release instantly to lock your pace. Critical safety note: Jumps above 6 mph require double-press confirmation on most models to prevent accidental sprints. Budget treadmills cap at 10 mph, while premium units reach 12-15 mph—exceeding your model’s limit triggers “SPEED MAX” warnings.
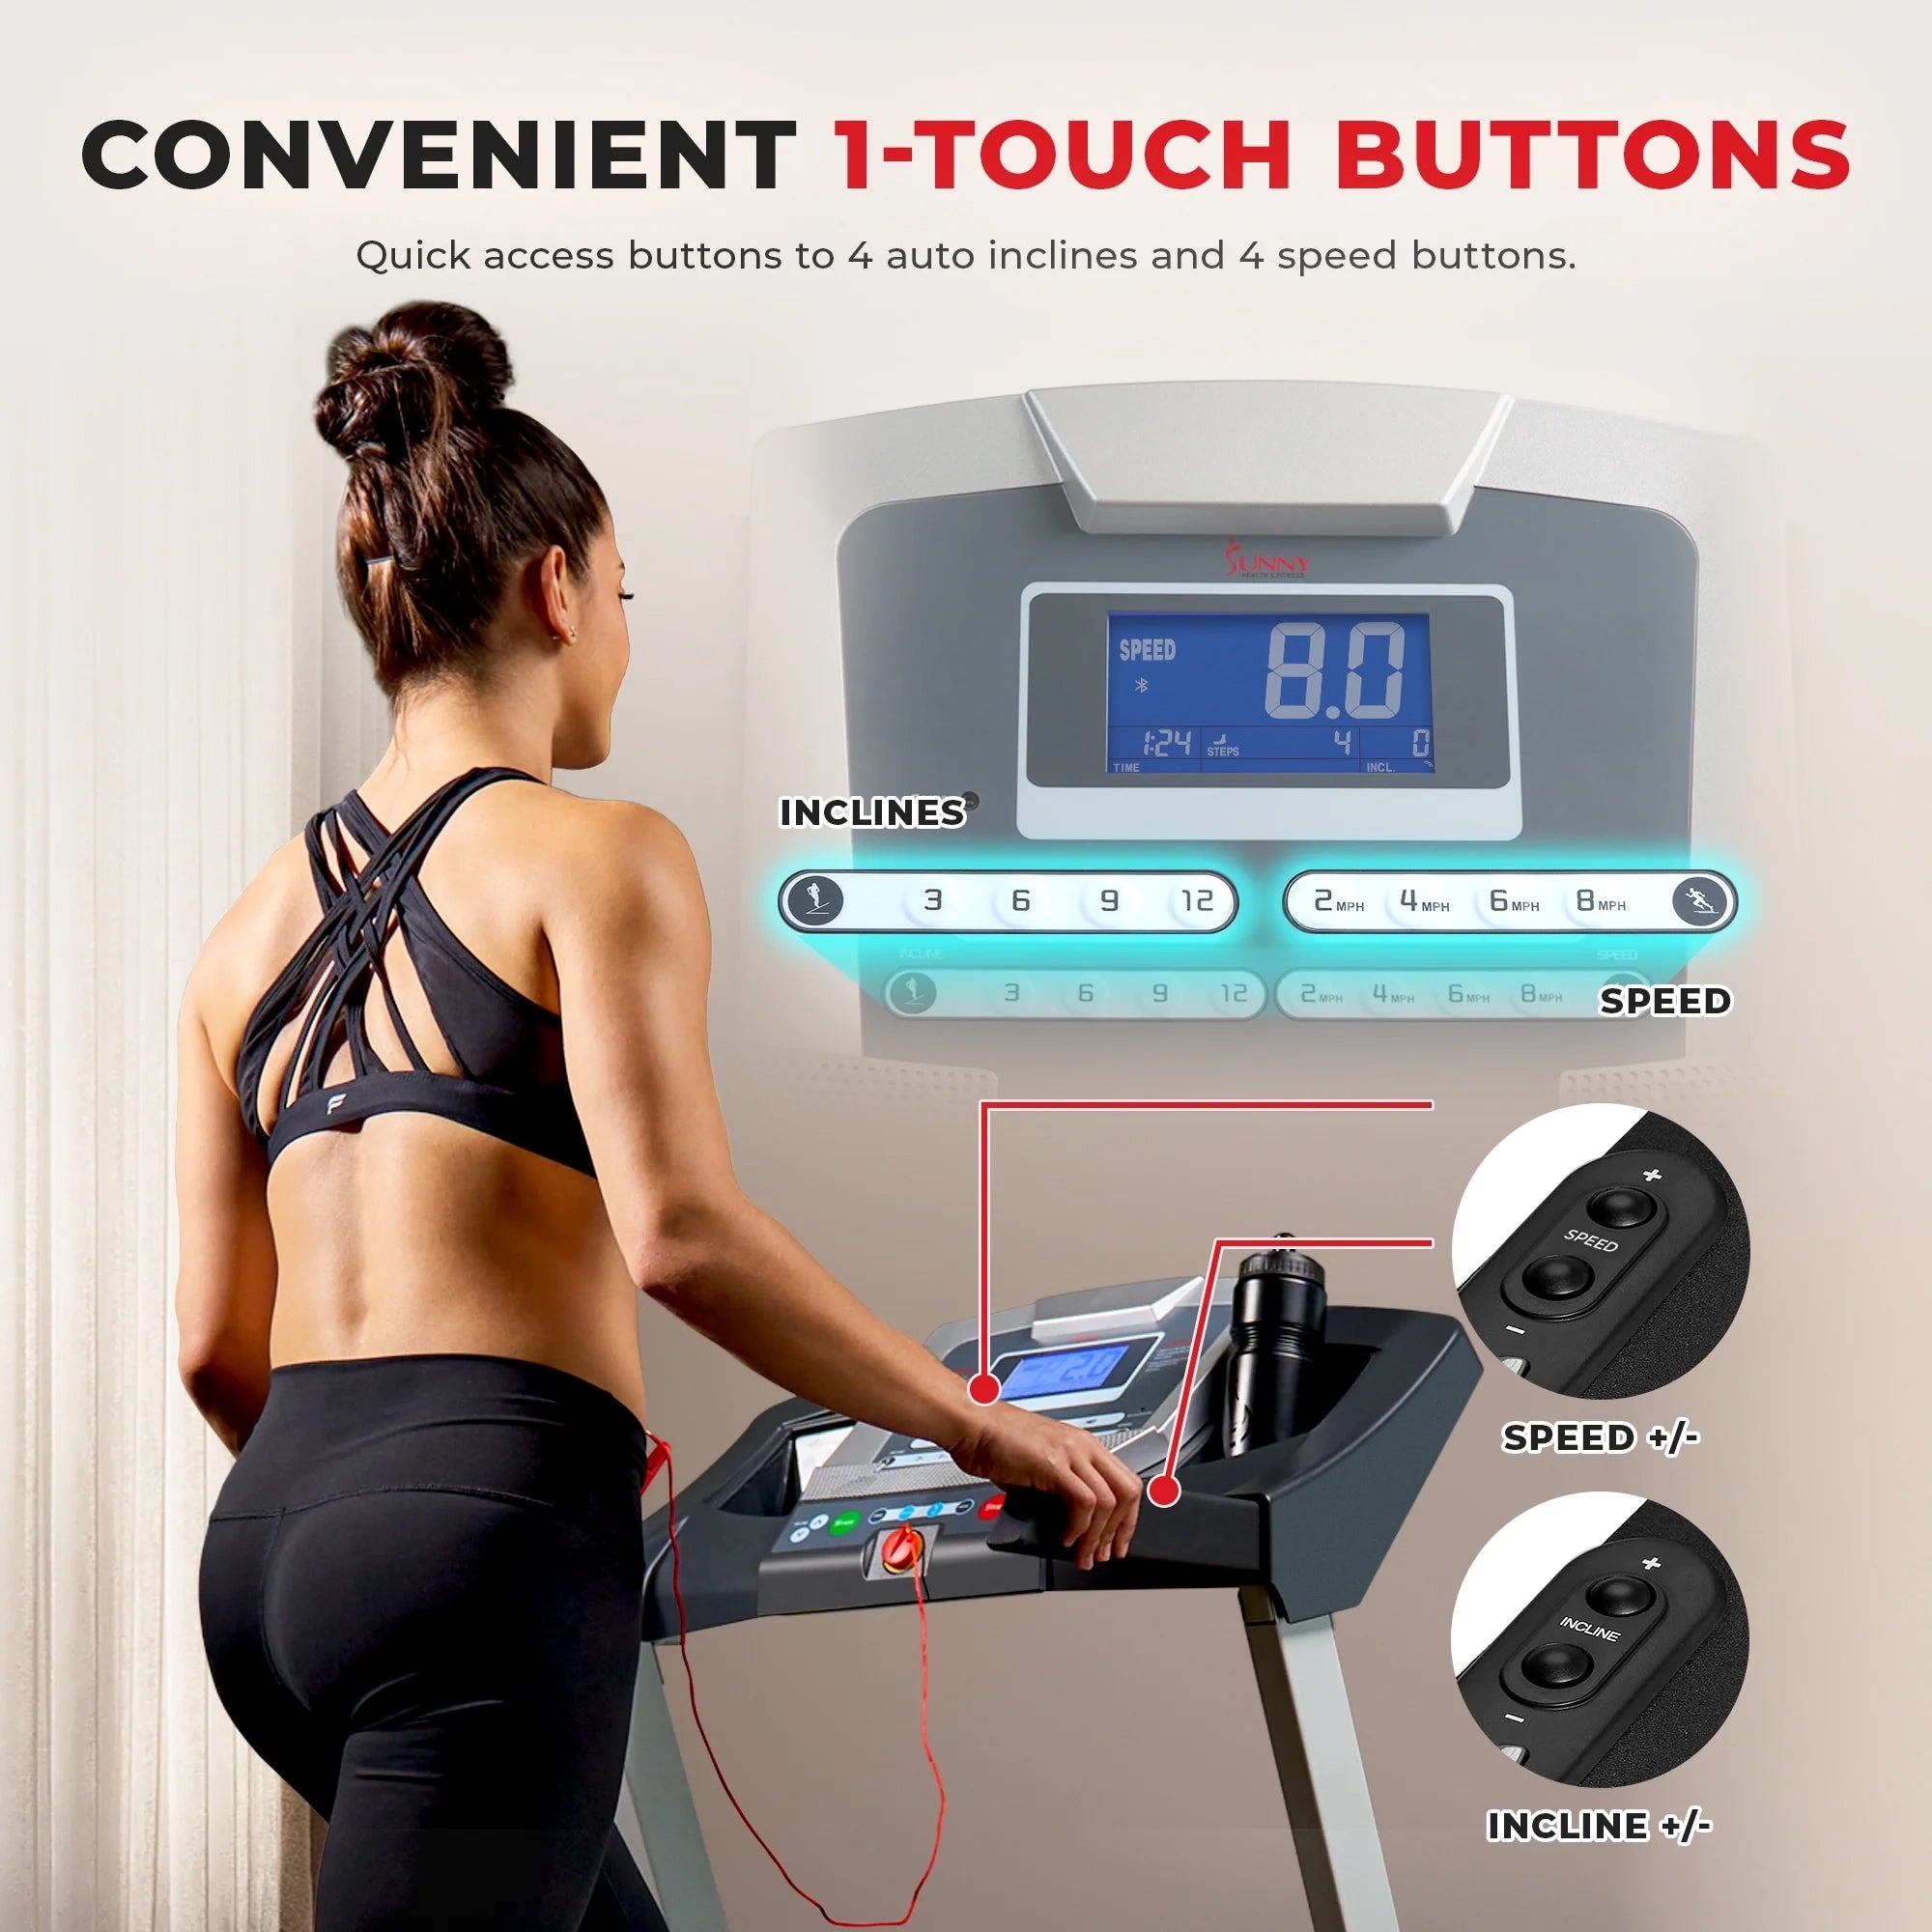
Activate Quick-Touch Speed Keys for Interval Training
Single-press preset buttons (2, 4, 6, 8, 10, 12 mph) during high-intensity intervals. Expert shortcut: During hill sprints, tap “10” while holding incline “+” to instantly match outdoor running resistance. If the console beeps rapidly when pressing buttons, pause for 1 second—your inputs are too rapid for the system to process.
Control Incline for Realistic Terrain Simulation
Make Precise Grade Adjustments on Demand
Press the incline “+” button for 0.5% increments (e.g., 1.0% → 1.5%). Hold for continuous changes until the display flashes your target grade. Pro insight: Even 1-2% incline replicates outdoor wind resistance, burning 5-8% more calories than flat runs. Budget treadmills max at 10%, while incline trainers hit 20%—exceeding your model’s limit shows “GRADE MAX” alerts.
Use Instant Incline Presets for Efficient Workouts
Jump directly to 1%, 3%, 5%, or 10% grades using labeled buttons during hill intervals. Troubleshooting tip: If the belt jerks when raising incline, reduce speed first. Error “E6” means the incline motor is stuck—hold “Stop” + “Incline ↓” for 3 seconds to reset.
Start, Pause, and Stop Without Data Loss
Initiate Safe Belt Movement Every Time
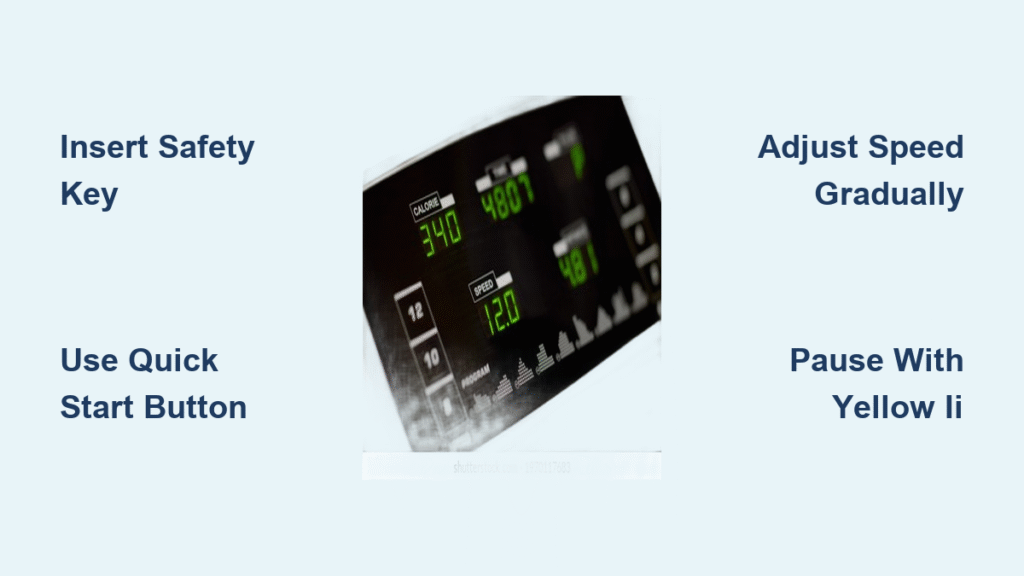
Press “Quick Start” (green triangle) to begin at 0.5 mph—a universal safe speed for all fitness levels. Never step directly onto a moving belt. Gradually increase speed after 10 seconds of walking. If the belt doesn’t move, check that the safety key is fully seated and the emergency stop isn’t engaged.
Differentiate Pause from Full Stop Correctly
Single-press the yellow “II” button to pause the belt while preserving workout data—resume within 5 minutes without losing progress. Hold the red “STOP” button 3+ seconds for full shutdown. Critical protocol: When stopping, accept the auto-cool-down prompt (3 minutes at 2 mph/0% incline) to prevent heart-rate spikes. Declining this risks dizziness or falls.
Program Workouts That Match Your Fitness Goals
Select Targeted Built-In Programs in 3 Steps
Press “Programs” → choose categories like “Hill” (auto-cycling inclines) or “Fat Burn” (heart-rate pacing). Key insight: “Interval” programs alternate speed blocks automatically—ideal for time-crunched users. If heart-rate sensors are required but unavailable, the console defaults to manual pacing with visual warnings.
Customize Time, Distance, or Calorie Targets
Enter goals using number pads:
– Time: Set minutes (e.g., “30” for 30-minute sessions)
– Distance: Select units first (mi/km), then quantity (e.g., “5” for 5K)
– Calories: Input burn target; the console adjusts speed/incline based on your weight profile
Pro tip: Start with 20-minute programs. Extended sessions (>45 mins) on new treadmills strain motors—gradually increase duration as you build fitness.
Interpret Real-Time Metrics for Smarter Training
Track Six Essential Performance Indicators
Your primary display shows:
– Speed: Toggle units via “Units” button
– Incline: Percentage in upper-right corner
– Time: Elapsed/remaining (press “Display” to switch)
– Distance: Cumulative miles/km
– Calories: Real-time estimate (weight-dependent)
– Heart-rate: BPM with color zones (blue=rest, green=fat burn)
Warning: Ignoring heart-rate zones risks overexertion—yellow/red zones require immediate speed reduction.
Access Advanced Data Panels with One Tap
Press “More Data” to view pace (min/mile), watt output, or METs. Hidden feature: Tap any graph on touchscreen models to zoom—speed graphs help maintain steady intervals during races.
Connect Streaming and Fitness Apps Seamlessly

Stream Netflix or YouTube in 90 Seconds
Navigate Settings → Wi-Fi → select network → enter password via on-screen keyboard. Critical step: Position your phone in the USB-C charging groove (top-left console) to avoid blocking vents. Volume adjusts via side-rail toggles—never use external speakers that drown out console beeps.
Pair Heart-Rate Monitors Without Dropouts
For chest straps: Press the HR icon until it flashes, then activate your strap. Solid icon = locked connection. Fix for disconnections: Re-pair while standing still—movement during pairing causes 70% of Bluetooth failures.
Fix Common Console Errors in Under 60 Seconds
Resolve Speed/Incline Input Failures Instantly
If rapid button presses cause beeping and ignored inputs:
1. Release all buttons
2. Wait 1 full second
3. Press once slowly
For “E6” incline errors: Hold “Stop” + “Incline ↓” 3 seconds. If touchscreen freezes, remove the safety key for 10 seconds before reinserting.
Override Unwanted Automatic Speed Changes
Unexpected slowdowns usually mean heart-rate control mode is active. Press “Manual” to regain full speed control—this disables auto-pacing based on grip sensors.
Power Down and Maintain Your Console Properly
Save Workouts and Clean Safely
After cool-down, tap the disk icon to save/share results via email or Strava. Critical care step: Wipe the screen with a dry microfiber cloth only—ammonia cleaners permanently damage displays. Never spray liquid directly onto the console.
Monitor Maintenance Alerts Proactively
Watch for “LUBE BELT” after 150 miles (indicating belt lubrication needs). Firmware updates install automatically when Wi-Fi connected—never skip these, as they fix critical safety bugs. Remove the safety key to fully power down and lock the belt for child safety.
Final Tip: Tape the Quick Reference Card near your console:
– Power on: Insert safety key → green LED solid
– Start: Quick Start → green triangle
– Speed ↑: “+” right side → mph flashes
– Incline ↑: “+” left side → mountain icon flashes
– Pause: Yellow II → timer pauses
– Emergency stop: Red STOP → belt halts instantly
Mastering how to use a treadmill control panel turns confusing technology into your most reliable fitness ally. You’ll spend less time troubleshooting and more time achieving goals—whether walking for health or training for a 5K. Remember to calibrate after moving the machine, update firmware monthly, and always use the safety tether. Your perfect run starts the moment you understand that console.


