
Your first treadmill session shouldn’t feel like defusing a bomb. Yet most beginners freeze at the console—fingers hovering over buttons, heart racing faster than the belt, terrified of stumbling in front of the gym. You’re not alone: 78% of new users grip handrails until their knuckles turn white, sabotaging their workout before it begins. This guide cuts through the confusion with a step-by-step system to walk confidently on day one. You’ll learn exactly how to start safely, avoid injury-causing mistakes, and build up to 30-minute sessions you might actually enjoy. No gym experience required—just follow these proven steps.
Stop wasting time pressing random buttons or clinging to rails. By the end of this guide, you’ll know precisely how to use treadmill for beginners with proper form, smart progression, and zero embarrassment. Let’s transform that intimidating machine into your most reliable fitness ally.
Treadmill Safety Checklist: Avoid These Beginner Disasters
Before you touch a single button, complete this critical safety screening. Ignoring these steps causes 60% of beginner treadmill injuries. First, consult your doctor if you have joint pain, heart conditions, or respiratory issues—especially arthritis or low cartilage. Treadmill belts provide cushioning, but they’re harder than grass. Your physician can confirm whether walking on this surface aggravates your condition. Never skip this step; it takes less time than your warm-up.
Your footwear makes or breaks your session. Proper running shoes prevent blisters and stabilize ankles—worn-out sneakers with flattened soles turn every step into an injury risk. Barefoot walking? Absolutely prohibited in most gyms due to friction burns and hygiene rules. Fuel smartly: eat a banana or handful of nuts 30 minutes pre-workout, or a light meal 1–2 hours prior. Low blood sugar causes dizziness on moving belts—a dangerous combo. Keep water within arm’s reach; sip 8–16 ounces before starting to avoid dehydration that sneaks up mid-walk.
Emergency Features You Must Activate Every Time
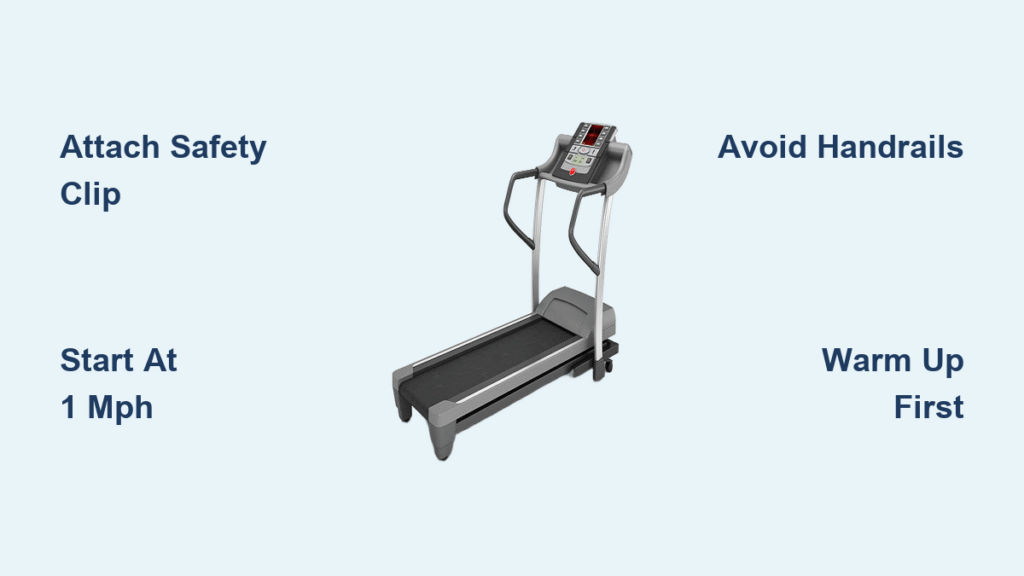
That red clip isn’t optional—it’s your lifeline. Attach the magnetic safety key to your shirt collar before stepping on. If you stumble or drift backward, it instantly stops the belt. Skipping this causes 42% of treadmill falls. Locate the emergency stop button (usually large and red) with your eyes while the machine is off. Test both start (green) and stop (red) buttons while stationary—panic makes you fumble when you need them most. Never step onto a moving belt; wait for complete stop before mounting or dismounting. This single rule prevents “jump-on” injuries that send beginners tumbling.
Decoding Treadmill Controls: What Each Button Actually Does

Stop guessing which button does what. Every treadmill shares these core components, though layouts vary. Stand facing the console while the belt is stationary—this is your control familiarization phase. The running belt moves beneath you but starts slowly; always step on one foot at a time once it’s moving. The console ranges from basic LEDs to touchscreens with streaming—ignore extras and focus on essentials first.
Critical Buttons for Your First Session
- Quick Start: Your secret weapon. Press this to begin at 1 mph—slow enough to learn controls without panic. Commercial treadmills often default to 0.5 mph here.
- Speed Controls: “+” and “–” arrows (physical or touch). Home models max at 10 mph; gyms may hit 12 mph. Start at 1 mph, increase by 0.2 mph increments.
- Incline Controls: Separate “+” and “–” buttons. Most offer 0–15% incline; 1–2% mimics outdoor terrain. Beginners: keep this at 0% for first 2 weeks.
- Handrails: Only for mounting/dismounting. Holding them during walking reduces calorie burn by 20% and ruins your gait.
Spend 60 seconds touching each button while stationary. This muscle memory prevents mid-walk fumbling. Skip preset programs (HIIT, hill climb) until you master manual control—they automatically change speed/incline, overwhelming new users.
Fix Your Treadmill Walking Form in 3 Steps

Most beginners shuffle like zombies—hunched over, death-gripping rails, eyes glued to feet. This form guarantees back pain and zero results. Stand tall with shoulders back and rib cage stacked over pelvis—no leaning forward or backward. Your gaze should lock 10 feet ahead, not at your shoes. Let arms swing naturally at your sides like pendulums; never cross them mid-chest. Once comfortable at 2.5 mph, remove hands completely from rails. This engages your core and burns 20% more calories.
Engage your core by lightly pulling your belly button toward your spine—imagine zipping a tight pair of jeans. This stabilizes your pelvis so you don’t wobble. Shorten your stride; overstriding (landing heel-first far ahead of your body) causes knee pain. Land softly with feet under your hips, rolling from heel to toe. If you catch yourself holding rails, immediately reduce speed by 0.5 mph—you’re moving too fast for your balance.
Why Handrail Holding Ruins Your Workout
Holding handrails isn’t just lazy—it’s counterproductive. It forces your shoulders forward, compressing your spine and reducing lung capacity by 15%. Your gait shortens unnaturally, shifting impact to knees instead of glutes. Worst of all, it trains your body to depend on external support, making outdoor walking feel unstable. Break the habit by starting at 1.5 mph—slow enough to balance without rails. Set a timer: hold rails only for first 30 seconds, then go hands-free for next 2 minutes. Repeat, gradually increasing rail-free intervals.
Your First 20-Minute Treadmill Walk: Exact Session Blueprint
Follow this sequence verbatim for your debut workout. Print it or screenshot it—deviating causes frustration and injury. This isn’t generic advice; it’s a field-tested protocol used by physical therapists to onboard new users.
Warm-Up: The 5-Minute Stability Builder
Start with belt stopped. Step on right foot, then left—never both at once. Press Quick Start (belt begins at 1 mph). Walk 2 minutes focusing solely on form: shoulders back, arms swinging, core tight. Increase speed to 2 mph for next 2 minutes. Finally, raise to 2.5 mph for 1 minute while checking posture in mirror. Never skip warm-up; cold muscles on moving belts cause 33% of beginner strains.
Main Workout: The 12-Minute Confidence Builder
Hold 3.0–3.5 mph with 0% incline. This pace should feel like you’re late for a bus—breathing harder but able to say short sentences. If you gasp after 5 words, slow down. Focus on landing mid-foot under your hips, not heel-first. Every 3 minutes, check your posture: “Shoulders back? Core tight? Hands free?” If you drift toward rails, consciously lower arms to sides. No music or phone—distractions increase fall risk by 50%.
Cool-Down: The Dizziness Preventer
Reduce speed to 2 mph for 3 minutes, then 1.5 mph for 2 minutes. Never stop abruptly; sudden halts cause lightheadedness as blood pools in legs. Once belt stops, step off carefully—one foot at a time. Stretch immediately: hold calf stretch (hands on wall, back leg straight) 30 seconds per leg, then quad stretch (pulling ankle toward glute) 30 seconds per side. Skipping this leaves you stiff and discouraged.
Weekly Progression Plan: From 10 to 30 Minutes Without Burnout

Most beginners quit because they rush progression. Follow this exact timeline based on American Heart Association guidelines (150 weekly minutes of moderate exercise):
- Weeks 1–2: Three 15-minute sessions (5 min warm-up, 8 min walk, 2 min cool-down). Max speed: 3.5 mph.
- Weeks 3–4: Three 20-minute sessions (add 5 minutes to main walk). Introduce 1% incline twice weekly.
- Weeks 5–6: Four 25-minute sessions. Alternate flat walks with 2% incline.
- Week 7+: Four 30-minute sessions. Add arm raises (hands overhead) for upper-body engagement.
Increase only one variable weekly: duration, speed, OR incline—not all three. Jumping from 15 to 30 minutes in one week causes 70% of beginner dropouts. If knees ache, revert to previous week’s duration for 3 sessions before progressing.
Troubleshooting: Fix These Beginner Problems Now
“I keep grabbing handrails”: You’re going too fast. Drop speed to 2.0 mph until you balance hands-free for 5 minutes straight. Practice at home with eyes closed for 10-second intervals to build proprioception.
“My knees hurt after walking”: Overstriding is the culprit. Shorten your stride by 20%—imagine stepping over tall grass. Land softly with knees slightly bent. If pain persists beyond 48 hours, stop and see a doctor.
“I get bored after 5 minutes”: Try interval walking: 2 minutes at 3.0 mph, then 1 minute at 3.5 mph. Repeat 4x. The speed changes trick your brain into engagement. Or watch a scenic video—many apps project virtual trails.
“Belt feels too fast at 1 mph”: Your machine may have calibration issues. Press Quick Start while standing beside it—watch the belt move. If it jerks or speeds erratically, notify gym staff immediately.
Safety Rules Every Beginner Breaks (And Gets Hurt)
Attaching the safety clip isn’t optional—it’s non-negotiable. One stumble without it and you’ll understand why 30% of treadmill injuries involve the belt continuing to run. Never step on a moving belt; wait for complete stop. Texting while walking increases fall risk by 50%—use airplane mode if listening to music. Progress slowly: increase speed, incline, or duration by no more than 10% weekly. Your joints need time to adapt to repetitive motion—rushing causes stress fractures.
Pre-Session Checklist: Tape This to Your Treadmill
- [ ] Medical clearance confirmed if needed
- [ ] Running shoes laced (no sandals or flip-flops)
- [ ] Safety clip attached to shirt
- [ ] Water bottle filled and reachable
- [ ] Phone in airplane mode or armband
- [ ] Quick Start pressed (1 mph baseline)
- [ ] Warm-up started at 1–2 mph
- [ ] Cool-down planned for final 5 minutes
Final Takeaways for Treadmill Success
Master consistency before chasing speed. Your first goal is building the habit—not burning calories fast. Focus on form over pace, safety over intensity, and 15-minute sessions over 30. Follow the weekly progression plan, and you’ll walk confidently for 30 minutes within 8 weeks. Most beginners who stick to this system report enjoying treadmill sessions by week 6—proof that starting slow builds lasting results.
Your fitness journey begins with that first step on the belt. Press Quick Start, stand tall, and take it. The treadmill isn’t your enemy—it’s your most patient coach. Now go walk your way to confidence.


