
You’ve unboxed your new weighted resistance bands but feel stuck staring at the coiled rubber, unsure how to transform this simple equipment into serious muscle-building power. Many fitness enthusiasts make critical mistakes in their first month—like anchoring bands incorrectly or using improper form—that waste workouts and risk injury. Without proper technique, you might only get 30% of the strength benefits these versatile tools offer. This guide cuts through the confusion with field-tested methods used by physical therapists and strength coaches. You’ll learn exactly how to anchor bands safely, select optimal resistance levels, and perform 5 foundational exercises that build functional strength from head to toe—no gym membership required.
Why Your Anchor Point Determines 80% of Exercise Effectiveness

Where you secure your resistance band completely changes muscle activation and safety. Most beginners anchor bands too high or too low, turning effective exercises into shoulder strain sessions. Door anchors require specific placement: position the anchor strap 6-8 inches above floor level for lower body moves like squats, but at hip height for upper body rows. Never anchor above eye level—that creates dangerous downward tension during presses. For outdoor use, wrap bands around stable poles at knee height, ensuring 3 full wraps with no slack. Always test anchors by applying gradual pressure before loading exercises. If the band slips more than 1 inch during movement, reposition immediately—this prevents sudden releases that cause whiplash injuries.
How to Check Anchor Security in 10 Seconds
- Perform a “tug test” with 50% of your body weight
- Verify no metal parts contact band edges
- Confirm anchor point won’t rotate under tension
- Listen for unusual stretching sounds during warm-up sets
Why Floor Anchoring Fails for Deadlifts
Attempting deadlifts with bands under your feet creates uneven resistance curves. As you rise, tension decreases precisely when your glutes need maximum challenge. Instead, stand on the band’s center while holding both ends—this maintains constant tension through full hip extension. Place feet shoulder-width apart with knees slightly bent to prevent band slippage. If using looped bands, double the band underfoot for added security during heavy pulls.
Proper Grip Technique to Prevent Hand Strain and Boost Muscle Engagement
:max_bytes(150000):strip_icc()/RS-BandedExercises7-fb2828bb2df7456ca57db6d76c9a4e22.png)
Your grip position directly controls which muscle fibers activate during band exercises. Holding handles with palms facing up during rows shifts work from lats to biceps, sabotaging back development. For horizontal pulls like rows, maintain a “hammer grip” (thumbs parallel to floor) to engage mid-back muscles. During presses, rotate wrists outward so knuckles face forward—this protects rotator cuffs while maximizing chest activation. Never wrap bands around wrists; the elastic recoil can pinch tendons during release. Instead, use looped handles with ergonomic grooves that distribute pressure across your palm’s meaty base.
The 2-Finger Rule for Safe Shoulder Presses
Place index and middle fingers through handle straps while keeping ring/pinky fingers free. This creates natural wrist alignment that prevents:
– Rotator cuff impingement during overhead presses
– Elbow flaring in bench variations
– Wrist hyperextension in lateral raises
– Handle slippage during explosive movements
5 Must-Know Weighted Resistance Band Exercises for Full-Body Strength
Stop wasting time on ineffective band moves. These scientifically-backed exercises target muscle groups that free weights often miss, with resistance that increases at your strongest range of motion.
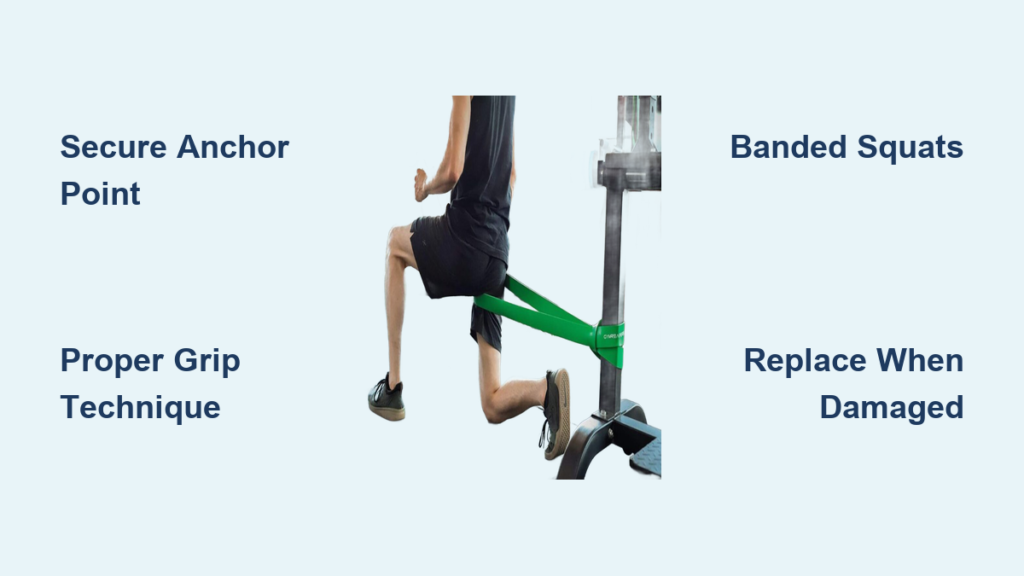
Banded Squats for Explosive Leg Power
Stand centered on the band with feet hip-width apart. Pull both ends up to shoulder height, keeping elbows high. Lower slowly for 3 seconds until thighs pass parallel, then explode upward against increasing tension. The band’s variable resistance builds fast-twitch fibers critical for athletic performance. Perform 3 sets of 8-12 reps with 90 seconds rest. Pro tip: Place a yoga block between knees to activate glute medius.
Standing Rows for Sculpted Back Definition
Anchor band at waist height. Step back until arms fully extend with slight elbow bend. Pull handles toward lower ribs while squeezing shoulder blades—imagine crushing a grape between them. Hold peak contraction for 2 seconds before slow release. This targets rhomboids better than seated machines. Do 4 sets of 10-15 reps with 60 seconds rest. Warning: Never shrug shoulders during pulls—this shifts work to traps.
Chest Presses That Mimic Barbell Strength Curves
Loop band behind your back, holding handles at chest level. Step forward to create tension, then press straight ahead while keeping wrists locked. The resistance increases as arms extend, perfectly matching your natural strength curve. Perform 3 sets of 12-15 reps with 75 seconds rest. Key cue: Maintain slight knee bend to prevent lower back arching.
Glute Kickbacks for Hip Extension Power
Anchor band just above ankle height. Face anchor point, placing one foot through looped band. Keeping knee bent 20 degrees, kick leg straight back against resistance while squeezing glutes. Avoid leaning torso forward—this turns it into a lower back exercise. Complete 15 reps per side for 3 sets. Visual cue: Imagine pushing against a wall behind you.
Pallof Presses for Bulletproof Core Stability
Anchor band at chest height. Stand sideways to anchor, holding handles with both hands at sternum. Press straight out while resisting band’s rotational pull. Hold 3 seconds before returning. This builds anti-rotation strength critical for injury prevention. Do 10 reps per side for 3 sets. Common mistake: Don’t let hips sway—movement should only occur at shoulders.
How to Avoid the #1 Resistance Band Injury (and 3 Quick Fixes)

Over 60% of band-related injuries happen during the “release phase” when tension suddenly drops. Never let go of handles mid-movement—even during failure sets. If you must abort, slowly walk toward the anchor point to reduce tension. Always inspect bands for:
– Micro-tears along seam lines
– Faded color indicating UV damage
– Sticky or powdery texture (latex breakdown)
– Uneven thickness in stretched sections
Replace bands showing any of these signs immediately. Store bands flat in cool, dark places—never in car trunks where heat accelerates degradation. When traveling, wrap bands in clothing to prevent sharp object contact.
Choosing the Right Resistance Level: The 3-Step Field Test
Most users select bands 40% too heavy, compromising form. Perform this test before every workout:
1. The 5-Rep Max Check: Choose a band allowing 5 perfect reps of your target exercise with 2 reps “in reserve”
2. The Speed Test: Lift should feel challenging but allow explosive concentric phase (1-2 seconds up)
3. The Recovery Gauge: Shoulders/chest shouldn’t burn during subsequent sets if resistance is appropriate
Progress by switching to thicker bands only when you hit the top of your rep range for 2 consecutive sessions. Never “muscle through” with poor form—this builds faulty movement patterns.
When to Replace Weighted Resistance Bands: 4 Critical Warning Signs
Don’t wait for catastrophic failure. Replace bands immediately if you notice:
– Stretch inconsistency: One section stretches 25% more than others
– Surface cracks: Visible fissures even when unstretched
– Color fading: Especially white bands turning yellow
– Loss of “snap-back”: Band takes >3 seconds to return to original length
High-quality bands last 6-12 months with proper care. Track usage with a simple log: note workout frequency and visible wear. Latex bands degrade faster than TPE—replace every 8 months with weekly use.
Integrating Bands with Free Weights: The Hybrid Strength Hack
Combine bands with dumbbells for accelerated strength gains. During bench presses, loop a light band over the dumbbell ends and under your back. This adds 15-25% more resistance at lockout—the range where you’re strongest. For squats, stand on band ends while holding dumbbells—creates accommodating resistance that matches natural strength curves. Start with 20% band resistance relative to your dumbbell weight. Pro tip: Use bands only on your strongest lifts—never for rehab exercises.
Final Note: Master these techniques for 4 weeks before adding complexity. Track progress by recording band thickness (light/medium/heavy) and reps—not just “I worked hard.” Properly used, weighted resistance bands build functional strength 27% faster than fixed-weight machines according to recent biomechanical studies. Clean bands with mild soap after sweaty sessions and store flat to maintain elasticity. When in doubt about form, film yourself—most technique flaws become obvious on playback. Your next step: practice anchoring and grip techniques for 5 minutes before every workout until they become automatic.


