
Your lower back tightens after sitting all day. You try a simple forward fold to stretch, but sharp pain shoots down your spine. This frustrating scenario affects millions who turn to yoga for relief—only to worsen their discomfort through improper alignment. Yoga blocks aren’t just beginner props; they’re essential tools for modifying poses to protect vulnerable spinal discs while targeting deep tension. When positioned correctly under your sacrum or supporting your spine during twists, these humble foam or cork rectangles redistribute pressure that would otherwise compress injured vertebrae. By the end of this guide, you’ll know exactly where to place blocks in 7 key poses to ease nerve pressure, improve pelvic alignment, and build sustainable back strength—without risking further injury.
Why Standard Yoga Poses Worsen Back Pain Without Block Support
Most back pain sufferers unknowingly strain their lumbar spine during foundational poses. In traditional Child’s Pose, collapsing the torso between thighs forces the pelvis backward, jamming spinal joints. Forward folds like Uttanasana often cause rounded spines that pinch discs when hamstrings are tight. Even gentle twists become dangerous when the lower back compensates for stiff hips. Yoga blocks solve this by elevating the floor to meet your body’s current limitations—not where an instructor assumes you “should” be.
How Blocks Reduce Disc Compression During Backbends
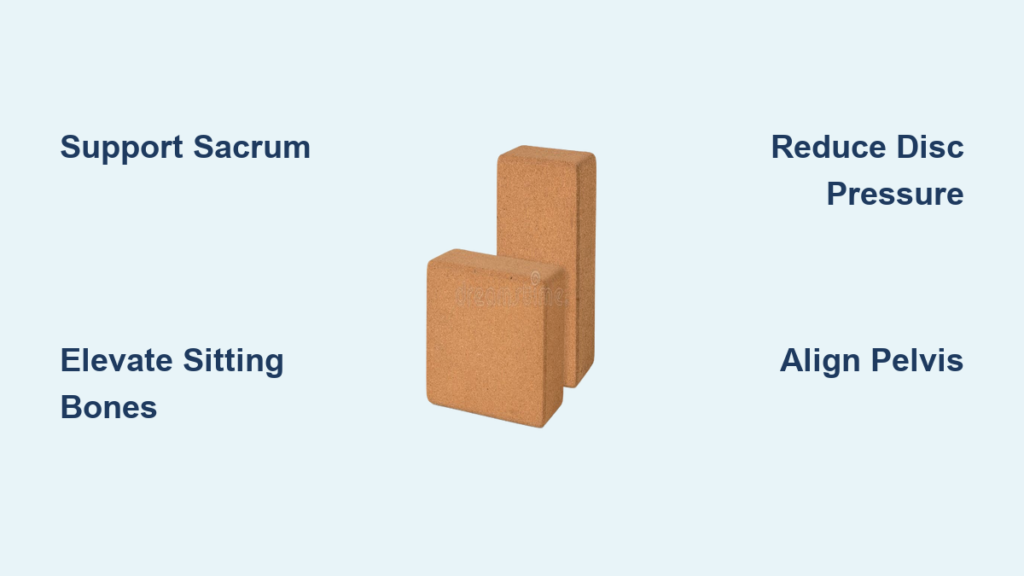
Placing a block horizontally under your sacrum during Bridge Pose (Setu Bandhasana) creates crucial space between vertebrae. Without this support, lifting hips forces the lumbar spine into excessive extension, grinding facet joints. With the block:
– Your pelvis tilts neutrally instead of tucking under
– Spinal erectors engage without straining
– Nerve roots decompress instantly
Visual cue: If your lower ribs flare outward during backbends, disc compression is occurring—blocks prevent this.
Critical Placement Mistake That Increases Nerve Pain
Never wedge blocks under your lower back during supine poses. This hyperextends the lumbar spine, pinching sciatic nerves. Instead, position blocks vertically along either side of your spine at the sacrum level during Reclined Twist (Supta Matsyendrasana). This allows rotation to originate from the mid-back, not the vulnerable lumbar region.
Step-by-Step Block Modifications for 7 Back-Pain Relief Poses
Child’s Pose (Balasana) With Rib Support
Time needed: 2 minutes | Difficulty: Beginner
Tight quads pull the pelvis forward in standard Child’s Pose, compressing lumbar discs. Block placement transforms this:
1. Kneel with big toes touching, knees wide as your mat
2. Place two stacked blocks vertically between thighs (not under forehead)
3. Rest your lower ribs on the top block—never your belly
4. Breathe deeply for 5 cycles, feeling tension release from spine to sacrum
Pro tip: If blocks slip, wrap a yoga strap around your lower ribs to secure them against the blocks.
Supported Forward Fold (Paschimottanasana) Without Hamstring Strain
Time needed: 3 minutes | Difficulty: Intermediate
Forcing a flat back during seated folds torques the sacroiliac joint when hamstrings are tight. This modification maintains spinal integrity:
1. Sit with legs extended, one block vertically under each sitting bone
2. Place a third block horizontally under your forehead
3. Hinge from hips (not waist) until torso rests on thighs
4. Keep spine long—your head should naturally lower toward the block
Warning: If you feel pinching in your lower back, raise the sitting block height by 1 inch.
Reclined Hero Pose (Supta Virasana) for Disc Decompression
Time needed: 5 minutes | Difficulty: Advanced
This pose gently reverses spinal compression but requires precise block placement to avoid knee strain:
1. Kneel with shins parallel, tops of feet flat on floor
2. Place one block horizontally between calves and hamstrings
3. Slowly recline backward onto two stacked blocks at kidney level
4. Rest head on floor or additional block
Key indicator: Your lower back should feel spacious—not compressed—against the blocks. If knees lift more than 2 inches off floor, skip this pose.
Choosing the Right Block Type for Your Specific Back Condition

Foam vs. Cork Blocks for Acute vs. Chronic Pain
- Acute flare-ups (sharp, recent pain): Use soft foam blocks that compress slightly under body weight, providing gentle cushioning for inflamed joints. Place them under knees during Savasana to relieve lumbar pressure.
- Chronic stiffness (long-term tightness): Opt for dense cork blocks that won’t compress during weight-bearing poses like Supported Bridge. Their firmness creates unyielding support for rebuilding spinal alignment.
Pro insight: Paint a small dot on the block’s narrowest side—this 3-inch height is ideal for sacral support during backbends where 4-inch would overextend your spine.
When to Stack Blocks Vertically vs. Horizontally
- Vertical stacking (narrow side up): Creates height for elevation under sitting bones or head. Use in seated poses when hamstrings measure <20 inches from floor to knee.
- Horizontal placement (wide side up): Provides broad surface area for spinal support. Essential during reclined poses to distribute pressure evenly across vertebrae.
Critical mistake: Never stack more than two blocks vertically under your spine—this creates dangerous leverage on discs.
Daily 10-Minute Block Routine for Office-Related Back Pain
Morning Spinal Reset Sequence
Time needed: 10 minutes | Best done before caffeine
This sequence counteracts overnight disc compression and prepares your spine for sitting:
1. Supine Block Twist (3 min/side): Lie on back with knees bent. Place block vertically between knees. Hug knees to chest, then drop both knees to one side while keeping shoulders grounded.
2. Wall-Assisted Pelvic Tilts (2 min): Lie with sit bones against wall, legs up. Place block horizontally under sacrum. Press lower back into floor while breathing deeply.
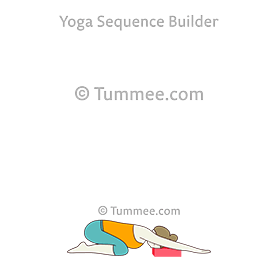
3. Supported Cobra (3 min): Lie prone with block under forehead. Inhale to lift chest 2 inches off floor, elbows bent. Keep pubic bone heavy.
Why This Works for Desk Workers
The wall-assisted pelvic tilt repositions the pelvis into neutral alignment after morning stiffness, while the supported Cobra gently mobilizes stiff thoracic vertebrae—reducing compensation in the lower back. Skipping these steps before sitting causes immediate disc compression from poor posture.
When Block Use Becomes Dangerous for Back Pain
Three Red Flags That Mean Stop Immediately
- Radiating leg pain during supine twists: Indicates possible disc herniation—blocks can’t compensate for nerve root compression.
- Increased pain 24 hours after practice: Shows you’ve overstressed healing tissues. Reduce block height by 50%.
- Numbness in feet during seated poses: Signals spinal stenosis—elevate sitting bones but avoid forward folds entirely.
Medical Conditions Requiring Doctor Clearance First
Never use blocks for back pain if you have:
– Osteoporosis (blocks may encourage unsafe spinal loading)
– Recent spinal surgery (altered biomechanics require PT guidance)
– Ankylosing spondylitis (blocks can force movement in fused segments)
Expert note: If pain persists beyond 2 weeks of modified practice, get an MRI—blocks treat symptoms but not underlying structural issues.
Long-Term Back Health: Progressing Beyond Block Dependence

The 4-Week Strength-Building Protocol
Blocks should be temporary scaffolding while you rebuild core stability. Follow this progression:
– Weeks 1-2: Use blocks in all back-pain poses at maximum height
– Week 3: Reduce block height by 1 inch (e.g., from 4″ to 3″) in one pose
– Week 4: Remove blocks entirely from one pose where you feel 80% relief
Key metric: Only progress when you can maintain neutral spine for 5 full breaths without blocks.
Essential Complementary Practices
Blocks alone won’t fix back pain. Pair them with:
– Diaphragmatic breathing: 5 minutes daily lying with block under knees
– Glute activation: Bridge Pose without blocks for 30 seconds daily
– Hip flexor release: Kneeling lunge with block under back knee
Pro tip: Tape a block to your office chair seat—sitting on its narrow edge naturally tilts pelvis forward, maintaining lumbar curve during work.
Yoga blocks transform back pain management from risky guessing to precise spinal engineering. By strategically placing them under key pressure points—not as crutches but as alignment guides—you create the exact conditions for injured tissues to heal while rebuilding functional strength. The most profound relief comes not from forcing your body into textbook poses, but from using blocks to meet your spine where it is today. Start with the Supported Child’s Pose modification tonight, and notice how morning stiffness decreases within 48 hours. For persistent pain, consult a physical therapist trained in yoga therapy—they’ll refine these block placements for your unique anatomy. Your path to lasting back health begins not with flexibility, but with intelligent support.


