
Your yoga mat isn’t just a piece of padding—it’s the sacred space where transformation happens. Yet many practitioners miss crucial techniques that maximize comfort, safety, and effectiveness. Whether you’re unrolling your mat for the first time or have been practicing for years, mastering how to use yoga mat properly elevates your entire experience. This guide reveals specific techniques most beginners overlook, from precise hand placement that prevents wrist pain to strategic mat positioning that enhances every pose. You’ll discover why simply unrolling your mat isn’t enough and learn professional methods for maintaining grip during sweaty sessions, transitioning seamlessly between poses, and extending your mat’s lifespan.
Choosing the Ideal Mat for Your Practice Style
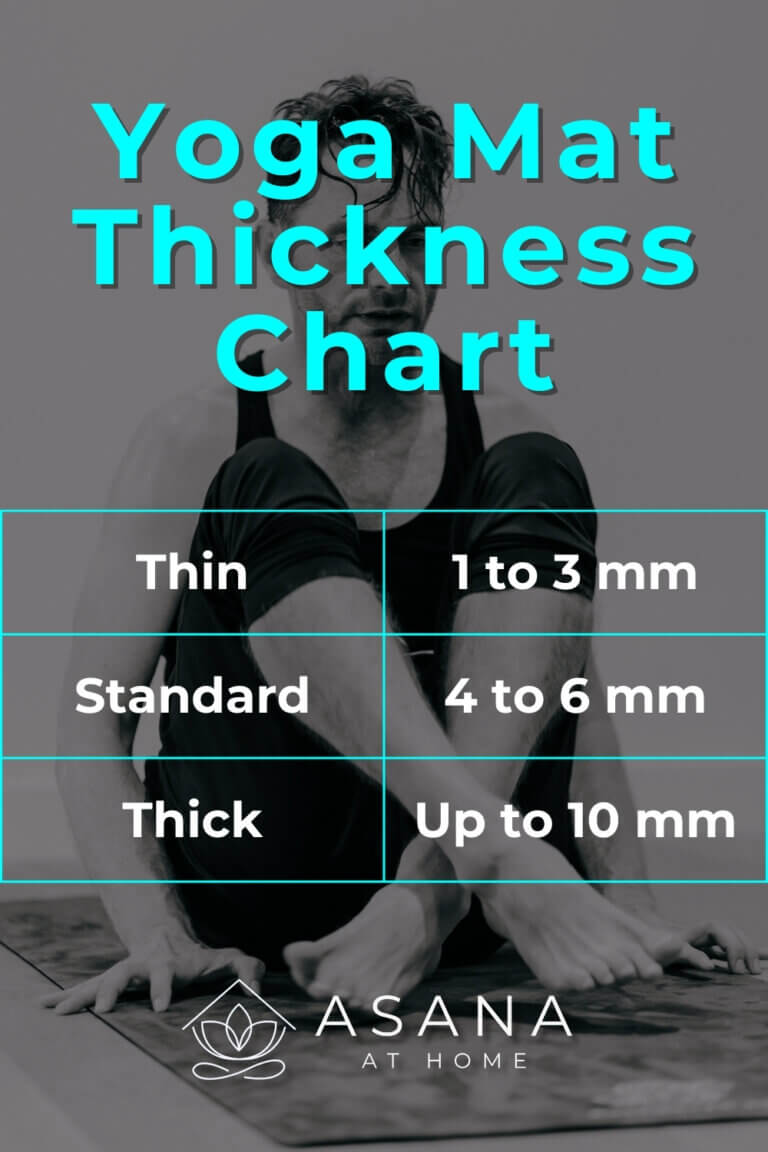
Why 4mm Thickness Works for Most Practitioners
Selecting the right mat begins with understanding how thickness impacts your specific practice. While beginners often reach for thicker 6-8mm mats believing more cushion equals better support, this choice frequently backfires during standing and balancing poses. The optimal thickness for most practitioners falls between 4-5mm—providing enough joint protection while maintaining the stability needed for proper alignment. If you practice Vinyasa or Ashtanga, lean toward the thinner end of this range; restorative or Yin yoga enthusiasts may prefer closer to 5mm. Always test mats barefoot before purchasing, pressing down with your hands to assess both cushioning and stability.
Material Matters: Solving the Grip vs. Sustainability Dilemma
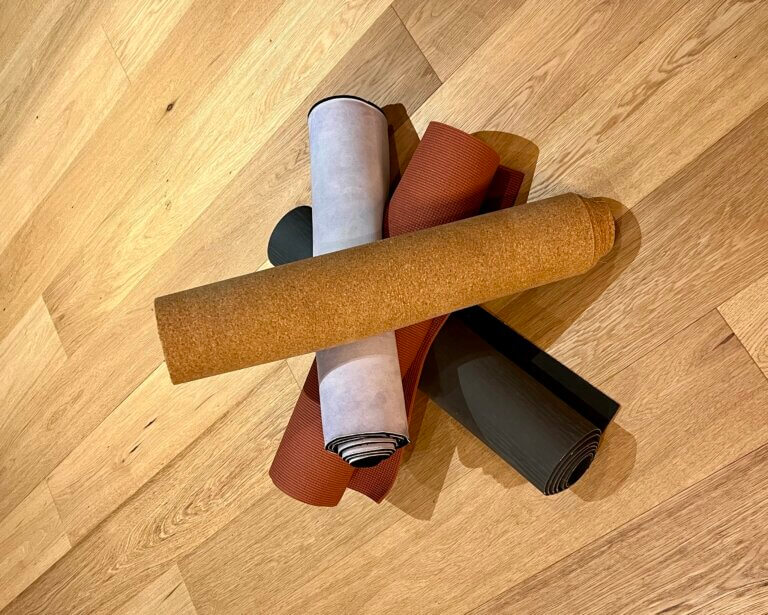
Your mat’s material directly affects performance and environmental impact. PVC mats deliver exceptional durability and initial grip but contain chemicals that off-gas over time and resist biodegradation. Natural rubber offers superior traction—especially when sweaty—but requires proper care to prevent deterioration. Cork mats solve the “sweat problem” many practitioners face; they become grippier as moisture activates their natural properties, making them ideal for hot yoga. For eco-conscious yogis, TPE (thermoplastic elastomer) provides a middle ground with decent performance and better recyclability. Test materials by simulating downward dog position in-store to evaluate real-world grip before committing.
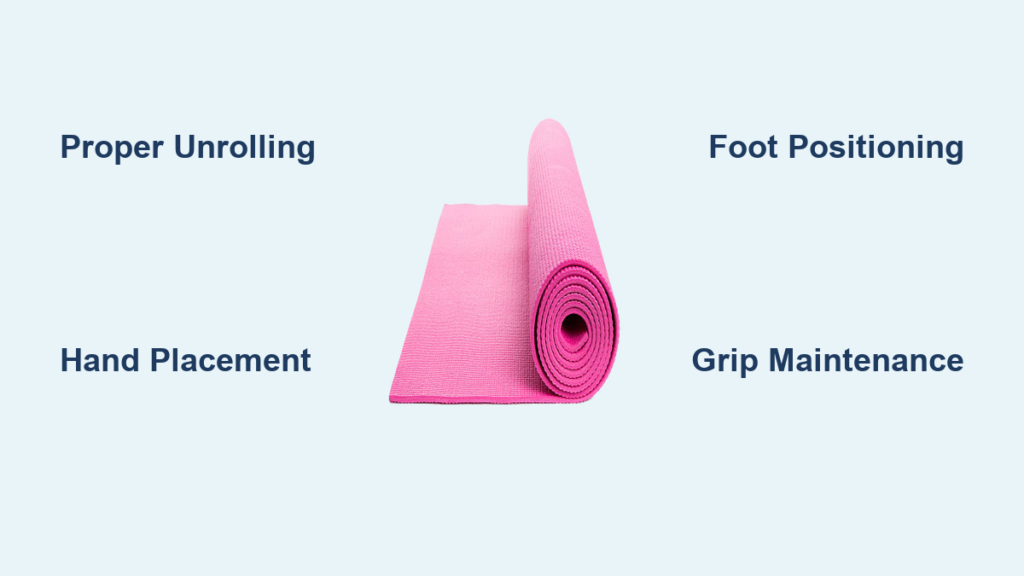
Perfecting Your Mat Setup for Maximum Performance
The 5-Minute Unrolling Technique Professionals Use
Most mat-related issues stem from improper setup. When unrolling a new mat, don’t force it flat—start from the top and allow it to unfurl naturally. Immediately place heavy books along the curled edges and let it rest for at least 5 minutes before practicing. This simple technique prevents the constant edge-lifting that distracts during meditation and Savasana. For stubborn curling, try the “reverse roll” method: unroll completely, then roll it up again with the textured side facing outward and leave overnight. Always unroll your mat with the textured side up unless it’s specifically designed as reversible.
Strategic Placement for Optimal Practice Flow
Where you position your mat significantly impacts practice quality. Avoid placing it directly under air conditioning vents or near drafty windows—temperature fluctuations affect both your comfort and the mat’s material. Leave at least 18 inches of clearance on all sides, especially behind your head, to accommodate extended Savasana positions. If practicing at home, choose a consistent location that becomes mentally associated with your practice. For studio classes, position your mat parallel to others but not touching—this creates personal space while maintaining class alignment. Never practice on uneven surfaces; even slight floor imperfections compromise alignment in foundational poses.
Precision Hand and Foot Placement Techniques

The Four-Point Hand Alignment Method
Wrist pain during downward dog often results from improper hand placement. Place your hands shoulder-width apart with index fingers parallel to the mat’s long edge. Press firmly through the base of your index finger and thumb while maintaining light contact with the outer hand edge—this distributes weight evenly across your palm. Spread fingers wide like a starfish, creating maximum surface contact. Your middle fingers should point straight ahead, not angled inward or outward. This precise alignment prevents excessive pressure on wrist joints while maximizing stability.
Foot Positioning Secrets for Better Balance
Most practitioners unknowingly collapse their arches during standing poses. To correct this, press through all four “corners” of each foot: the ball of the big toe, ball of the little toe, inner heel, and outer heel. In warrior poses, actively press the outer edge of your back foot into the mat while rooting down through the inner arch. During balancing poses, imagine your foot is suction-cupped to the mat—maintain even pressure without gripping excessively with your toes. This technique engages stabilizing muscles throughout your legs and prevents the common “wobble” that disrupts balance.
Solving Common Grip Problems During Practice
Why Your Hands Slip in Downward Dog (and How to Fix It)
Slipping hands typically indicate either improper pressure distribution or moisture management issues. Instead of pressing harder, spread your fingers wider and press through the entire palm surface. Angle your hands slightly outward (about 15 degrees) to increase contact area. If sweat becomes problematic, keep a microfiber towel nearby for quick hand drying—never wipe directly on your mat as this transfers oils. For persistent issues, consider a yoga-specific grip spray applied sparingly to problem areas. Remember: excessive gripping tension actually reduces surface contact—maintain firm but relaxed pressure.
Foot Slippage Solutions for Heated Yoga Sessions
In hot yoga, foot slippage often occurs when practitioners stand directly where previous sweat has accumulated. Rotate your mat 180 degrees halfway through practice to access drier surface area. Place a thin yoga towel under your feet during standing sequences, removing it for floor poses. Some advanced practitioners use strategic water application—lightly misting specific mat areas where feet tend to slip, as certain materials (like cork) become grippier when slightly damp. Always start heated practices with clean, dry feet to maximize initial grip.
Efficient Cleaning and Maintenance Protocols
The 60-Second Post-Practice Cleaning Routine
Skip complicated cleaning methods—maintain optimal hygiene with this quick daily routine: Mix 1 cup water with 2 tablespoons witch hazel and 3 drops tea tree oil in a spray bottle. After each practice, lightly mist your mat’s surface (never soak it) and wipe with a microfiber cloth using circular motions. Pay special attention to high-contact areas like where your hands and feet rest during downward dog. Hang your mat to air dry completely before rolling—this prevents bacterial growth that causes odors. Never store a damp mat, as this accelerates material breakdown.
Monthly Deep Cleaning Without Damaging Your Mat
Most practitioners damage mats through improper deep cleaning. Fill your bathtub with cool water (never hot) and add 1/4 cup mild, non-detergent soap like Dr. Bronner’s. Submerge your mat and gently swish it through the water without scrubbing. Let it soak for 10-15 minutes, then drain the tub and rinse thoroughly with clean water from multiple angles. Never wring or twist your mat—simply press out excess water between clean towels. Hang vertically using a non-metal hanger (metal can stain certain materials) in a shaded area until completely dry—this typically takes 24-48 hours.
Advanced Troubleshooting for Persistent Issues
Fixing Edge Curling Without Weights
Persistent edge curling often results from improper storage rather than mat quality. Try the “sun exposure method”: on a mild day (not direct summer sun), place your unrolled mat outside for 15-20 minutes with curled edges weighted down. The gentle warmth makes the material more pliable, allowing edges to lay flat as it cools. For immediate fixes during practice, apply strategic pressure: stand on the curled edge while performing seated poses to gradually train it to stay flat. Never use heavy objects that create permanent indentations.
Eliminating Persistent Odors in Natural Rubber Mats
New natural rubber mats often have strong odors that concern beginners. Rather than masking smells with perfumes, neutralize them naturally: mix equal parts white vinegar and water in a spray bottle, mist lightly over the entire mat surface, then hang outside in indirect sunlight for 2 hours. The vinegar smell dissipates completely as it neutralizes odor-causing compounds. For ongoing maintenance, sprinkle baking soda over your mat after practice, let sit for 15 minutes, then brush off before your regular cleaning routine. This absorbs moisture and odors at the source.
Strategic Mat Replacement Timing
The 300-Practice Lifespan Benchmark
Most quality mats last approximately 300 practices with proper care—roughly one year for daily practitioners. Track your usage to anticipate replacement needs. Warning signs include permanent indentations where your hands rest in downward dog, visible thinning in high-pressure areas, or persistent slipping despite thorough cleaning. Don’t wait until your mat becomes unsafe; replace it when you notice decreased cushioning during seated poses or when alignment becomes consistently challenging due to surface inconsistencies.
Budgeting for Mat Replacement Without Breaking the Bank
Treat mat replacement as part of your practice investment. High-quality mats ($60-$100) typically last twice as long as budget options while providing superior performance. Create a “mat fund” by setting aside $5 monthly—this builds to $60 annually, covering replacement costs without financial strain. Many studios offer trade-in programs where you receive discounts on new mats when returning old ones for recycling. Consider this cycle part of honoring your practice space—just as you wouldn’t practice on worn-out shoes, your mat deserves timely replacement.
Mastering how to use yoga mat properly transforms a simple accessory into an active partner in your practice. By implementing these precise techniques for setup, positioning, and maintenance, you’ll experience immediate improvements in stability, comfort, and overall session quality. Remember that your mat serves as both physical support and mental boundary—treating it with intention elevates your entire practice. Start incorporating just one or two of these methods today, and notice the difference in your very next session. As you refine your mat usage skills, you’ll discover that the foundation of your practice becomes as intentional and mindful as the poses themselves.


