
Eighty percent of adults experience lower back pain that transforms simple tasks like tying shoes or picking up groceries into daily struggles. You’ve probably tried everything from expensive ergonomic chairs to endless stretching routines, yet that nagging ache persists. What if the solution isn’t another pill or passive treatment, but a compact, cannonball-shaped weight already gathering dust in your garage? Kettlebells offer a revolutionary approach to back pain by building functional strength exactly where you need it—in the muscles that protect your spine during daily movements. This guide reveals medically-backed kettlebell exercises that target back pain at its source, plus the precise progression path from first rep to pain-free living.
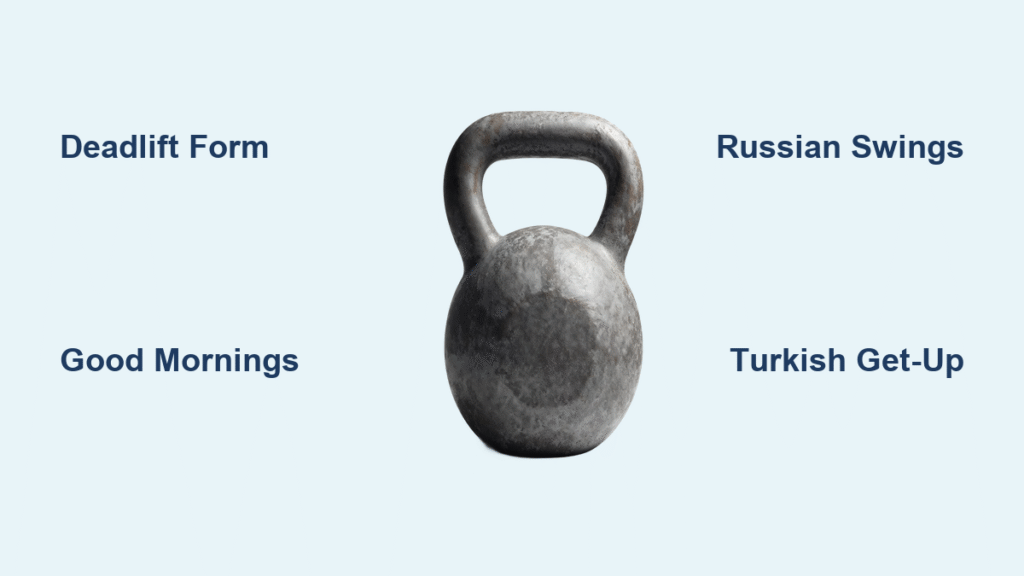
Essential Kettlebell Deadlift Form for Spinal Protection

The kettlebell deadlift isn’t just an exercise—it’s your spine’s first line of defense against daily wear and tear. This foundational movement teaches your body to lift safely while building the exact strength needed to support your lower back during everyday activities like picking up laundry or lifting groceries.
The Perfect Setup Sequence
Stand with feet hip-width apart, positioning the kettlebell centered between your feet. Push your hips back as if reaching for a chair slightly behind you—this creates the proper hinge pattern while keeping shins nearly vertical. Your weight should settle into your heels, not your toes. Before grabbing the bell, activate your upper back by squeezing your armpits together like you’re holding tennis balls, creating essential stability.
The Lift: Step-by-Step Execution
– Grip the kettlebell firmly by the corners with both hands
– Maintain your hip hinge position while driving powerfully through your heels
– Keep the bell close to your body as you rise, feeling the work in your glutes and hamstrings
– Reach full standing position with shoulders directly over hips
– Lower with controlled precision, maintaining the hip hinge pattern throughout
Pain-Free Progression Path
If floor-level deadlifts trigger discomfort, start with the kettlebell elevated on a 6-inch box. This reduces range of motion while you master proper form. Once you can perform 3 sets of 10 pain-free reps, gradually lower the elevation—first to a 4-inch step, then to a standard yoga block, and finally to the floor. For advanced users, stand on a 2-inch platform to increase challenge safely.
Lower Back Strengthening Sequence That Targets Pain Sources
Good Mornings with Kettlebell: Pure Spinal Support
Hold a light kettlebell (8-12kg for women, 12-16kg for men) at your upper chest with both hands. With feet shoulder-width apart, push your hips back while maintaining a neutral spine—imagine sliding your tailbone under a low-hanging branch. Lower your torso until nearly parallel with the floor, then return to standing using your lower back muscles. Perform 3 sets of 10 reps with a 4-second lowering tempo for maximum muscle-building benefits without spinal compression.
Back Extensions Enhanced for Disc Health
Secure your feet in a back extension apparatus or have a partner hold your ankles. Hold a light kettlebell against your chest and start with hips fully extended. Lower your upper body until your hips form a 90-degree angle, keeping your spine neutral throughout. The controlled 4-second descent pumps nutrient-rich fluid into your spinal discs while strengthening supporting muscles. Start with just bodyweight for the first week, then add the kettlebell once movement feels pain-free.
Critical Warning: Skip the advanced J Curl technique until you’ve mastered basic deadlifts and good mornings pain-free for 4-6 weeks. This complex movement simultaneously stretches and strengthens back muscles but requires significant foundational strength to perform safely.
Sciatica-Friendly Kettlebell Moves That Reduce Nerve Pressure
Russian Swings for Spinal Decompression
Stand with feet wider than hips, gripping the kettlebell with both hands. Hinge back to let the bell swing between your legs, then explosively drive your hips forward to swing the weight to chest height—not overhead. This distinction is critical: Russian swings stop at chest height to avoid aggravating back pain through excessive spinal extension. The rhythmic pumping action increases blood flow to spinal structures while strengthening your posterior chain. Start with just 10 reps daily, gradually building to 10 sets of 10 with 30 seconds rest between sets as your pain decreases.
Turkish Get-Up: The Ultimate Spinal Stability Builder
This multi-phase movement builds bulletproof spinal stability while improving mobility. Begin lying flat with a light kettlebell (4-8kg) held securely overhead. Progress through six distinct positions to standing, then reverse the movement back to the floor. The key is moving slowly through each transition point, focusing on maintaining shoulder stability and core engagement. Practice the entire sequence without weight first until the movement feels natural, then add minimal load. Perform 3-5 reps per side daily to build the spinal resilience that prevents future pain episodes.
Deep Goblet Squat: Natural Spinal Decompression
Hold a light kettlebell at chest level with both hands. Initiate the movement by pushing your hips back, then bend your knees to lower into a deep squat. At the bottom position, use your elbows to gently push your knees outward, creating space in your hip joints. This position naturally decompresses your spine while strengthening supporting muscles. Before adding weight, master bodyweight deep squats holding a broomstick for balance—your goal is to achieve a position where your hips drop below knee level with a neutral spine.
Core Stability Circuit: Your Spine’s Invisible Armor

Suitcase Deadlift: Anti-Rotation Powerhouse
Hold one kettlebell at your side like a suitcase. Perform a standard deadlift while actively preventing your torso from leaning toward the weight. This anti-rotation challenge builds the core stability that protects your spine during everyday asymmetrical movements like carrying grocery bags. Start with just 3 sets of 5 reps per side using a light weight (8-12kg), focusing on maintaining perfect posture throughout.
Single-Arm Farmer’s Carry: Everyday Strength Builder
Walk 10-20 meters holding a kettlebell in one hand. Keep your shoulders level and core engaged as if bracing for a light punch to the stomach. Switch hands and repeat. This deceptively simple exercise builds the endurance your core needs to support your spine throughout the day. Perform 3-5 rounds daily, gradually increasing distance as your stability improves.
Weekly Back Pain Recovery Plan: Your 6-Week Roadmap
Weeks 1-2: Foundation Building
Monday: Goblet squat 3×8 (light weight), suitcase hold 3×30 seconds each side
Thursday: Deadlift 3×5 (elevated kettlebell), back extension 3×10 (bodyweight)
Weeks 3-4: Strength Development
Monday: Goblet squat 4×8, single-leg RDL 3×8 each leg, good mornings 3×10
Thursday: Deadlift 4×5 (floor level), back extensions 3×12, J curl 3×8 (very light)
Weeks 5-6: Integration Phase
Monday: Russian swings 5×10, Turkish get-up 5 each side, deep goblet squat 3×10
Thursday: Deadlift 5×5 (moderate weight), single-leg RDL 4×8, back extensions 4×10
Progression Rule: Increase weight by just 4kg only when current load feels manageable for 15 reps with perfect form. Rushing this process guarantees setbacks.
Form Fixes for Common Back Pain Triggers
Hip Hinge vs. Squat Mistake
Pain Trigger: Bending knees first like a squat instead of hinging at hips
Fix: Practice pushing your hips back to touch a wall behind you before bending knees—imagine closing a car door with your backside
Breathing Pattern Error
Pain Trigger: Holding breath or improper breathing during lifts
Fix: Inhale deeply into your belly during lowering phase, exhale sharply through pursed lips during exertion—like fogging a mirror
Weight Selection Failure
Pain Trigger: Using weights that compromise form
Fix: Start with 8-12kg for women, 12-16kg for men—the weight should feel comfortable for 15 reps with perfect technique
Daily Safety Checkpoints Before Training
Perform these quick tests before each session:
– Flexion test: On hands and knees, tuck chin to chest—any sharp pain?
– Extension test: Lie face-down, push up gently—shooting pain down legs?
– Range check: Can you touch your toes without severe discomfort?
If any test causes sharp pain, skip kettlebell training and focus on gentle mobility work instead. Stop immediately and consult a physician if you experience numbness, tingling in legs, or pain that worsens after training.
Your back pain didn’t develop overnight, and relief won’t happen instantly—but consistent kettlebell training builds the muscular armor that protects your spine for life. Start today with the deadlift using proper form, and within weeks you’ll notice bending over without wincing. The journey to a pain-free back begins with your first controlled hip hinge—your future self will thank you every time you lift your child, carry groceries, or simply enjoy a pain-free morning.


