
Your biceps plateau isn’t your fault—it’s your grip’s. While standard curls dominate arm workouts, skipping reverse barbell curls leaves your brachioradialis and brachialis starving. This pronated-grip variation transforms forearm development and elbow resilience by flipping your palms down, forcing neglected muscles to carry the load. Forget pipe-cleaner forearms: lifters using reverse curls consistently build arms that look thick from every angle while dodging the elbow pain that plagues traditional curl junkies.
You’ll unlock this hidden growth by loading just 50% of your standard curl weight and mastering three critical phases: a rigid torso setup, a controlled curl with elbows pinned, and a 3-second descent. Whether you’re a powerlifter needing deadlift grip strength or a physique athlete chasing arm symmetry, this guide delivers the exact form cues, programming hacks, and pain-prevention tactics to make every rep count.
Why Your Brachioradialis Demands Reverse Curls
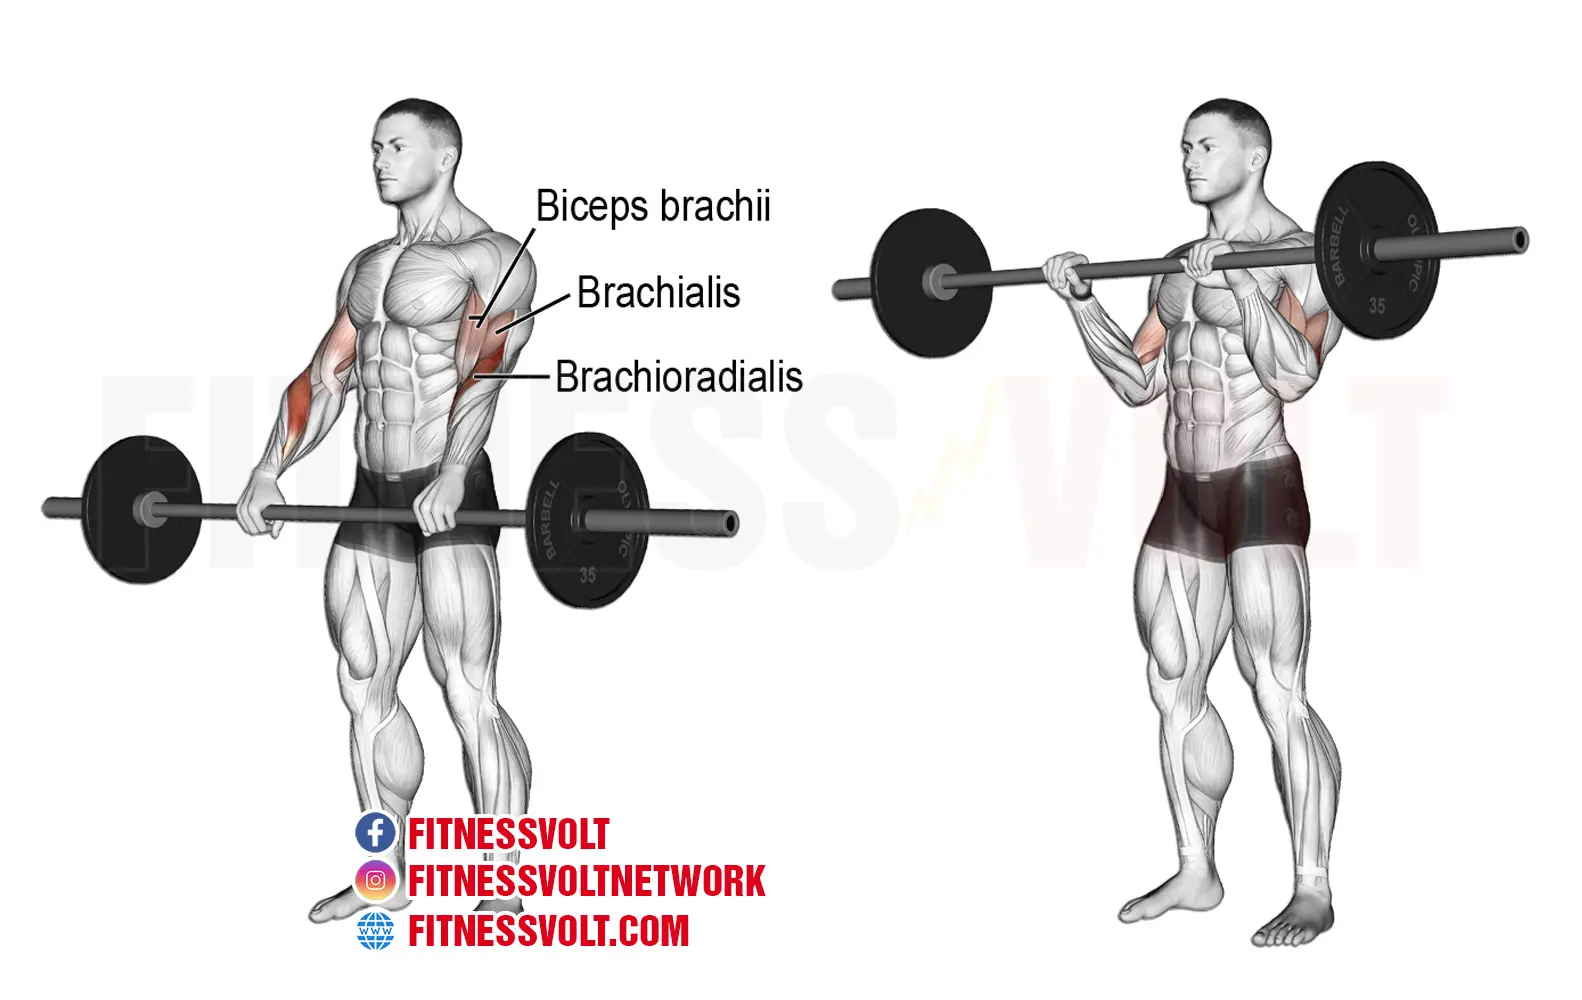
Most lifters train biceps like it’s the only arm muscle that matters, creating dangerous imbalances. The reverse barbell curl’s pronated grip forces your brachioradialis—the powerhouse running along your outer forearm—to shoulder 70% of the work. Meanwhile, your brachialis (hidden beneath the biceps) fires intensely, pushing your biceps upward for that coveted peak. Ignore this, and you’ll stay stuck with skinny arms that ache during pull-ups.
What actually happens to your muscles:
– Brachioradialis thickens your entire forearm – Creates the “wrist-to-elbow” density that makes arms look powerful in t-shirts
– Brachialis lifts biceps like a shelf – Without it, even massive biceps look flat from the front
– Biceps still contribute at 30% capacity – Just enough to maintain size without overloading tendons
– Grip muscles lock wrists neutrally – Translates directly to deadlift lockouts and farmer’s carry endurance
Skip reverse curls, and you’re literally building half an arm.
Fix Reverse Barbell Curl Wrist Pain Immediately
Wrist strain kills more reverse curl attempts than weak forearms. The straight barbell’s unforgiving grip forces many lifters to abandon the movement prematurely—but this isn’t wrist weakness. It’s equipment mismatch. Here’s how to stay pain-free while building ironclad grip:
EZ-Bar Technique for Wrist Survival
Grip the inner angled handles (not the middle curve) with palms facing down. The 30-degree bend shifts pressure off tendons while maintaining pronation. Load 40% of your standard curl weight and focus on this cue: “Press knuckles toward the ceiling throughout the curl.” You’ll feel tension migrate from wrists to forearms within two sets.
Dumbbell Fix for Unilateral Weakness
Grab two dumbbells and let your elbows drift slightly forward as you curl. This tiny external rotation (5-10 degrees) relieves wrist compression while still targeting the brachioradialis. Crucial: stop the curl when dumbbells reach nipple height—going higher forces supination.
Cable Curl Safety Hack
Attach a straight bar to the lowest cable pulley. Stand 2 feet back from the machine, leaning slightly forward at the hips. The diagonal pull angle eliminates wrist shear forces. Perform 15+ reps with 30% standard curl weight to rebuild tendon tolerance.
Pro Tip: If pain flares mid-set, immediately switch to hammer curls (palms facing each other). They share the same joint action without full pronation.
Reverse Barbell Curl Form Breakdown: 4 Phases That Make or Break Results

Setup Position (The Steel Pillar)
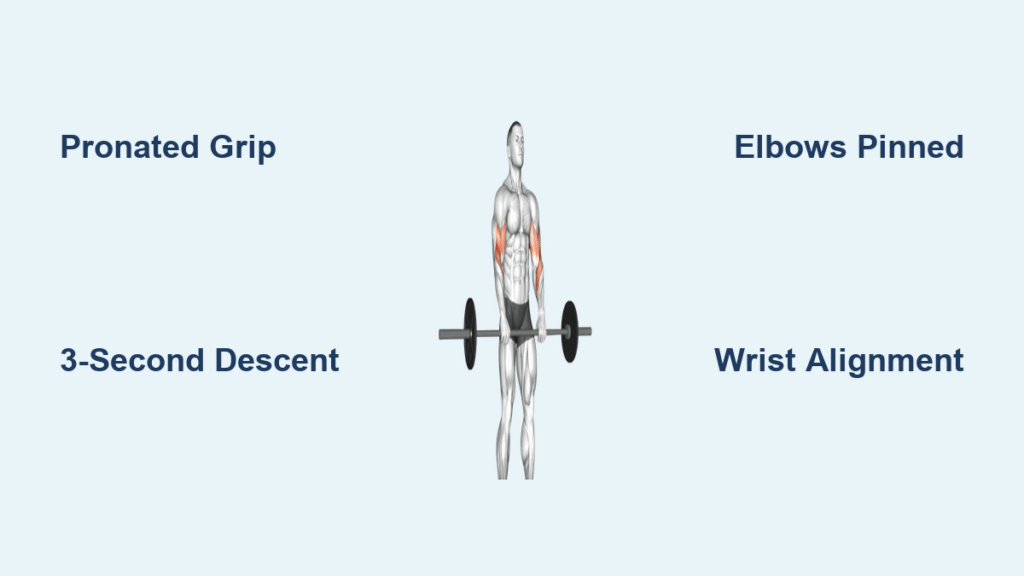
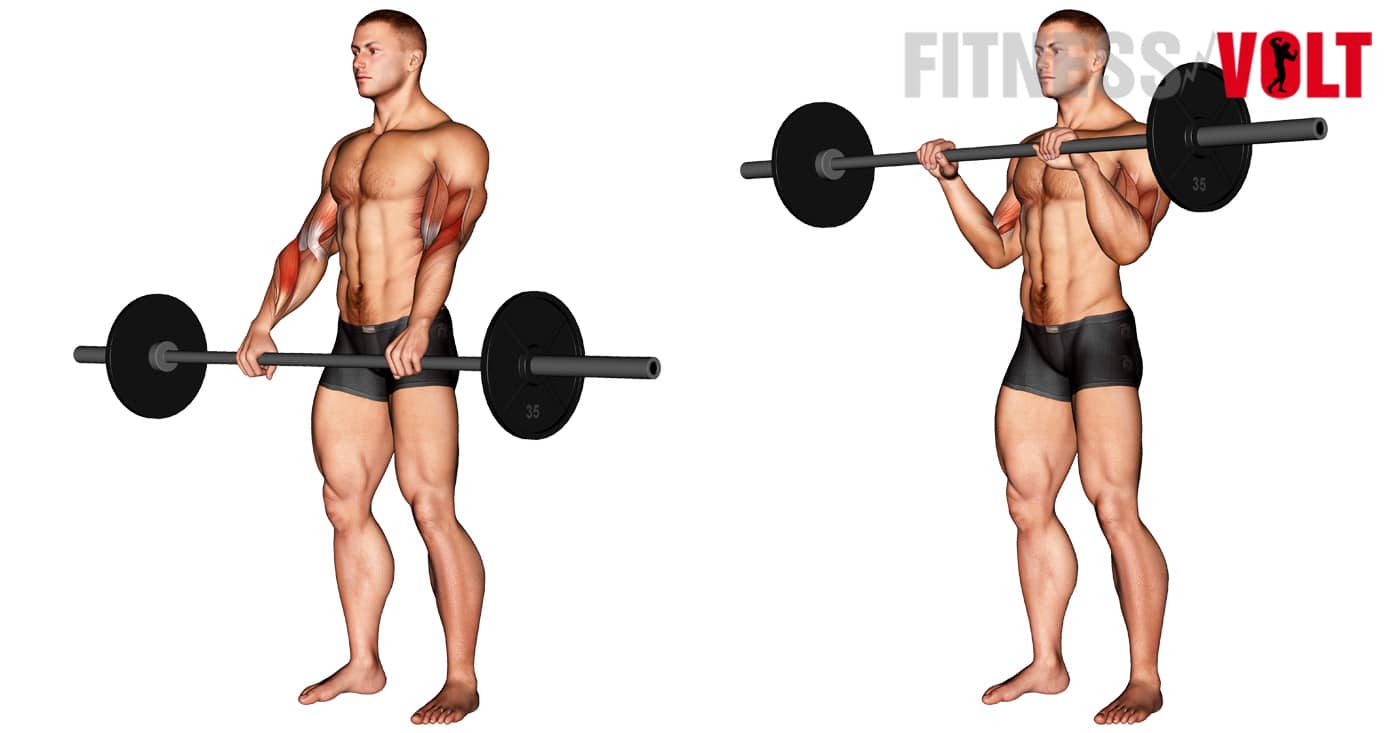
Stand with feet hip-width apart, toes slightly out. Roll shoulders back until shoulder blades touch—imagine squeezing a pencil between them. Brace your core like you’re about to be punched in the gut and squeeze glutes hard. Grip the bar shoulder-width with palms down, letting it rest lightly against your upper thighs. Critical check: Your elbows should sit 2 inches in front of your hips, not tucked behind.
The Curl (Zero Elbow Drift)
Exhale and bend ONLY at the elbows, dragging the bar up your torso in a slow arc. Your upper arms must stay glued to your ribs—if you see elbows drifting forward in a mirror, you’re recruiting shoulders instead of forearms. Stop when the bar hits your lower pecs (wrists slightly above elbows). Never chase extra height by leaning back.
Peak Squeeze (The 1-Second Rule)
Hold the top position for a full second while actively pushing wrists down (like pressing through a table). This isometric crush activates forearm extensors that standard curls miss. If your wrists bend backward here, you’ve loaded too heavy.
The 3-Second Descent (Where Growth Happens)
Inhale slowly as you lower the bar for exactly 3 seconds. Feel tension in the “meat” of your forearms—not the tendons near your elbow. Stop when elbows are fully straight but not locked. Warning: Dropping the weight faster than 2 seconds shifts work to momentum, not muscles.
Reverse Curl Mistakes That Waste Your Time
Wrist collapse during lowering – Letting wrists bend toward the floor transfers work to tendons. Fix: Pretend you’re holding water in your palms—don’t spill it on the way down.
Elbows sliding up your ribs – Causes during the curl turn this into a front delt exercise. Fix: Place a towel under your armpits; keep it pinned throughout the set.
Partial reps to hit heavier weight – Curling only from mid-thigh to waist misses the critical stretch phase. Fix: Use 50% less weight and lower until elbows are completely straight (but not hyperextended).
Grip too wide/narrow – Shoulder-width is non-negotiable. Wider strains wrists; narrower reduces brachioradialis activation by 40%.
Programming Your Reverse Curls for Maximum Arm Thickness
When to Train Reverse Curls (Critical Timing)
Never lead with them. Perform reverse barbell curls after heavy biceps work but before isolation exercises like concentration curls. Example:
1. Barbell curls: 4×8
2. Incline dumbbell curls: 3×10
3. Reverse EZ-bar curls: 3×12-15
4. Rope hammer curls: 2×20
This sequence pre-exhausts biceps while fresh forearms handle maximum load.
Rep Strategy That Builds Real Forearms
- Beginners: 3 sets of 10-12 reps at 40% standard curl weight
- Intermediate: 3 sets of 15 reps with 3-second negatives (drop to 8 reps when form breaks)
- Advanced: Reverse 21s—7 half-reps from bottom to 90°, 7 from 90° to top, 7 full reps
Progress by adding 2.5 lbs only when you hit the top rep count with perfect form for two consecutive sessions.
Reverse Barbell Curl Pain Prevention Protocol
Medial elbow twinge? Immediately reduce weight by 30% and add 2 seconds to your lowering phase. The extended eccentric rebuilds tendon resilience.
Wrist ache during heavy sets? Switch to dumbbells and allow 5-degree external rotation at the top. This relieves ulnar nerve pressure while maintaining brachioradialis tension.
Post-workout forearm cramps? You’re over-gripping. Hold the bar with just 70% hand pressure—white-knuckling shifts work to finger flexors, not elbow flexors.
Sample Reverse Curl Programming by Goal
For Deadlift Grip Strength
After heavy pulls on deadlift day:
– Reverse barbell curls: 3×8-10 at 60% standard curl 1RM
– Tempo: 2-second lift, 0 pause, 4-second lower
– Rest 90 seconds between sets
For Sleeve-Busting Arm Thickness
Arm day finisher:
– EZ-bar reverse curls: 3×15 (last set to failure)
– Tempo: 1-second lift, 1-second hold, 3-second lower
– Immediately followed by 2×20 cable hammer curls
For Beginners Building Tendon Resilience
Full-body circuit (3 rounds):
– Band reverse curls: 12 reps
– Push-ups: 15 reps
– Goblet squats: 10 reps
Reverse Barbell Curl Quick-Start Checklist
Before unracking the bar, verify:
– [ ] Weight is 50% of your standard barbell curl max
– [ ] Feet planted hip-width, core/glutes braced
– [ ] Palms face down, grip shoulder-width, knuckles up
– [ ] Elbows glued to ribs (towel test passed)
– [ ] Full range: elbows straight at bottom, bar at lower pecs at top
– [ ] 3-second controlled descent on every rep
The reverse barbell curl isn’t just another arm exercise—it’s your secret weapon against weak grip and skinny forearms. Start light, nail the knuckles-to-ceiling wrist position, and prioritize that 3-second lowering phase. Within 4 weeks, you’ll notice pull-ups feel effortless and your arms finally look thick from wrist to shoulder. Drop the ego weight, respect the pronated grip, and watch your forearms transform from overlooked to overdeveloped. Grab that EZ-bar today—your deadlift and your t-shirt sleeves will thank you.


