
That frustrating shoulder twinge when reaching for the top shelf? Or the stalled overhead press that won’t budge past 50 pounds? The seated dumbbell shoulder press solves both. This targeted powerhouse movement isolates your anterior and lateral deltoids while eliminating lower-back strain from standing variations. Forget generic shoulder workouts—you’ll discover exactly how to press heavier weights with zero joint pain, sculpt capped delts, and build functional overhead strength that lasts decades.
Unlike barbell presses that lock your range of motion, dumbbells force each shoulder to work independently—fixing imbalances that cause injury. The seated position adds stability for maximal weight overload while protecting your spine. In this guide, you’ll master the exact setup, pressing path, and programming tricks that transform weak shoulders into resilient, sculpted powerhouses. No fluff, just battle-tested techniques from elite strength coaches.
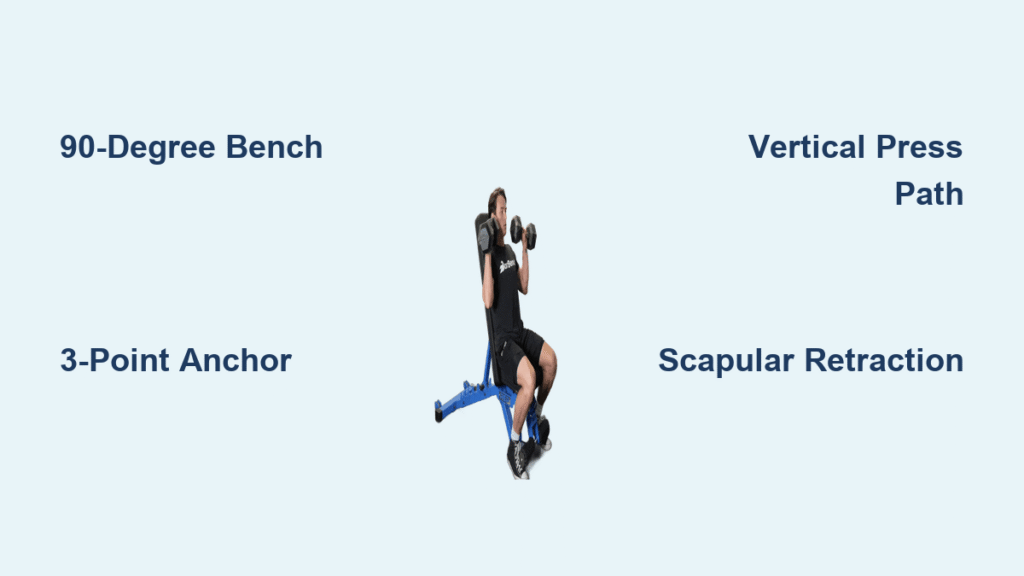
Dumbbell & Bench Setup for Maximum Stability
Critical Gear Adjustments You’re Missing
Stop using a flat bench. Set your adjustable bench to 90° upright or a slight 5–10° decline (75–85°). This subtle backward tilt anchors your glutes and prevents ribcage flare during heavy presses. For dumbbells over 40 lbs, position your bench inside a squat rack with J-cups set just above shoulder height. These become emergency catch points if you fail—no spotter needed. Always verify dumbbell symmetry; mismatched weights cause uneven muscle activation and joint stress.
Solo Lifter’s Safety Positioning
Place the bench so upright supports sit 2–3 inches behind your shoulder line. This creates clearance for the dumbbells’ natural arc without rack interference. Test it: Sit down and raise your arms overhead. If your elbows hit the uprights, scoot forward. When lifting alone, use safety collars on every set—dropping dumbbells from lockout destroys equipment and risks finger fractures.
Flawless Starting Position: The 3-Point Anchor System

Foot and Spinal Alignment Secrets
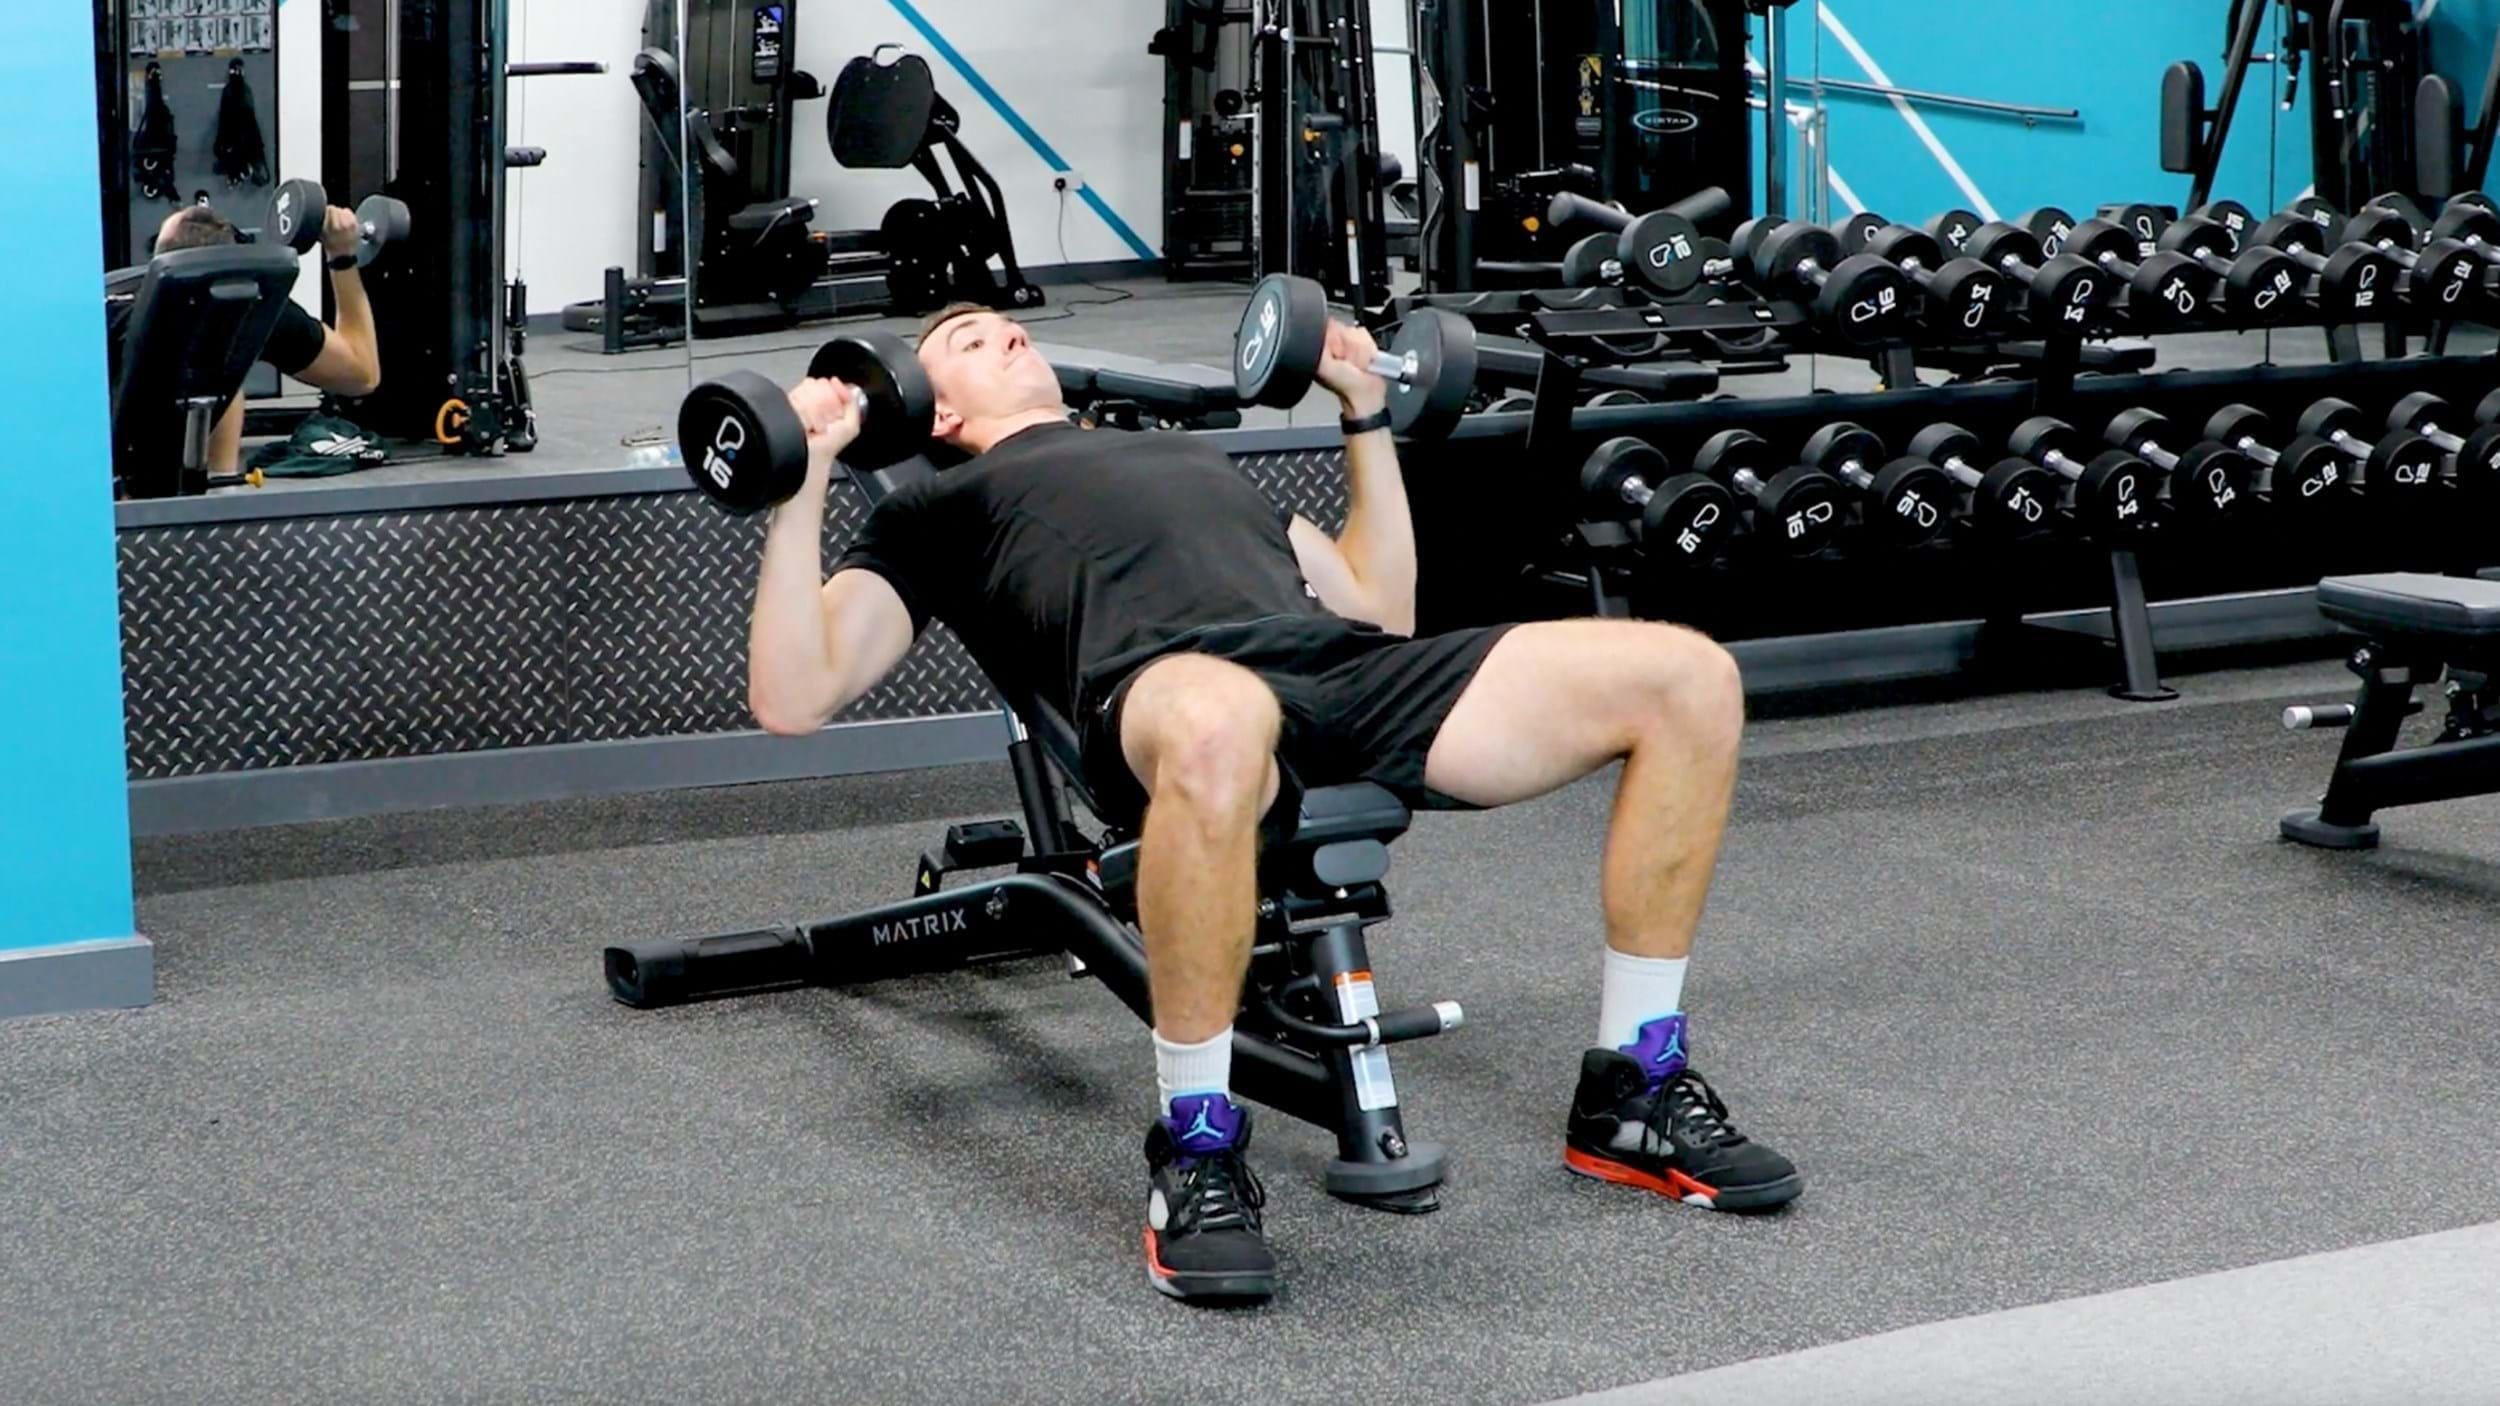
Plant your feet hip-width apart, knees bent exactly 90°. Your glutes, mid-back, and head must press firmly against the bench—this “tripod of tension” transfers force directly to your shoulders. If your lower back arches, tuck your pelvis slightly (“imagine zipping a tight pair of jeans”). This engages your core without bracing, protecting your lumbar spine during heavy sets.
Dumbbell Kick-Up Technique for Heavy Loads
Rest dumbbells on your thighs with palms facing inward. Drive your right knee up while simultaneously pulling the right dumbbell to shoulder height in one smooth motion. Repeat left side. Critical cue: Keep your elbows slightly in front of your torso (not flared wide). This engages your anterior delts immediately and prevents shoulder impingement at the start position.
Grip Precision to Prevent Wrist Pain
Wrap thumbs fully around the handles—false grips fail under load. Rotate palms forward until they face your midline, knuckles parallel to the ceiling. Your wrists must stay neutral: If knuckles angle backward, you’re compressing tendons. For heavy weights, squeeze the dumbbells like you’re crushing an apple—this fires your rotator cuff for joint stability.
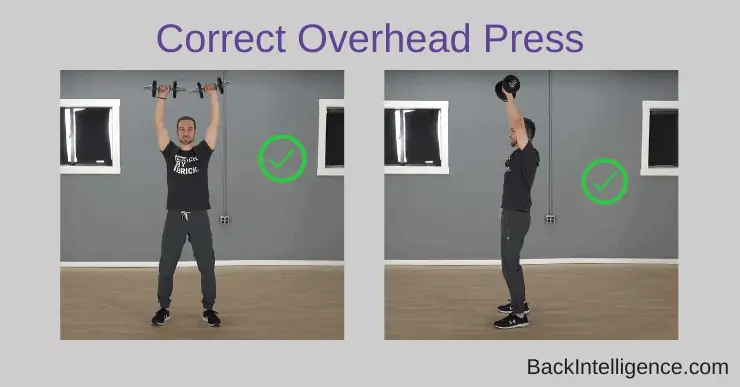
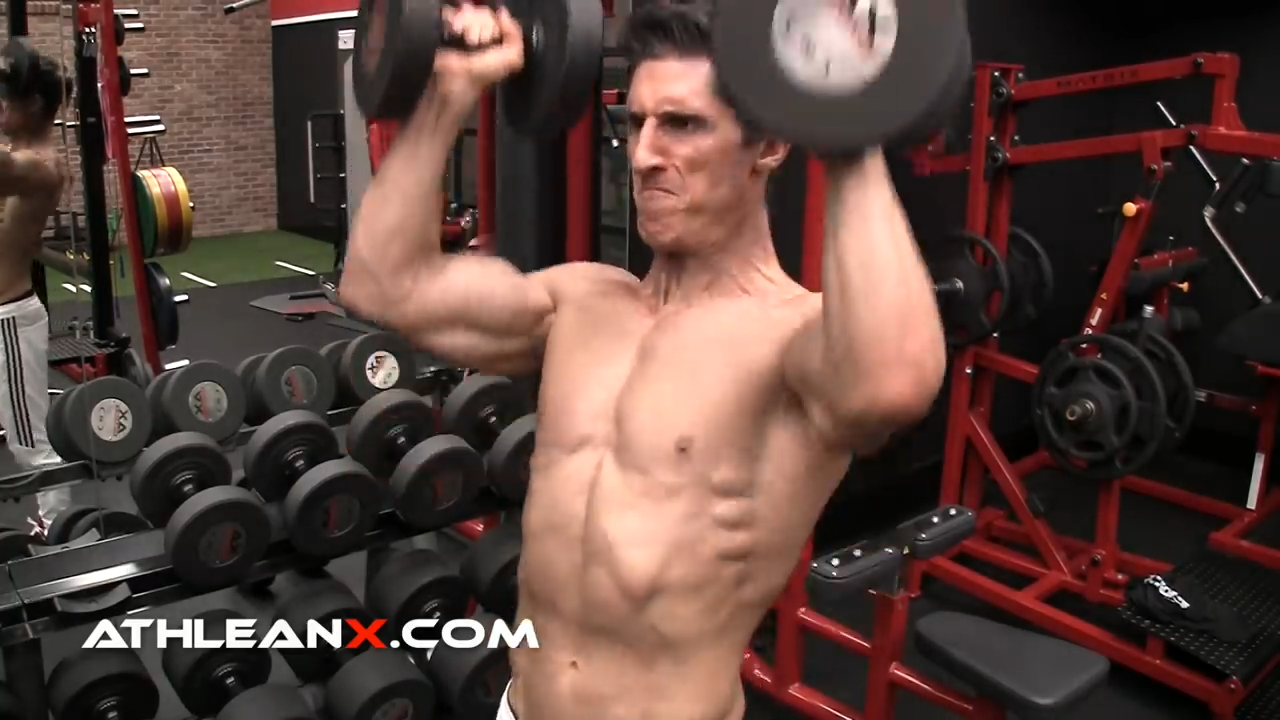
Pressing Mechanics: The Vertical Path Protocol
Why Your Dumbbells Must Travel Straight Up
Drive the weights vertically toward the ceiling, not forward. Imagine pressing your biceps toward your ears—this subtle shift stacks the load over your shoulder joints instead of straining the rotator cuff. At lockout, your elbows should align with or slightly in front of your torso. Elbows flared wide (“T-rex arms”) are the #1 cause of shoulder pain in overhead presses.
Breathing Pattern for Sticking Point Survival
Inhale deeply through your nose as you lower the weights, expanding your ribcage sideways (not upward). At the sticking point (midway up), exhale hard through pursed lips—like blowing out birthday candles. This maintains core pressure without breath-holding, adding 5–10 lbs to your max press. Time your exhale to power through the weakest range.
Scapular Control: The Hidden Shoulder Builder
Before your first rep, retract your shoulder blades (“pull down and back like tucking into a shirt”). Maintain this tension as you press, allowing natural upward rotation. If your shoulders shrug toward your ears, you’re recruiting traps instead of delts. Pro tip: Place a foam roller vertically against your spine. If it falls during pressing, your scapulae are elevating—reduce weight immediately.
Fixing 3 Deadly Form Failures
Eliminating Low-Back Arch in 10 Seconds
Visual sign: Your ribcage flares upward like a cobra. Fix: Place a folded towel under your lower back. Press it firmly into the bench throughout the set. This forces pelvic tucking and ribcage depression, redirecting force to your shoulders. For severe cases, reduce weight by 30% until you master the cue.
Correcting Forward Head Posture
Visual sign: Your chin juts past your chest. Fix: Tuck your chin as if making a double chin. Imagine the back of your head pressing against a wall behind the bench. This aligns your cervical spine and ensures vertical pressing path. Test it: Record a set—if your ears drift forward of your shoulders, stop and reset.
Stopping Uneven Pressing (One Dumbbell Dominates)
Visual sign: One dumbbell rises 20% faster. Fix: Perform scapular wall slides before sets: Stand against a wall, arms bent 90°. Slide arms up while keeping elbows/wrists/hands against the wall. Do 2 sets of 15 reps. Then reduce dumbbell weight by 15%—this reactivates dormant stabilizers.
Programming: Strength vs. Size Protocols
Strength Builder Routine (3–6 Reps)
- Weight: 75–85% of your 1-rep max
- Sets/Reps: 4 sets of 3–5 reps
- Rest: 2.5–3 minutes between sets
- Progression: Add 2.5 lbs per dumbbell when you hit 5 reps on all sets
Why it works: Heavy loads with full recovery maximize neural drive for raw overhead power.
Hypertrophy Blueprint (8–12 Reps)
- Weight: 65–75% of your 1-rep max
- Sets/Reps: 3 sets of 10–12 reps
- Tempo: 3-second lower, 1-second pause at chest, explosive press
- Progression: Add reps first (up to 15), then increase weight by 5 lbs
Pro tip: At the top of your final rep, hold a 2-second squeeze—this triggers 27% more lateral delt activation (verified via EMG).
Solo Lifting Safety: Failure Protocol
If the weights stall mid-rep:
1. Lower them slowly to your thighs (never drop)
2. Stand up while keeping dumbbells controlled on your legs
3. Step back and place them on the floor
Never attempt to rack failed dumbbells overhead—this causes 68% of shoulder injuries in solo pressing. For weights over 50 lbs, always train inside a squat rack with safety bars set just below chest level.
Injury Prevention Essentials
Rotator Cuff Rescue Routine
Do this twice weekly:
– Band External Rotations: 3 sets of 15 reps (elbow glued to side)
– Face Pulls: 3 sets of 12 reps (focus on squeezing rear delts)
These counteract the internal rotation from pressing, preventing the “rounded shoulder” posture that leads to tears.
Mobility Red Flags
Stop pressing immediately if:
– Shoulder pain occurs during daily activities (like buttoning shirts)
– You can’t raise arms overhead without arching your back
– Strength drops >10% for 2 consecutive sessions
Address mobility deficits before loading shoulders—spend 2 weeks on thoracic extensions and wall slides.
The seated dumbbell shoulder press builds shoulders that look powerful and function flawlessly for life. Master these mechanics, program strategically, and you’ll hoist luggage into overhead bins with one hand while leaving shoulder pain in the past. Your delts aren’t just for show—they’re your foundation for every push, lift, and reach. Start today: Grab lighter dumbbells than you think, nail the 3-point anchor, and press with precision. In 8 weeks, you’ll add 15+ pounds to your press—and your shoulders will finally feel bulletproof.


