
Your Sunny exercise bike sputters to a halt mid-workout—the pedals spin freely, resistance vanishes, or the display flickers out. You’re not alone; thousands face these sudden disruptions that derail fitness routines. This sunny exercise bike troubleshooting guide delivers proven solutions for all Sunny Health & Fitness models, from compact mini bikes to recumbent systems. Skip costly service calls and wasted gym time—most issues resolve with basic tools and these step-by-step fixes. Within minutes, you’ll diagnose resistance failures, silence annoying clicks, and restore smooth operation.
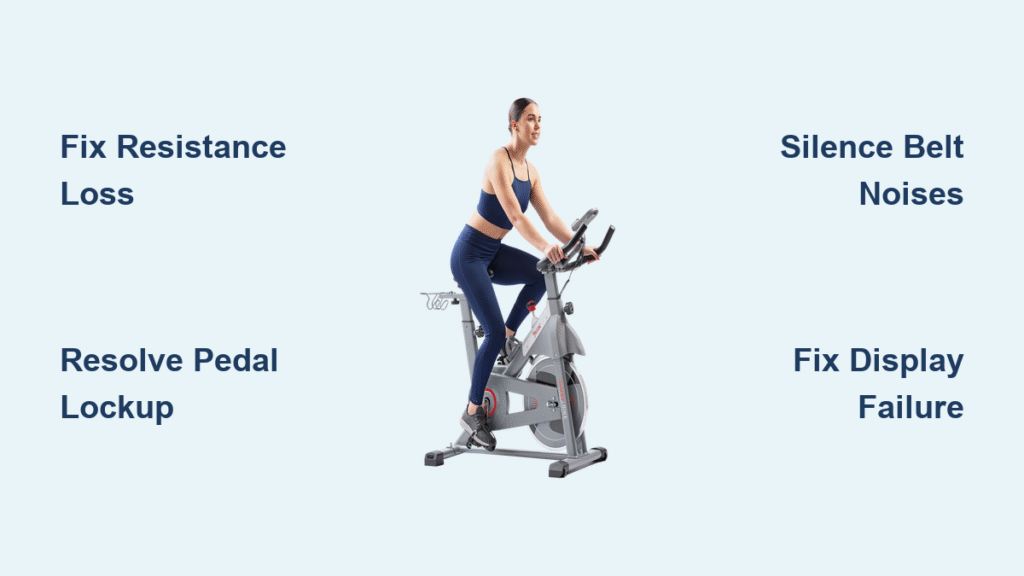
Fix Complete Resistance Loss

Identify No Resistance Symptoms
When your pedals spin like a free-spinning wheel regardless of dial settings, three culprits dominate sunny exercise bike troubleshooting. A snapped tension cable disconnects the resistance knob from the flywheel mechanism, leaving zero tension. Magnetic brake systems may seize due to magnet misalignment or cold temperatures below freezing. Some users accidentally trigger this by maxing resistance during storage, straining internal components.
Start diagnosis by removing pedals: grip the crank arms firmly, then unscrew the right pedal counterclockwise and left pedal clockwise (reverse thread) using a 15mm wrench. Peel off the plastic flywheel cap to expose the resistance mechanism. Wiggle the tension cable—it should move smoothly when adjusting resistance. If frozen solid in cold weather, bring the bike indoors for 30-60 minutes before proceeding.
Repair Resistance Mechanisms
Reconnect loose tension cables by snapping the cable end firmly into the resistance knob assembly near the flywheel. For magnetic systems, realign shifted magnets to their original positions using needle-nose pliers—never force misaligned magnets as this causes permanent damage. Replace cracked magnetic resistance units if realignment fails; OEM parts cost under $25 and install in 10 minutes. Always test resistance at multiple settings after repairs, starting at the lowest level to prevent re-straining components.
Resolve Pedal Lockup Issues
Model 030 Mini Bike Emergency Fix
The Sunny 030 mini bike develops unique lockup symptoms starting with jerky motion requiring excessive force to start pedaling. This progresses to complete immobilization when worn brake pads hit metal-to-metal or release pins jam. Immediate action prevents permanent damage—turn the bike upside down, remove bottom legs first, then lift off the plastic assembly to access internal components.
Inspect brake pads for visible metal backing exposure—this confirms replacement necessity. For stuck release pins, locate the small metal pin near the pedal shaft and gently tap it with a rubber mallet. If metal-to-metal contact has occurred, replace pads immediately to avoid flywheel scoring.
Quick Lockup Solutions
Apply WD40 directly to the pedal shaft connection points and release pin mechanisms while rotating pedals slowly. This often frees seized components within 5 minutes. Skip this step if your model uses leather brake pads (B1002/1509 series)—WD40 degrades leather. For persistent lockups, remove worn brake pads by unscrewing retaining bolts, then install exact replacements matching your model’s specifications. Always retest resistance movement before final reassembly.
Silence Pedal and Belt Noises
Eliminate Pedal Clicking Sounds
Clicking or grinding from pedals signals thread wear or misalignment. Remove pedals completely using your 15mm wrench, then inspect threading for visible grooves or stripped sections. Check alignment—pedals must sit at perfect 90° angles to crank arms; even slight misalignment causes rhythmic clicking. Clean threads with a wire brush, apply bike-specific lubricant, and reinstall with firm hand pressure before final tightening.
Critical warning: Cross-threaded pedals cause irreversible crank arm damage. If threads feel gritty or uneven during installation, stop immediately and replace the pedal. Persistent noise after lubrication means pedal replacement is unavoidable—don’t ignore this as it accelerates drivetrain wear.
Fix Belt Slapping and Squealing

Rhythmic slapping indicates drive belt slippage, while high-pitched squeals reveal belt wear. Unplug the bike, remove pedals, and take off side/top shields to access the belt. Press the belt midpoint—it should deflect exactly 1/2 inch. Tighten idler bolts incrementally while checking deflection until proper tension is achieved.
Replace belts showing cracks, fraying, or stretching beyond adjustment limits. Never use aftermarket belts—they fail prematurely on Sunny systems. Install OEM belts by first releasing the tension cable from the magnetic resistance motor, removing the eddy mechanism, and sliding the new belt into place. Test tension at multiple resistance levels before reassembling shields.
Handle Digital Display Failures

Troubleshoot Powerless Consoles
When your display goes completely dark, start with basic checks: verify power adapter connections at both ends and replace console batteries with correct polarity. For plug-in models, test adapter output with a multimeter—Sunny units require stable 6V or 9V DC. Voltage below 5.5V or 8.5V means immediate adapter replacement.
If power checks out, inspect internal console cables for loose connections at the display board. Gently reseat all connectors while checking for frayed wires. Skip voltage testing if you lack electronics experience—contact Sunny support instead. Control board failures typically require professional replacement.
Fix Erratic Heart Rate Readings
Tighten heart rate grip sensors firmly against palms—loose contact causes erratic spikes. Clean contact points weekly with isopropyl alcohol to remove sweat residue buildup. Check cable connections from sensors to the console, ensuring no pinching or fraying. Remember: Sunny’s heart rate monitoring provides estimates within 5-10 BPM of actual readings—don’t expect medical-grade precision during high-intensity intervals.
Perform Essential Maintenance
Preventative Care Schedule
Skip this routine at your peril: wipe down the frame daily with a dry cloth to prevent sweat corrosion. Check pedal tightness weekly—loose pedals destroy crank arm threads. Inspect brake pads monthly, replacing them when worn to metal backing. Lubricate chains every 2-4 weeks on applicable models (B1203/P8100 series), always cleaning first to avoid grit accumulation.
Critical monthly task: Perform a full bolt/screw tightening check. Vibration loosens hardware, creating dangerous rattles and safety hazards. Use a torque wrench to avoid over-tightening plastic components. Deep clean all parts with mild soap and water—never use harsh chemicals that crack plastic shields.
Model-Specific Maintenance Shortcuts
Save hours with these targeted tips: For leather brake pad models (B1002/1509), clean pads with a damp cloth—not lubricants. Recumbent RB4708 owners must service X-crank systems annually using specialized tools—standard crank removers cause catastrophic damage. Mini bike 030 users should apply silicone spray to pedal shafts quarterly to prevent cold-weather lockups. Always consult Sunny’s model chart before disassembly—split crank models (B1516/B1735) require unique removal sequences.
Prevent Temperature Damage
Cold Weather Survival Tactics
Magnetic resistance systems seize completely below freezing—never force pedals when cold. Store bikes in climate-controlled spaces whenever possible. If garage-stored, allow 45 minutes warm-up time before riding. Avoid moving bikes directly from freezing temps to heated rooms; condensation damages electronics. Acclimate gradually by placing in a cool basement first.
During winter storage, elevate bikes off concrete floors using rubber mats to prevent moisture absorption. Cover with breathable cotton—not plastic—to allow air circulation. Remove console batteries to prevent corrosive leaks during storage. These steps prevent 90% of seasonal failures reported in sunny exercise bike troubleshooting cases.
When to Call Professionals
Service Call Red Flags
Contact Sunny-authorized technicians immediately for these critical issues: suspected internal component failures behind sealed panels, electrical problems requiring board replacement, or any structural frame damage. Never attempt control board repairs—static discharge can destroy entire systems. If your bike remains under warranty, professional service preserves coverage—DIY fixes often void warranties.
Locate certified technicians through Sunny’s official website portal. Provide your exact model number (found under the seat) for accurate parts and procedures. Keep original purchase documentation ready—many “dead console” issues qualify for free replacement under 2-year warranties. For urgent repairs, Sunny’s support line offers live troubleshooting before dispatching technicians.
Final Note: Most Sunny exercise bike problems resolve with these actionable steps—keep a 15mm wrench, Phillips screwdriver, and bike lubricant in your fitness toolkit. Address resistance loss or unusual noises immediately to prevent minor issues from becoming $200 repairs. Bookmark this sunny exercise bike troubleshooting guide for quick reference, and rotate pedal maintenance monthly to extend your bike’s lifespan by years.


