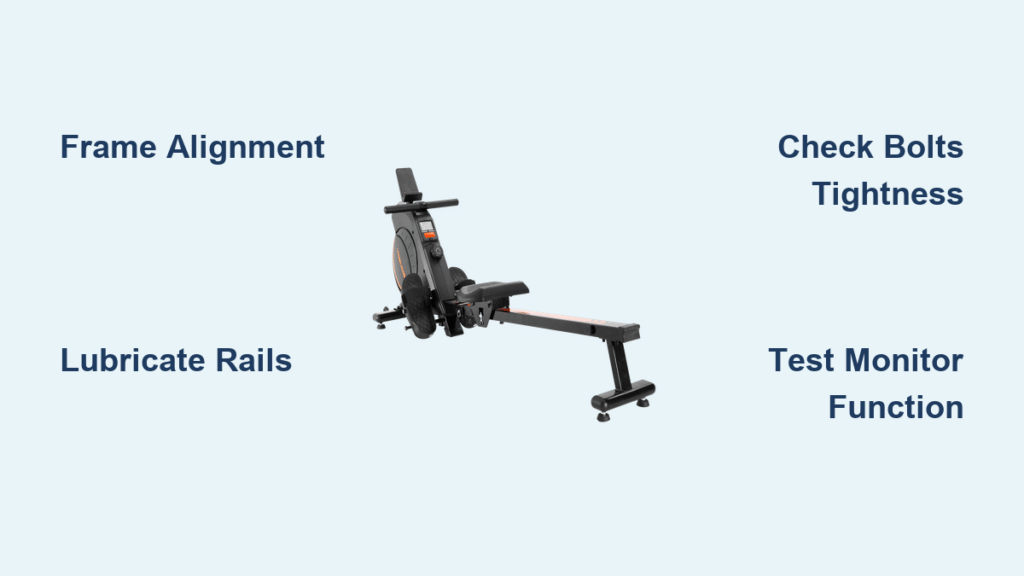
Unboxing your new YOSUDA rowing machine should spark excitement, not frustration. Proper yosuda rowing machine installation transforms a box of components into your personal fitness station within 30-45 minutes. Rushing through assembly often leads to wobbly frames, misaligned rails, or resistance issues that compromise your workout experience.
Most users underestimate the importance of following model-specific installation sequences, especially between the popular YOSUDA 181 water resistance and magnetic resistance versions. This guide delivers step-by-step instructions with critical details missing from standard manuals, including space requirements, tool preparation, and verification techniques that ensure your machine operates smoothly for years.
Required Tools and Workspace Setup for Flawless Installation
Essential Assembly Tools Beyond the Box
While YOSUDA includes basic tools, these extras prevent installation headaches:
– Cordless electric Phillips head screwdriver (saves 15+ minutes of manual tightening)
– 13mm socket wrench for precise bolt torque
– Rubber mallet for stubborn frame connections
– Smartphone level app for frame alignment verification
Pro Tip: Place a moving blanket under your workspace—YOSUDA’s aluminum components scratch easily on hard surfaces during assembly.
Ideal Installation Space Dimensions
Position your rower in a 7×3 foot area with critical clearance specifications:
– Minimum 24 inches behind rail for full stroke extension
– YOSUDA 181 requires 30 inches rear clearance due to longer rail design
– Magnetic models need only 24 inches but require additional side space for flywheel housing
Avoid carpeted floors—they cause uneven leveling and absorb vibrations that should transfer through the frame. Hardwood, tile, or rubber gym flooring provides optimal stability for your yosuda rowing machine installation.
Model-Specific Assembly Sequences You Must Know

YOSUDA 181 Water Resistance Installation Flow
The YOSUDA 181 follows a strict front-to-back assembly sequence that prevents common mistakes:
1. Attach front stabilizer to main frame (thicker steel than magnetic models)
2. Connect seat rail before rear stabilizer installation
3. Verify water tank is pre-installed (eliminates leak-prone connections)
4. Position monitor arm at eye level when seated
Critical Checkpoint: The dual-rail design requires lubrication of both inner and outer rail surfaces before seat installation—skip this and you’ll experience jerky motion during workouts.
Magnetic Model Assembly Differences
Magnetic YOSUDA models demand special attention during flywheel housing installation:
– Flywheel mechanism ships separately due to weight
– Requires two-person handling (components weigh 8-10 lbs)
– Housing alignment must be perfect within 1mm tolerance
– Resistance knob connects directly to housing before frame attachment
Warning: Misaligned magnetic housings create inconsistent resistance—you’ll feel “sticky spots” during rowing strokes that damage components over time.
Step-by-Step Assembly Process for Perfect Results
Frame Base Construction Without Common Errors
Begin with the rear stabilizer—this heavier component determines overall stability:
1. Position main frame upside-down on protective surface
2. Attach rear stabilizer using finger-tight bolts first
3. Check levelness before final tightening
4. Complete front stabilizer connection
The YOSUDA 181’s thicker base frame requires special attention—tighten bolts in star pattern sequence (like lug nuts on car wheels) to prevent frame warping.
Rail and Seat Installation Done Right
Never attach the seat after rail mounting—this forces complete disassembly:
1. Apply included silicone lubricant to entire rail surface
2. Slide seat onto rail before frame attachment
3. Connect rail to frame using manufacturer-specified bolt pattern
4. Verify seat glides smoothly before final tightening
Pro Tip: For magnetic models, check that the single rail has no burrs—run a soft cloth along the entire length to detect imperfections affecting seat movement.
Monitor and Sensor Connection Checklist
Connect critical electronics before final assembly:
– YOSUDA 181: Insert CR2032 battery into Bluetooth sensor first
– Magnetic models: Route sensor cable through designated frame channels
– Connect monitor cable before tightening rear frame bolts
– Verify display powers on before completing assembly
Troubleshooting Tip: If monitor doesn’t power, check cable connections at both ends—YOSUDA’s connectors sometimes appear seated but aren’t fully engaged.
Critical Installation Mistakes That Damage Your Machine

Over-Tightening Bolts: The Silent Killer
YOSUDA’s aluminum components strip easily under excessive torque:
– Frame bolts: Hand-tight plus quarter-turn only
– YOSUDA 181 seat rail bolts: Maximum 25 ft-lbs torque
– Monitor mount: Snug but allow slight adjustment
Visual Cue: Stripped bolts show frayed threads or “mushrooming” at bolt head—replace immediately with spares from YOSUDA’s hardware kit.
Misaligned Components That Cause Premature Wear
Check alignment after each major assembly step:
– Use smartphone level app on both frame rails
– Verify seat rail parallel within 1mm tolerance
– Confirm foot pedals lock at identical angles
Even 1-degree misalignment creates uneven wear that manifests as squeaking within 20-30 workouts. Correct alignment during yosuda rowing machine installation prevents costly repairs later.
Post-Installation Verification: Don’t Skip These Checks
Mandatory Functionality Tests Before First Workout
Test these elements thoroughly before your initial row:
– Seat glides smoothly entire rail length (no sticking points)
– Foot pedals adjust and lock securely at multiple angles
– Monitor powers on and displays stroke rate/calories
– Resistance changes respond instantly to controls
– Frame remains stable during simulated rowing motion
Pro Tip: Perform a “shake test”—grab front and rear stabilizers and try to rock machine. Any movement indicates loose bolts needing re-tightening.
Safety-Critical Bolt Tightness Verification
Use this quick-reference torque guide:
– Frame connection bolts: Hand-tight plus quarter-turn
– YOSUDA 181 seat rail bolts: 25 ft-lbs (use torque wrench)
– Monitor mount: Snug but allows slight positioning
– Foot pedal adjustment bolts: Secure but permit angle changes
Warning: Never use power tools on plastic components—YOSUDA’s foot pedal housings crack under excessive torque.
Accessing Amazon Live Installation Support During Assembly
Navigating Real-Time Installation Demos
YOSUDA provides model-specific Amazon Live sessions with keyboard shortcuts for hands-free navigation:
– Windows Users: Alt + / to search, Shift + Alt + C for cart
– Mac Users: Option + / to search, Shift + Option + C for cart
– Arrow keys to select between YOSUDA 181 and magnetic model streams
Bookmark these sessions before starting your installation—they’re available for replay for 30 days after broadcast.
Interactive Troubleshooting During Live Streams
Ask installation experts these common questions:
– “How do I verify proper rail alignment without tools?”
– “What’s the correct lubrication frequency for my model?”
– “Why does my resistance feel inconsistent after assembly?”
Pro Tip: Watch the stream with your components laid out—pause and resume as you complete each step for perfect synchronization.
First-Week Maintenance: Critical for Long-Term Performance
Essential Bolt Re-Tightening Schedule
New YOSUDA machines require these adjustments after initial use:
– After 5 workouts: Re-check all frame connection bolts
– After 10 workouts: Verify seat rail bolt torque
– Weekly for first month: Confirm monitor mount stability
Components settle during initial workouts—this isn’t a defect but normal behavior requiring attention.
Model-Specific Long-Term Care Requirements
YOSUDA 181 maintenance:
– Monthly: Apply silicone lubricant to both rail surfaces
– Quarterly: Replace water tank with distilled water only
– Annually: Inspect water tank seals for wear
Magnetic model maintenance:
– Monthly: Clean flywheel housing vents with soft brush
– Every 6 months: Verify resistance mechanism alignment
– Annually: Lubricate rail contact points with silicone
Final Installation Verification Before Your First Row
Before taking your inaugural rowing session, complete this final checklist:
– All bolts tightened to model-specific specifications
– Seat glides smoothly with no resistance points
– Foot pedals lock securely at multiple angles
– Monitor displays accurate stroke data
– Frame shows zero movement during simulated rowing
Your successful yosuda rowing machine installation shouldn’t end with assembly—it’s the foundation for thousands of effective workouts. Proper setup prevents the most common service issues reported by YOSUDA owners, particularly misaligned rails and over-tightened components. When you follow this model-specific guidance and leverage Amazon Live support during tricky steps, you’ll transform your new rower from a box of parts to a reliable fitness companion in under an hour. Remember to perform those critical first-week bolt checks—this simple habit extends your machine’s lifespan by years and ensures every stroke delivers smooth, consistent performance.


